As a premium user, your store's appearance is not limited to a fixed design, customizing your store's theme allows you to tailor its visual layout, typography, and promotional sections to reflect your brand's unique identity. This guide walks you step-by-step through setting up and personalizing the Vogue theme on your store dashboard.
To customize the Essence theme Go to app.getbumpa.com
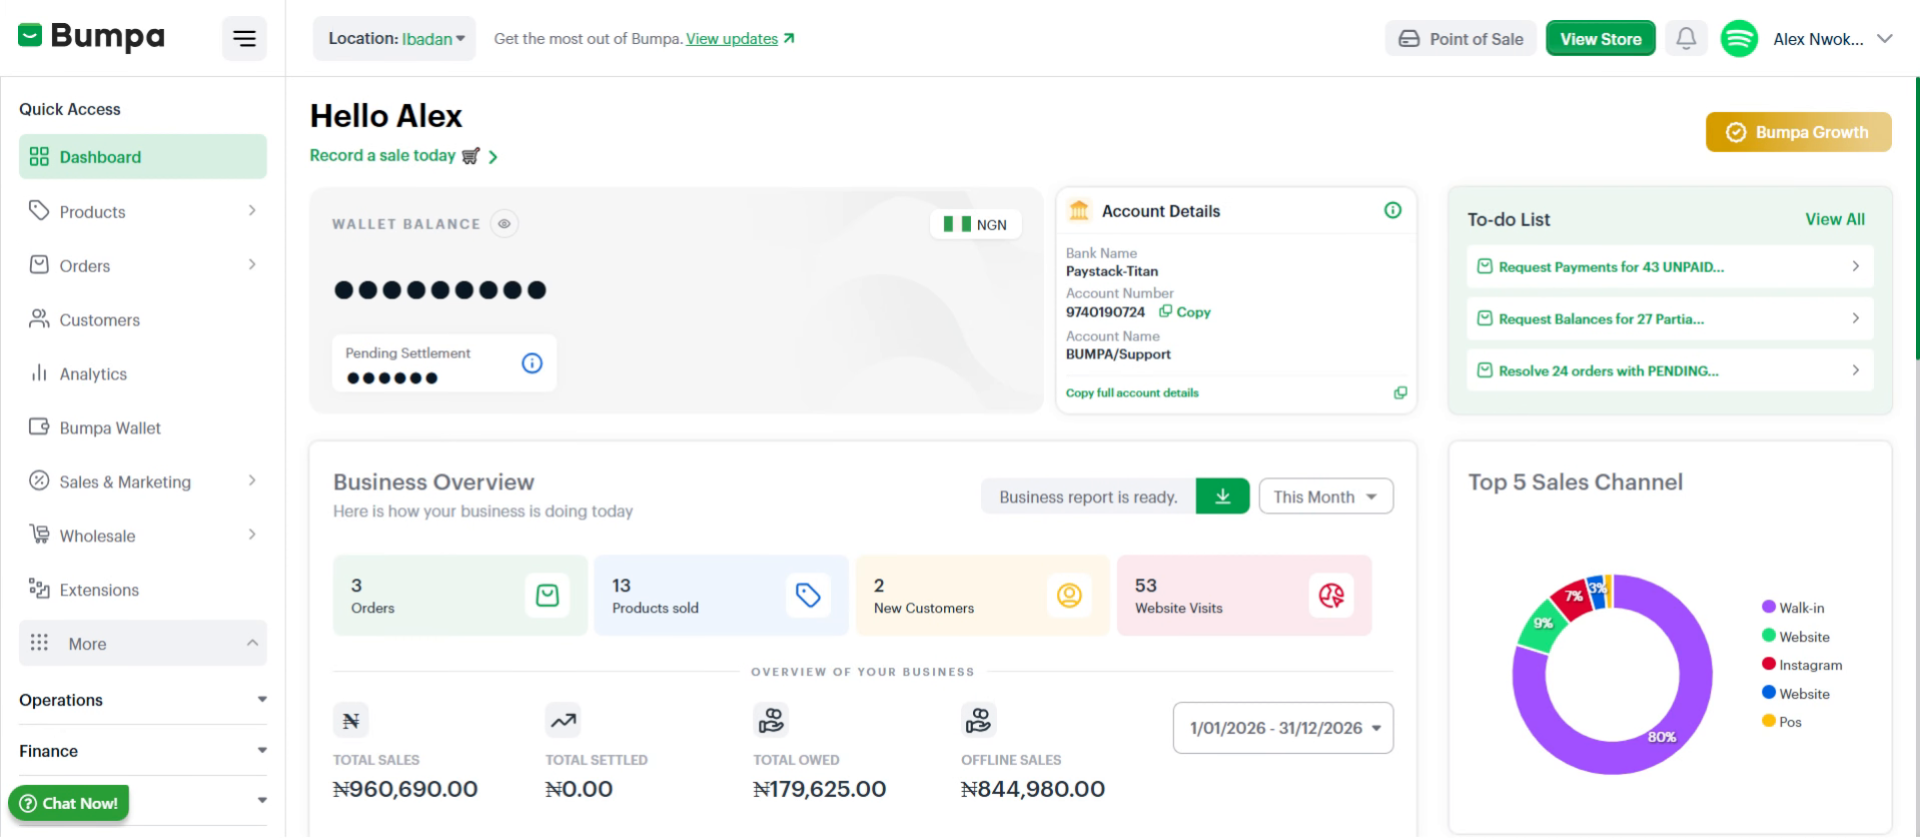
Click the Store Setup
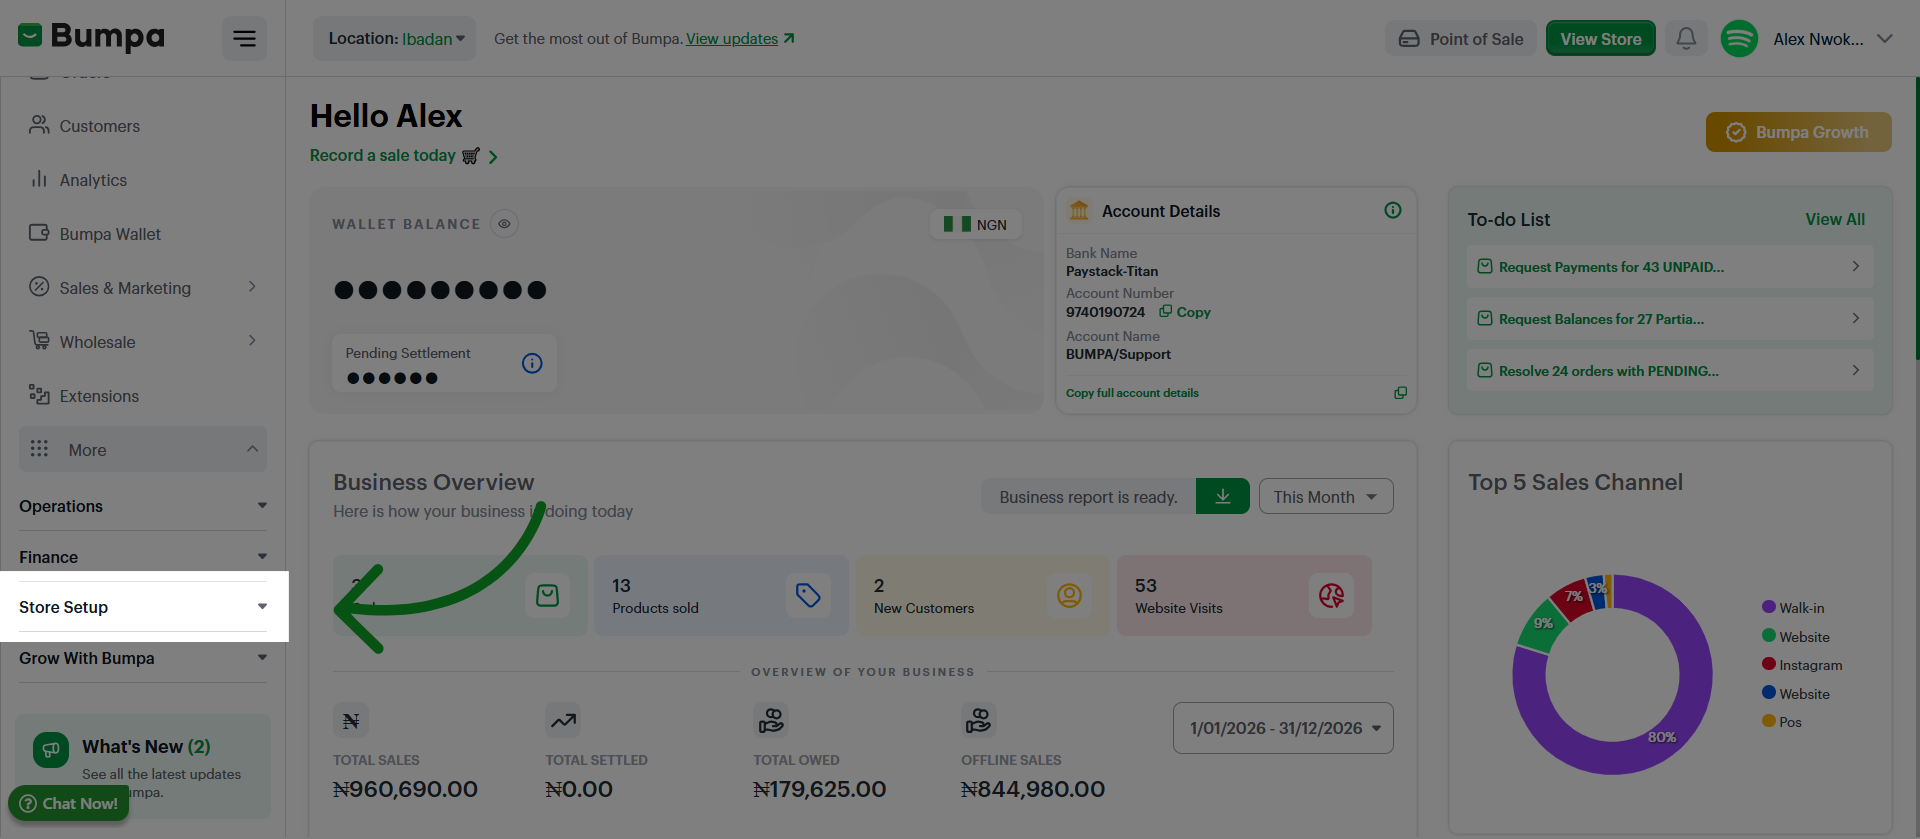
Click the Site Customisation tab to begin personalizing your website's appearance and settings.
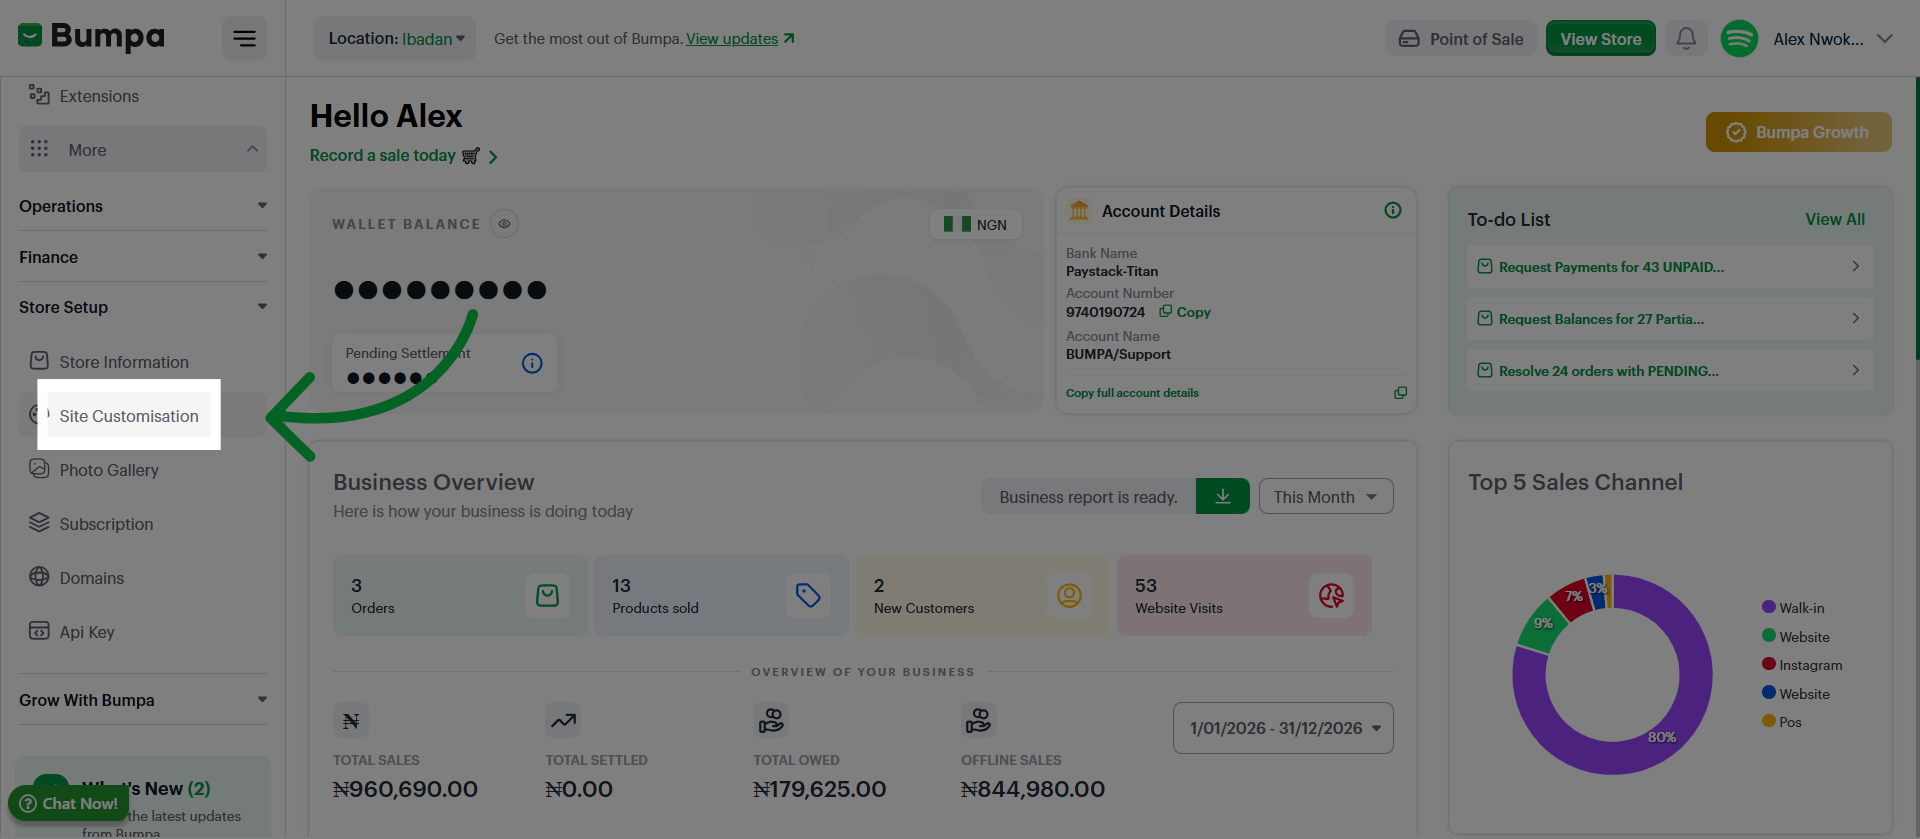
Click Customize
Upload a Favicon by clicking Upload Image and selecting the file from your device to enhance your store's branding.
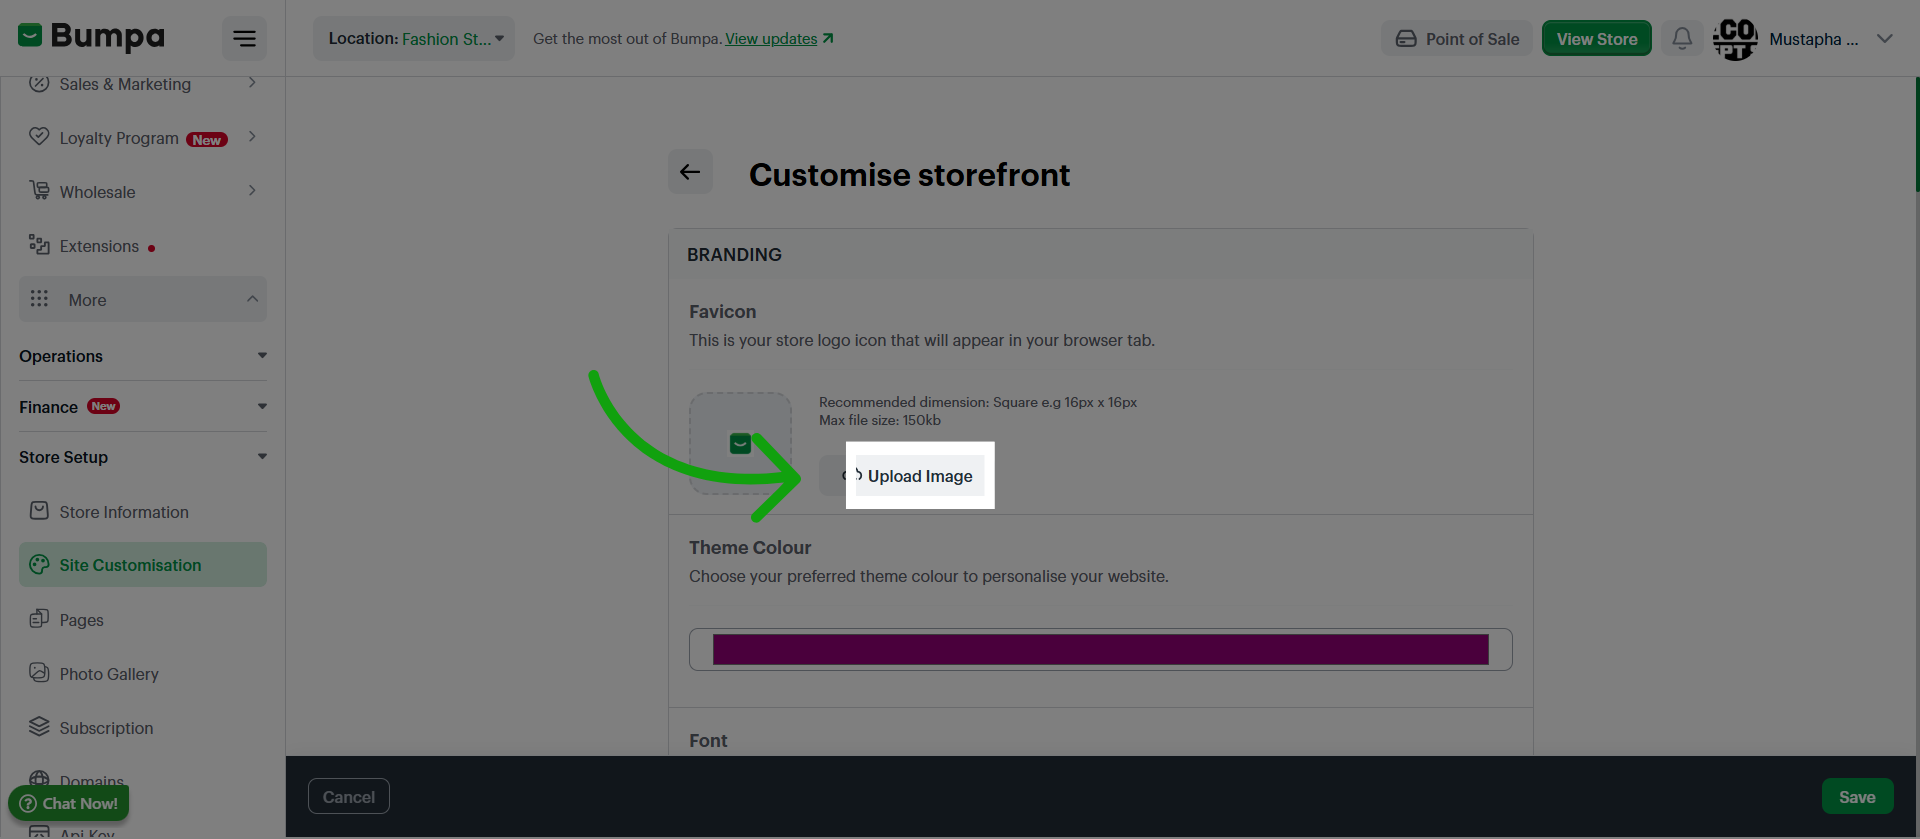
Click the Upload Image button to confirm and add the selected image to your store customization.
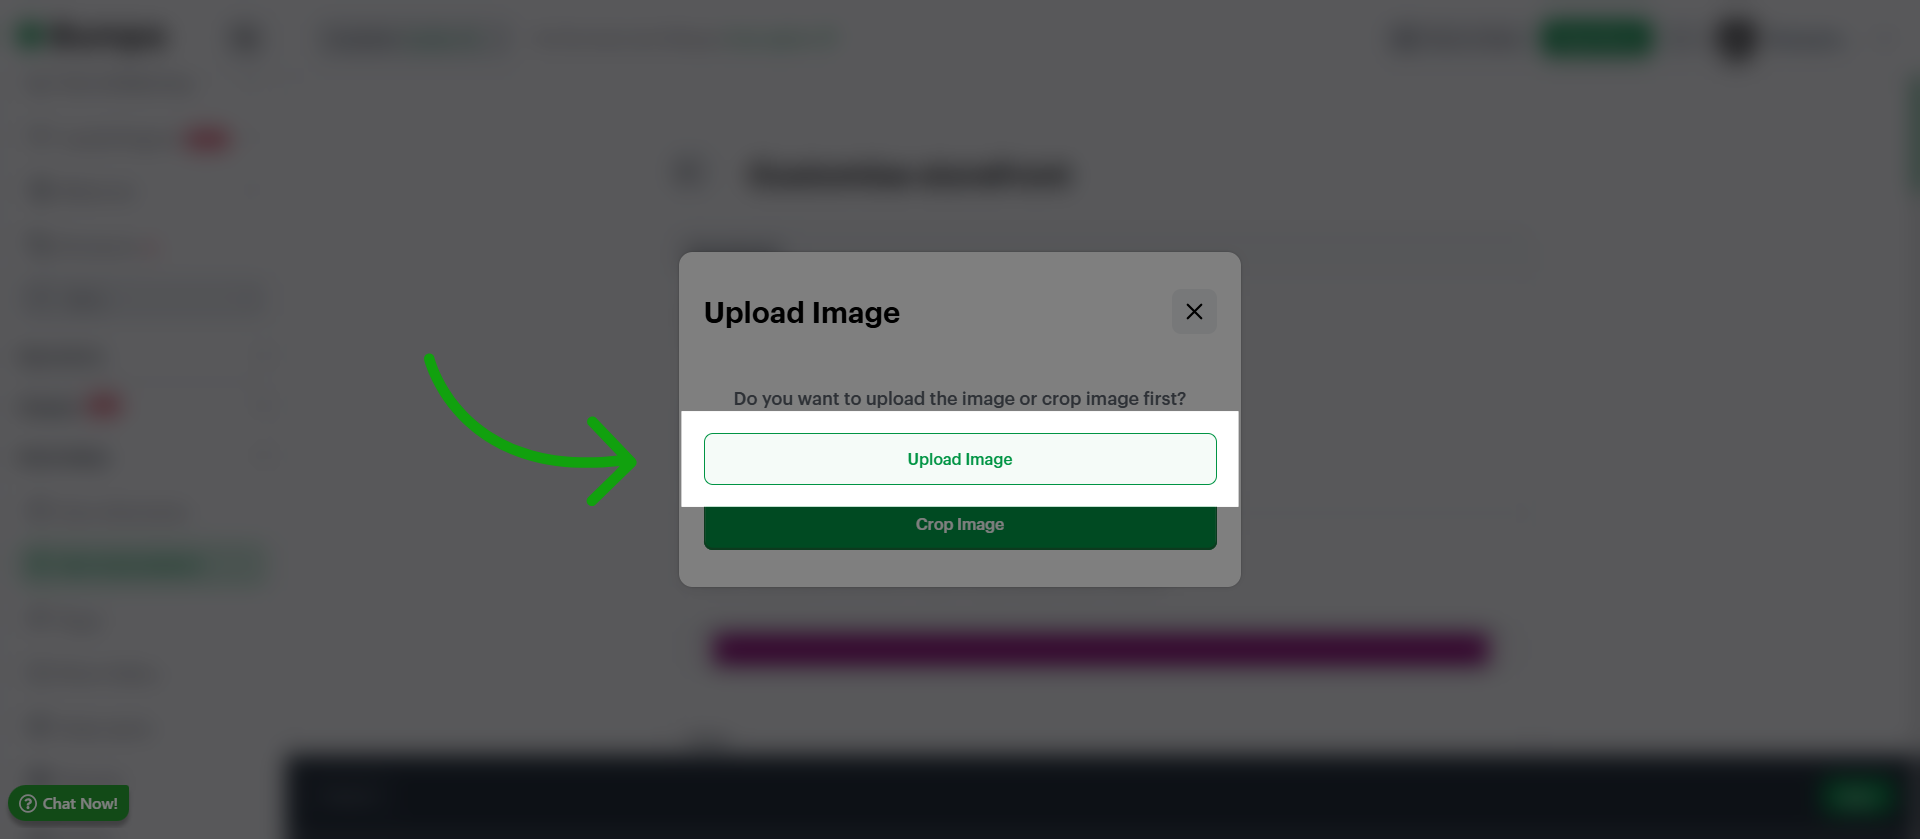
Enter the theme color by clicking the color field and filling in the new color code to personalize your store's look.
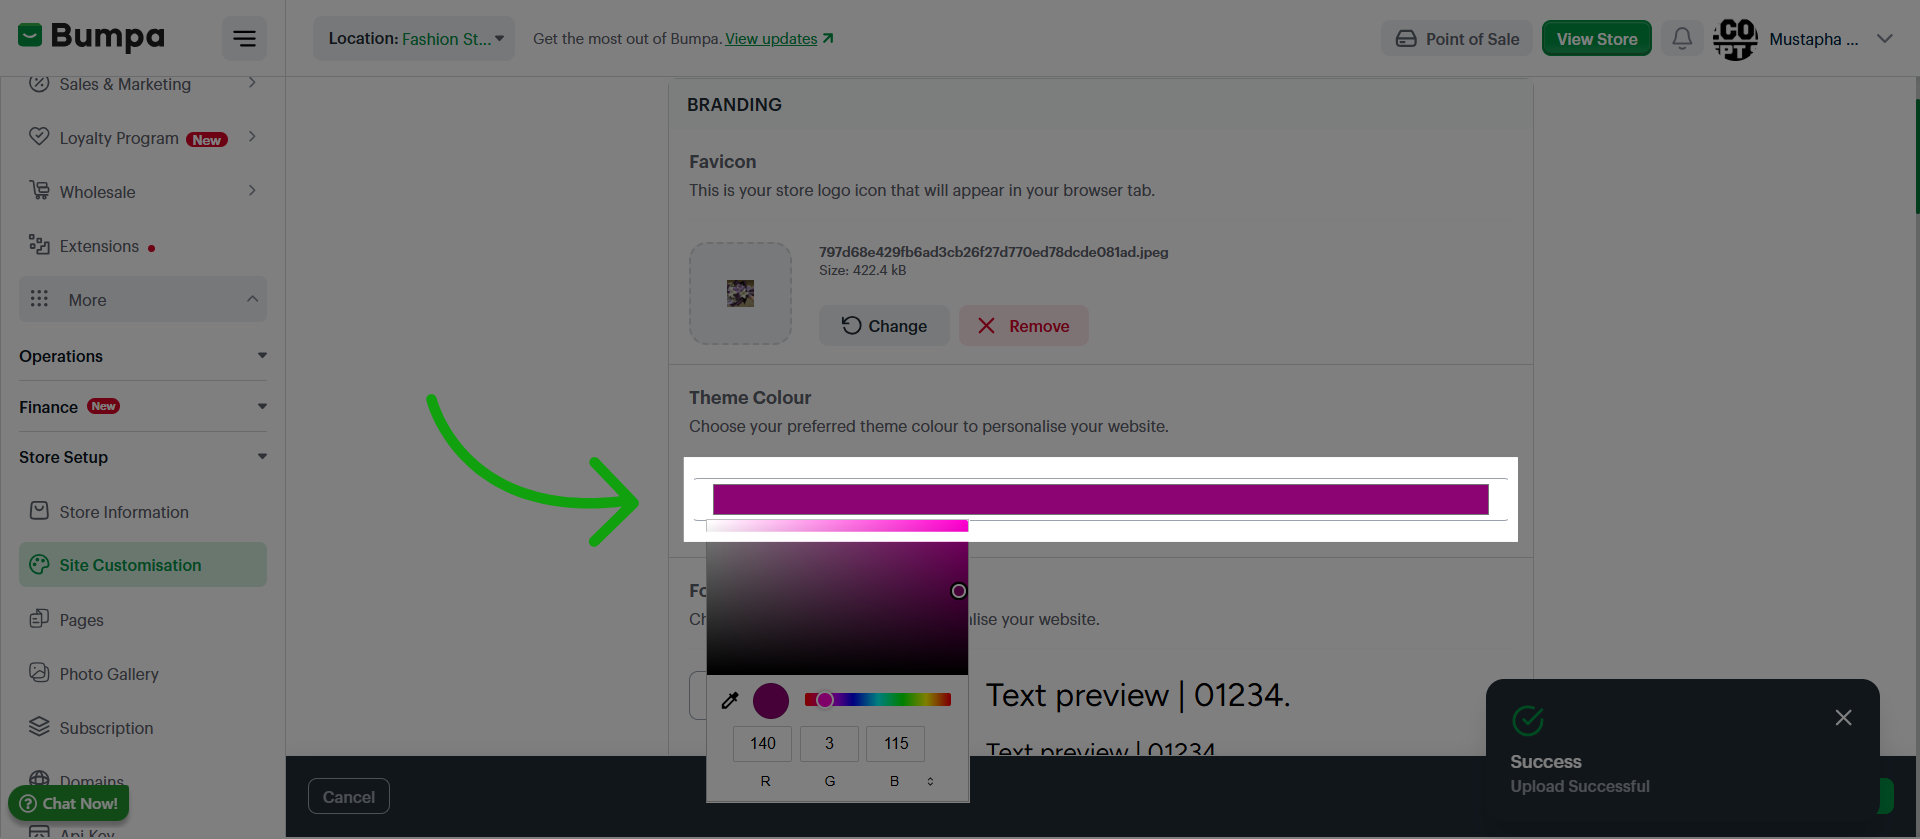
Click the font selection area to choose your preferred font and personalize your website's typography.
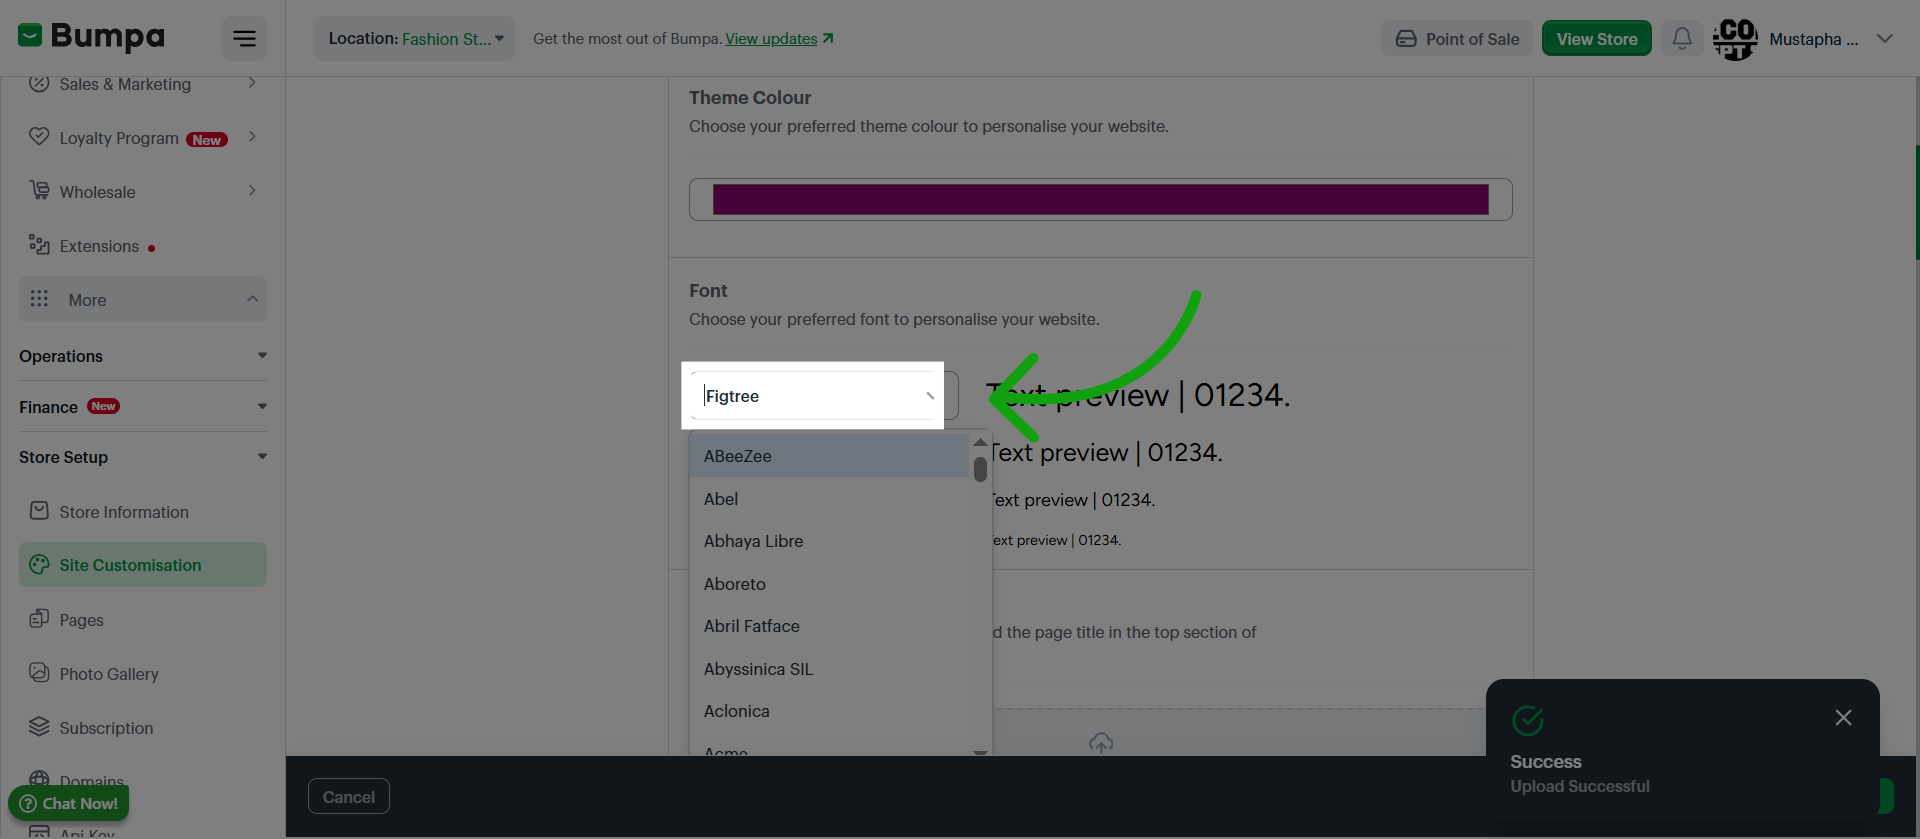
Upload a Page title banner for your website
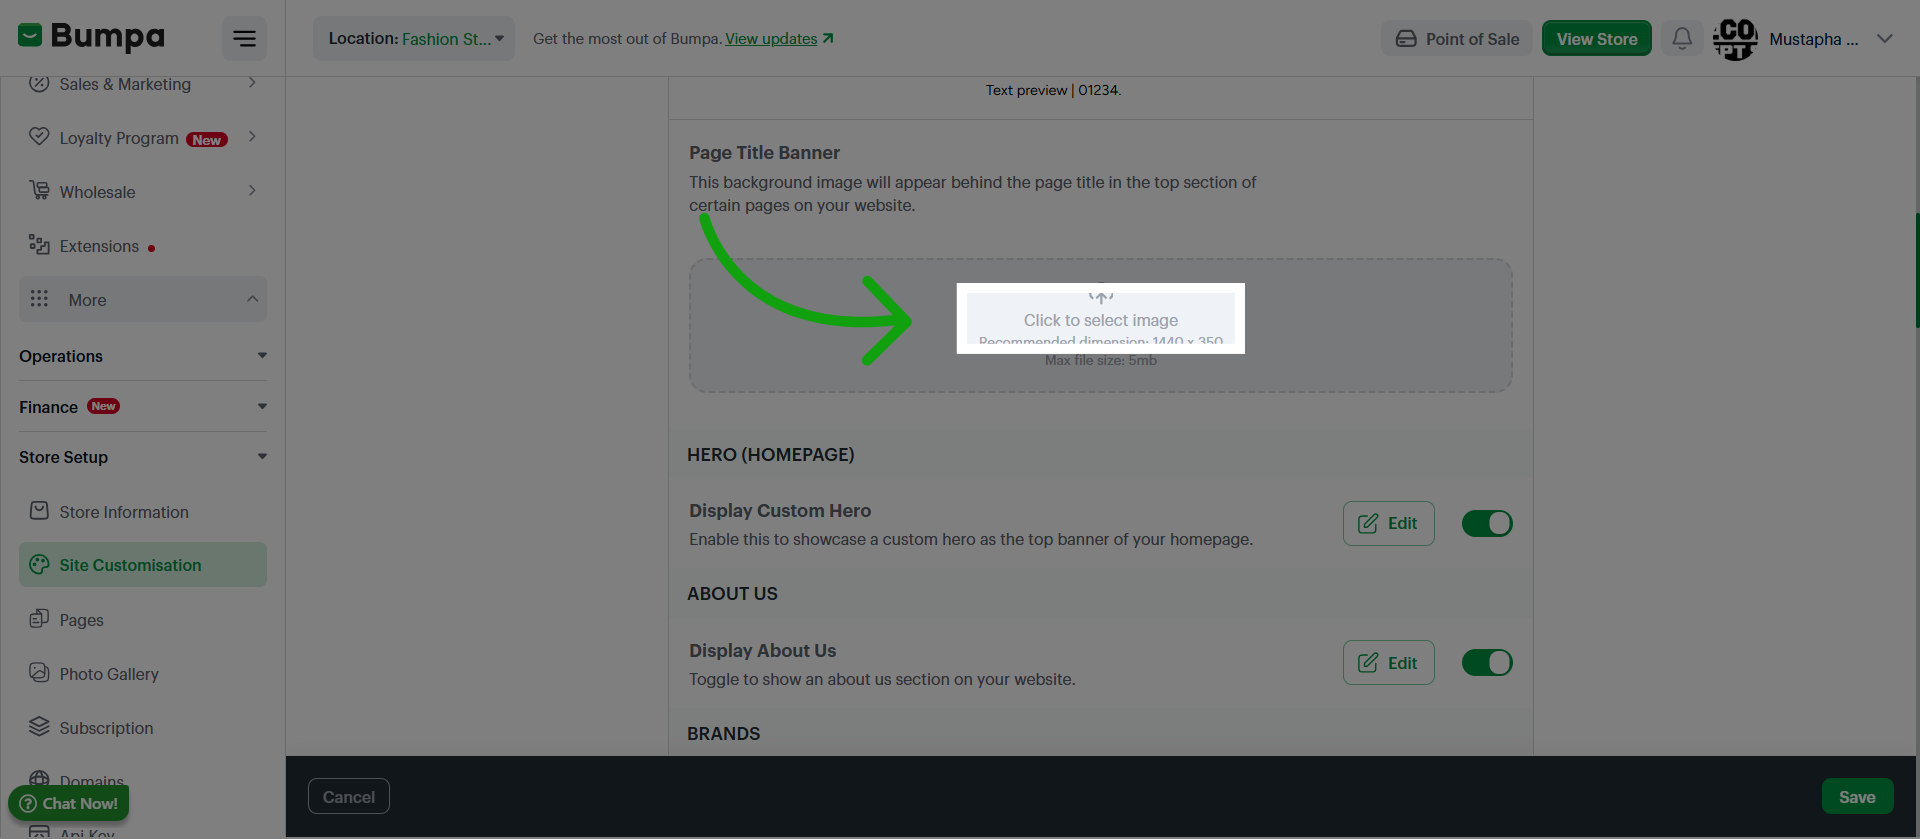
Click the Upload Image button to finalize adding the selected image to your store customization.
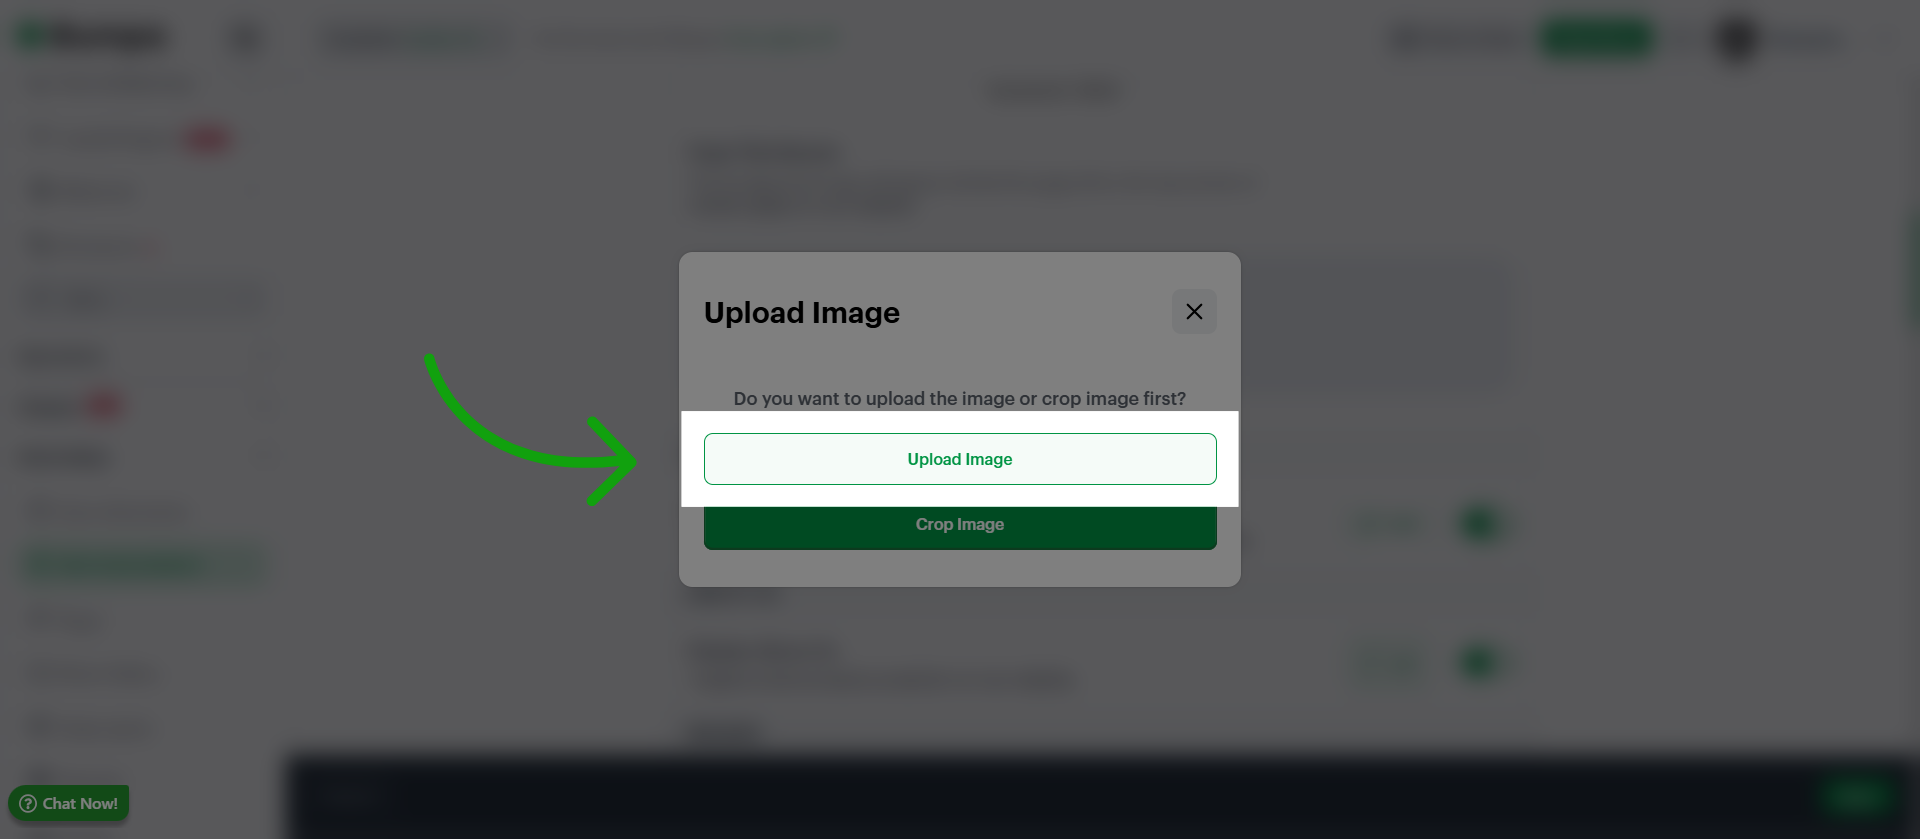
Click Edit to add up to 3 Hero banners to your Homepage as a slideshow or carousel
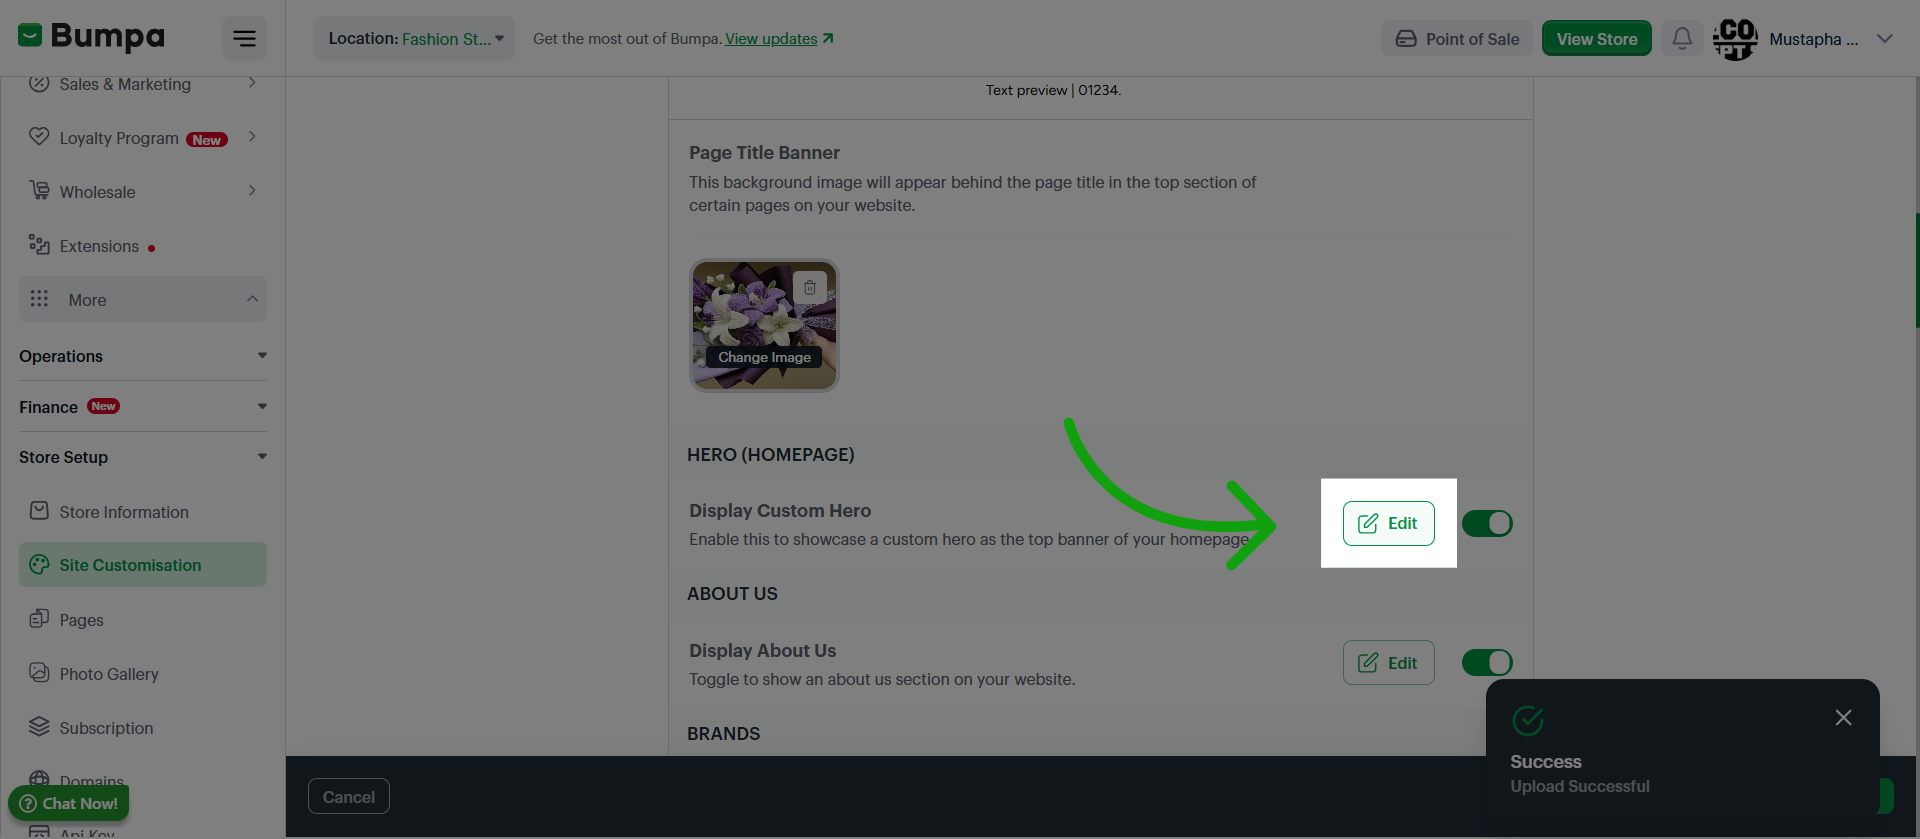
Upload Image
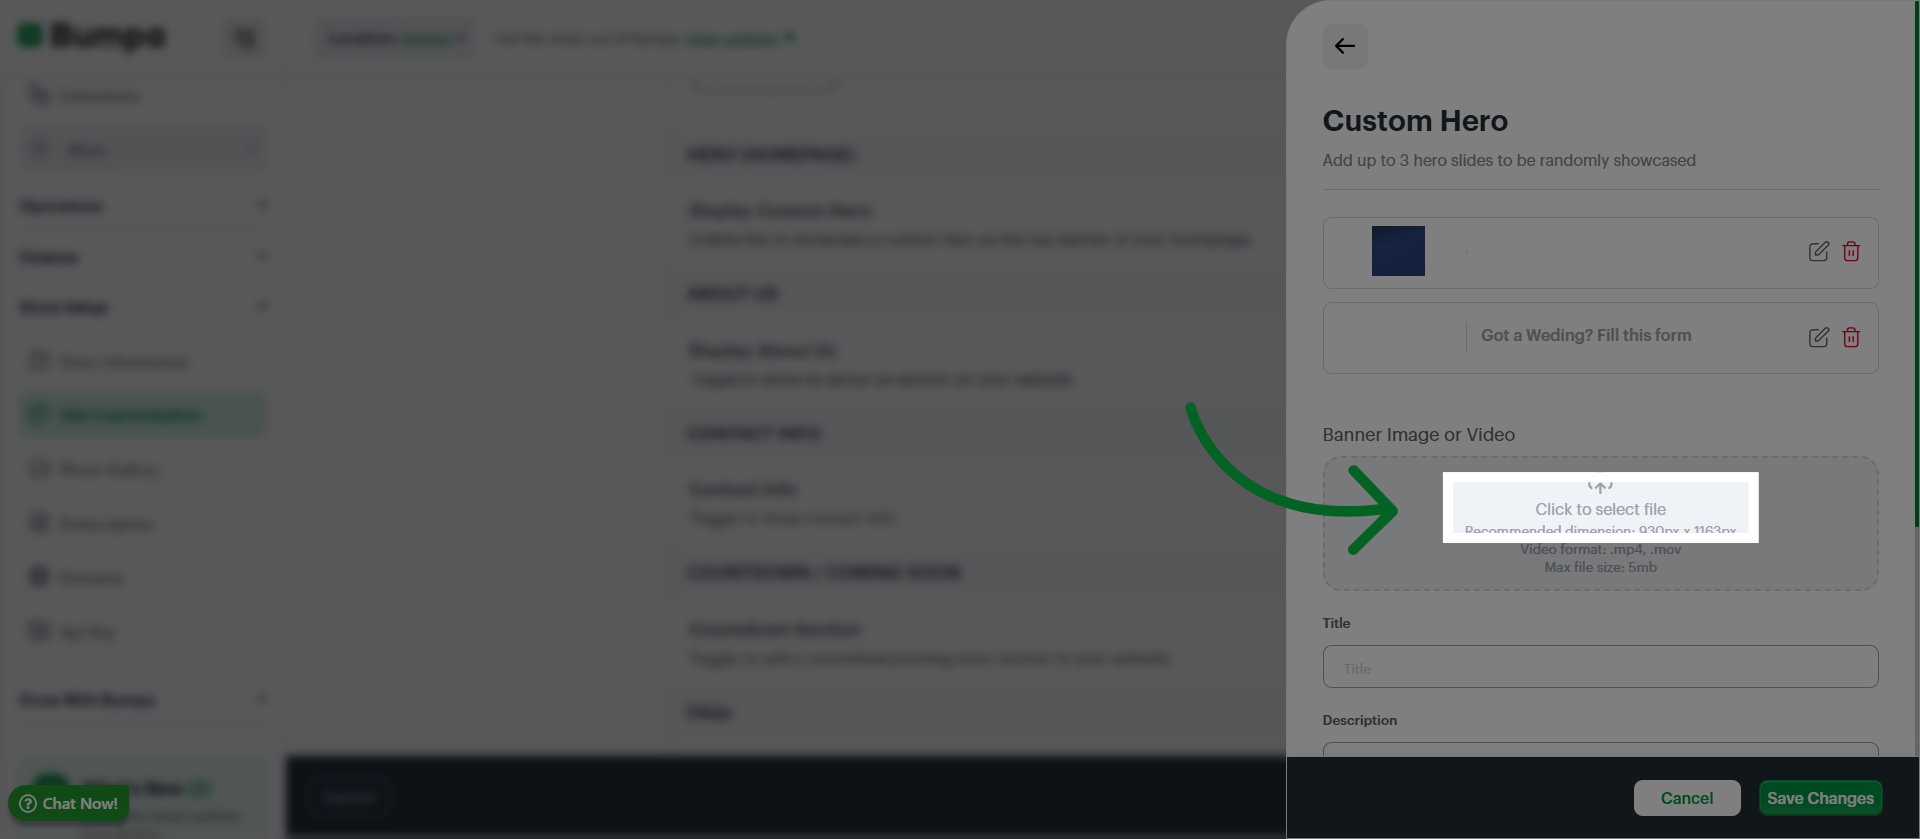
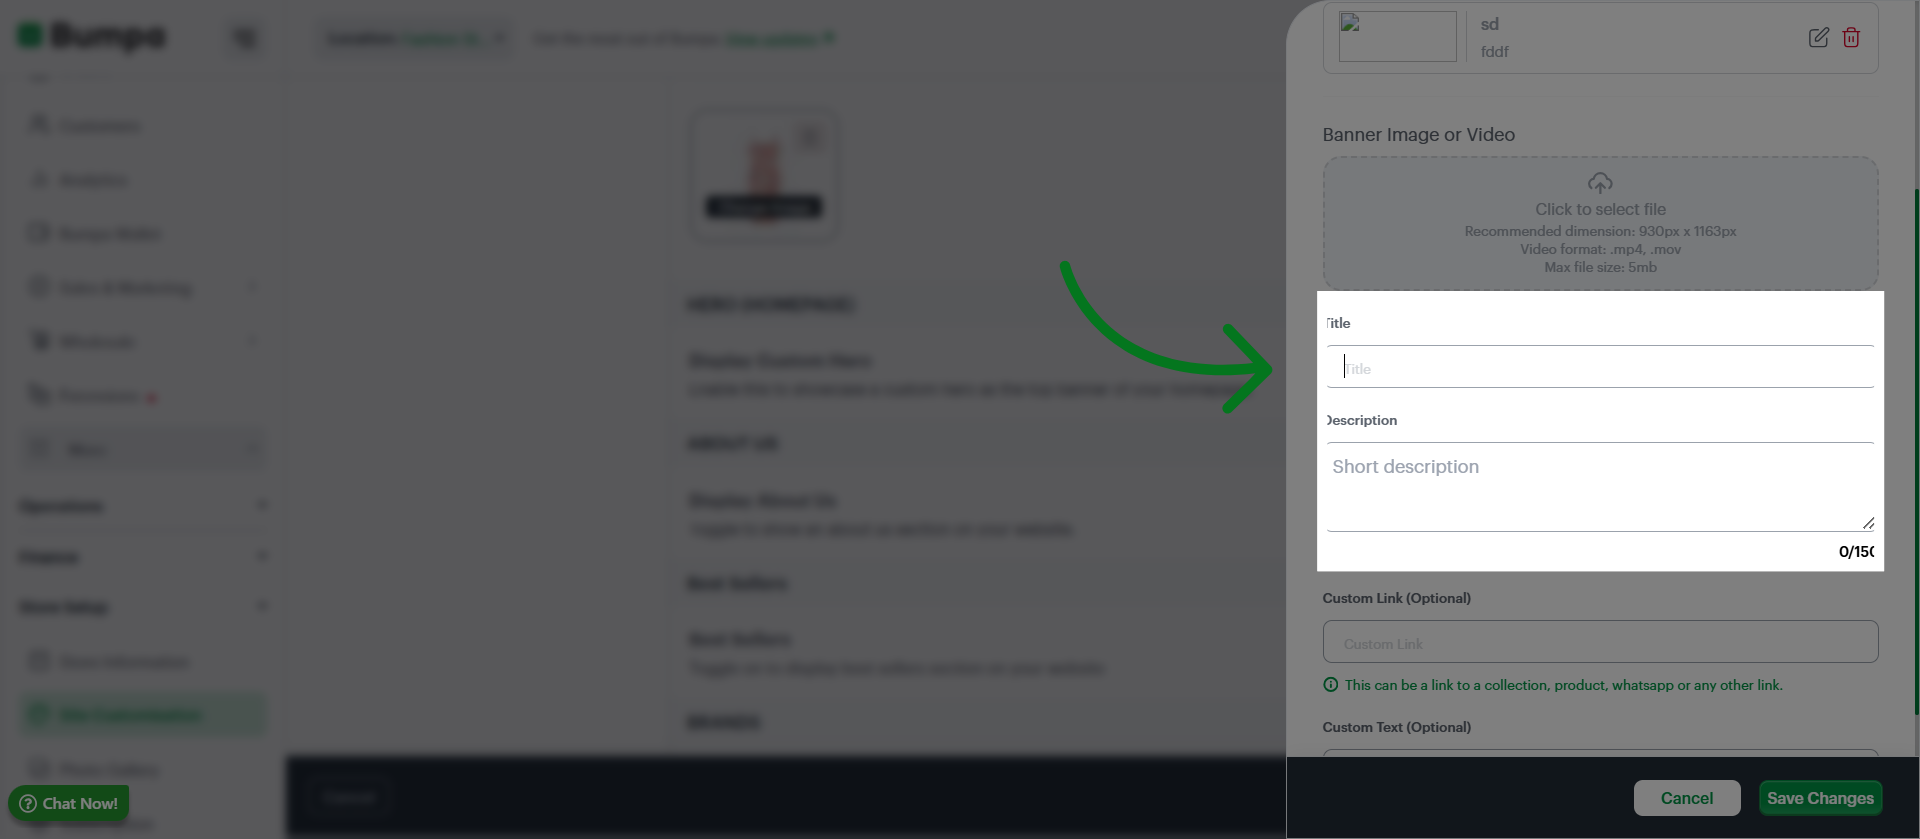
Input tile and Content for the Hero section.
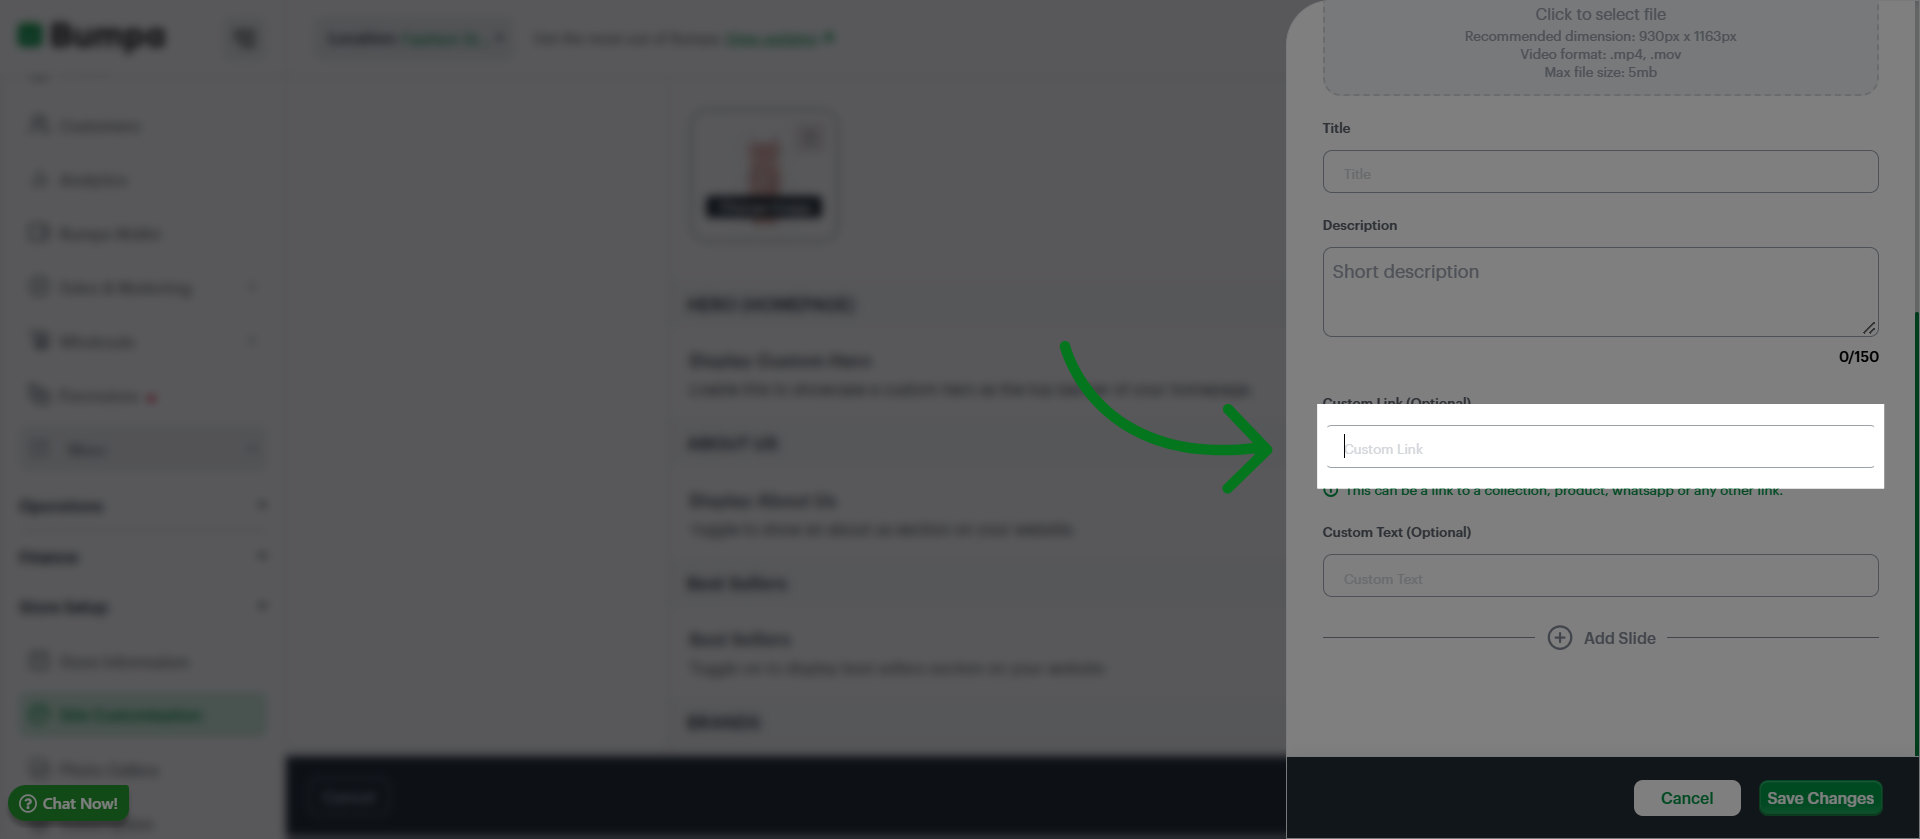
Click Custom Link to add a hyperlink associated with your website
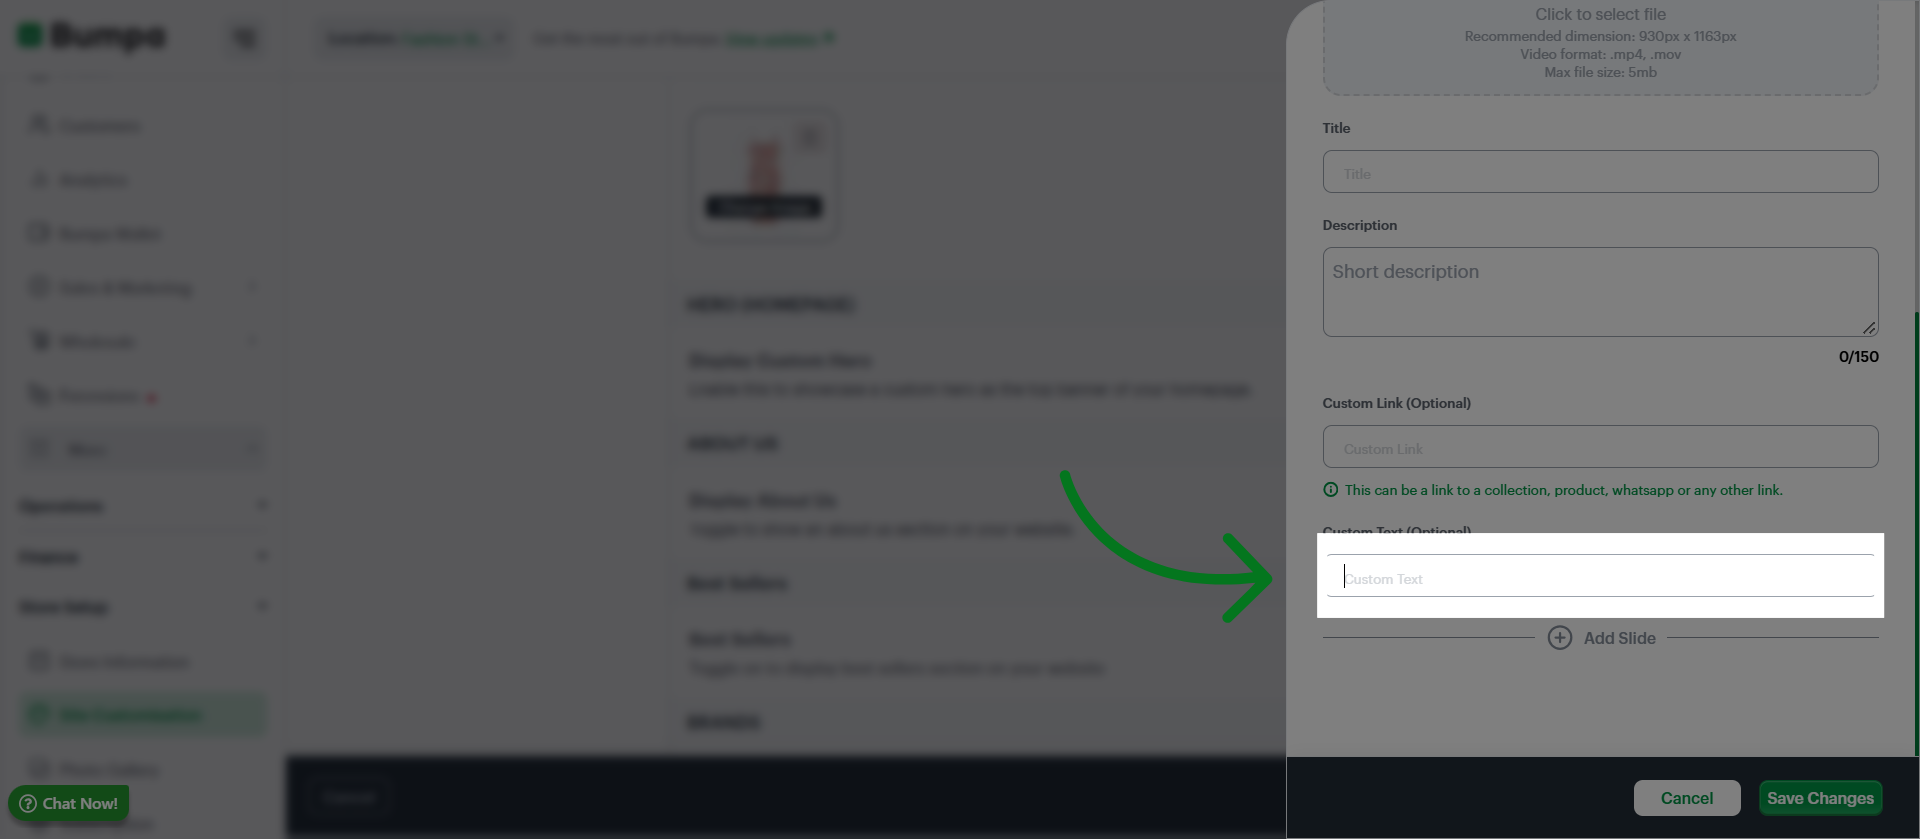
Click Custom Text to modify personalized text fields within your website layout.
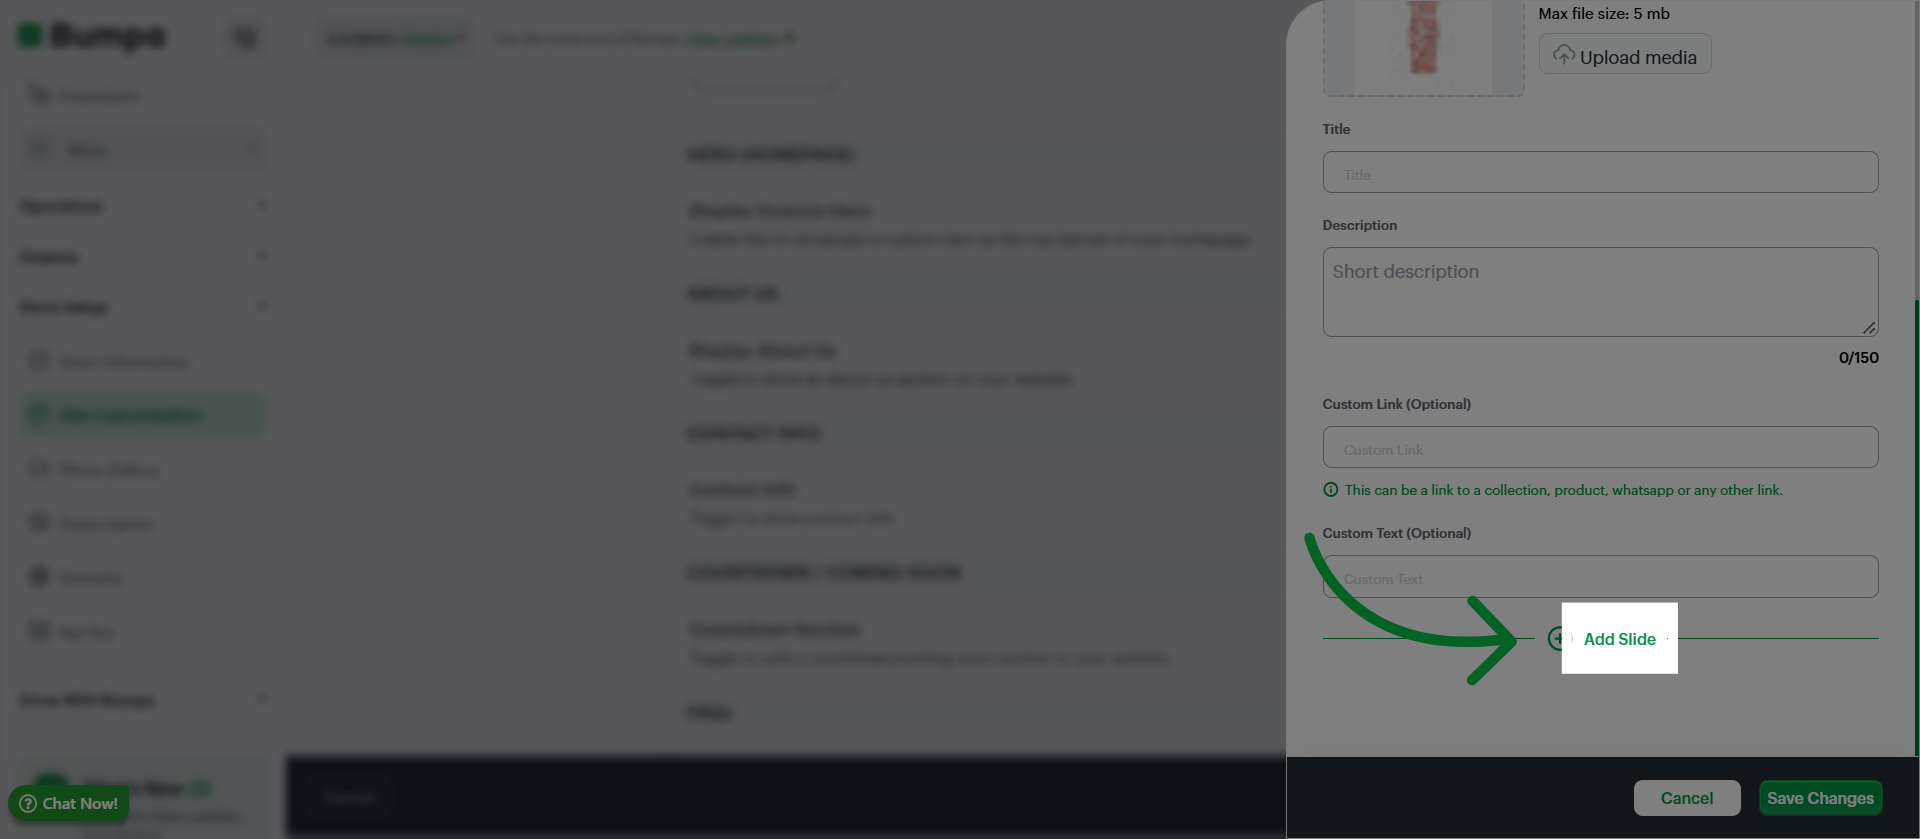
Click Add Slide to include additional slide(s) in your website's slideshow or carousel.
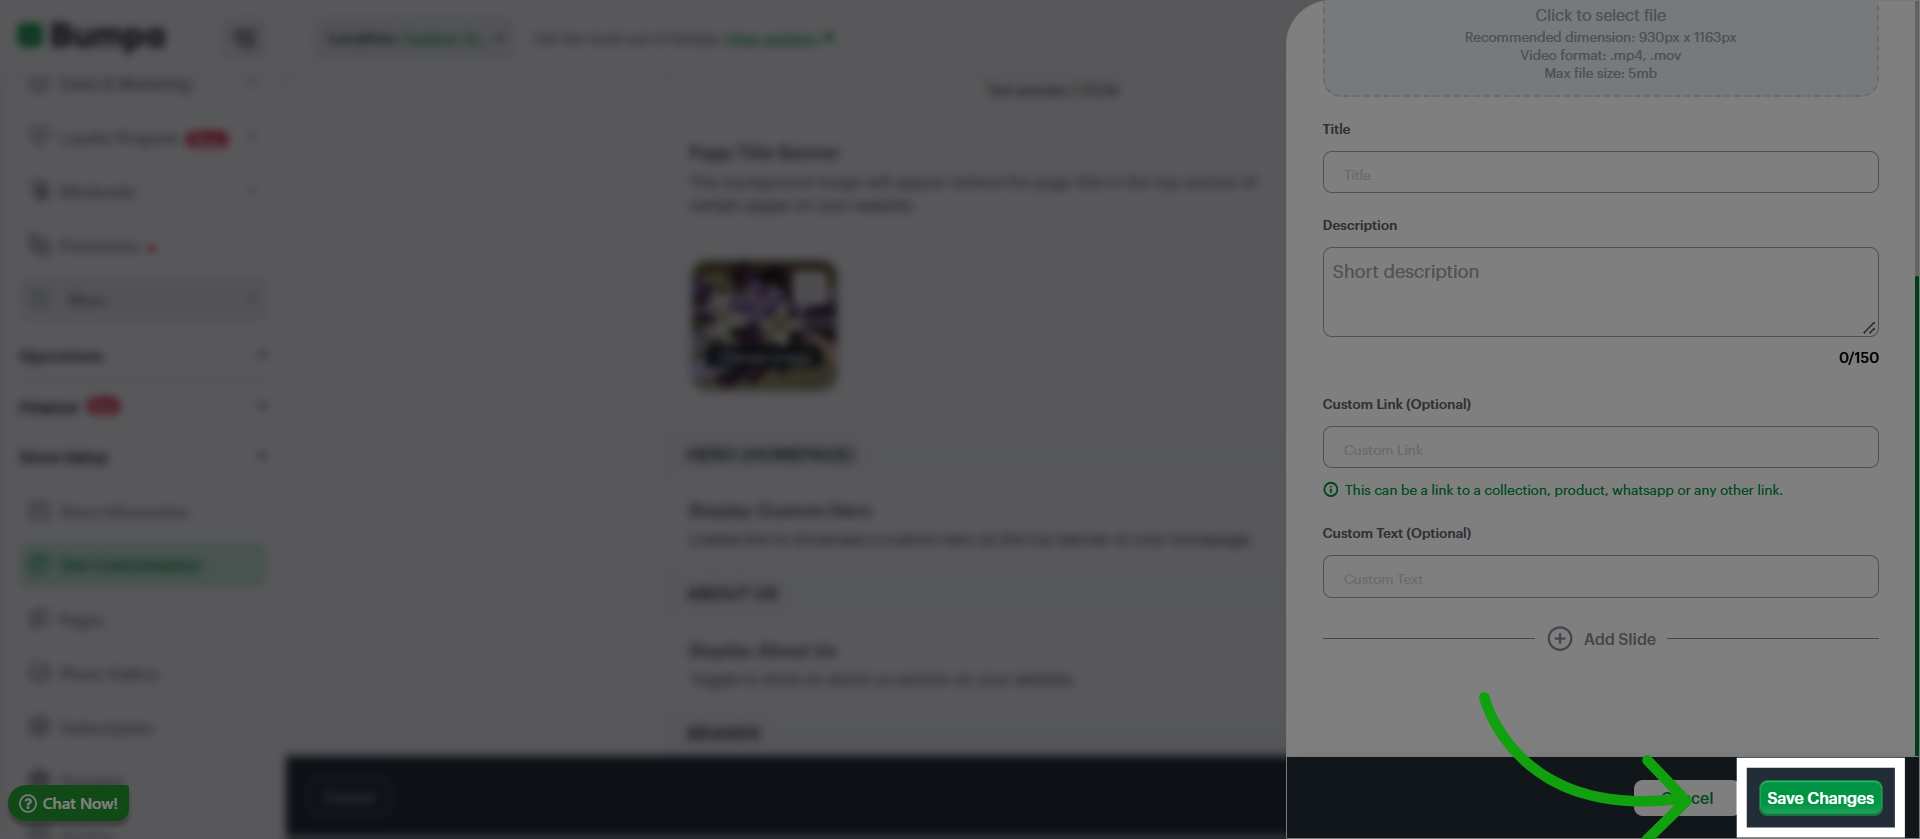
Click Save Changes to apply the modifications made
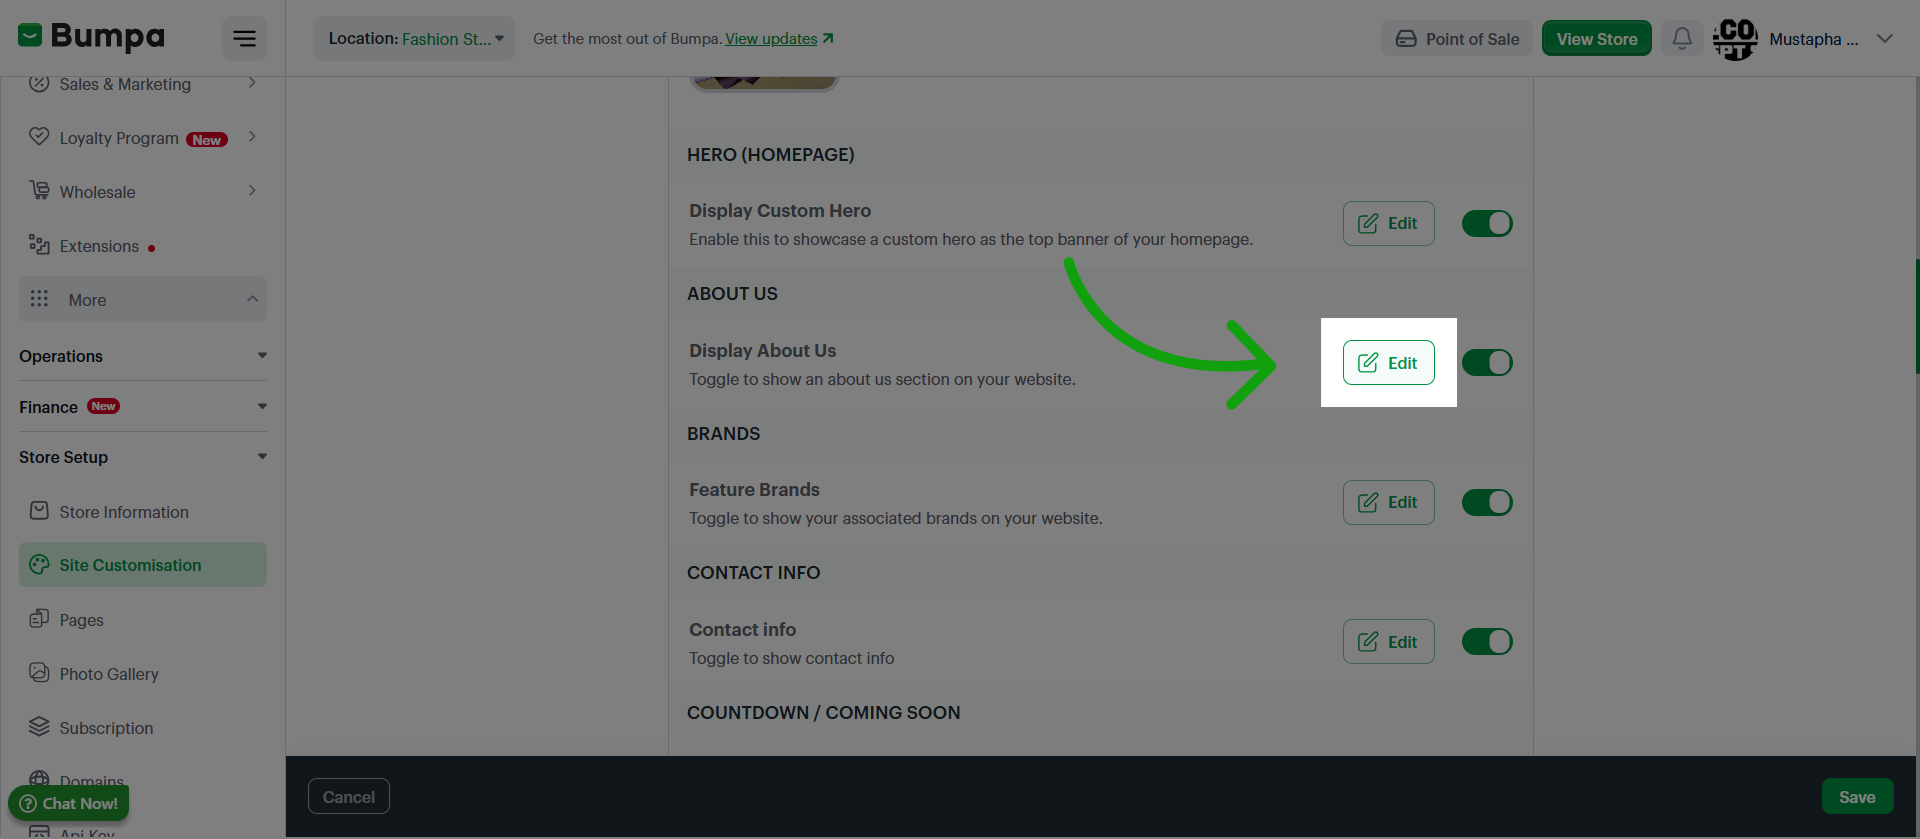
Toggle and Edit to Add an About Us Page to your website
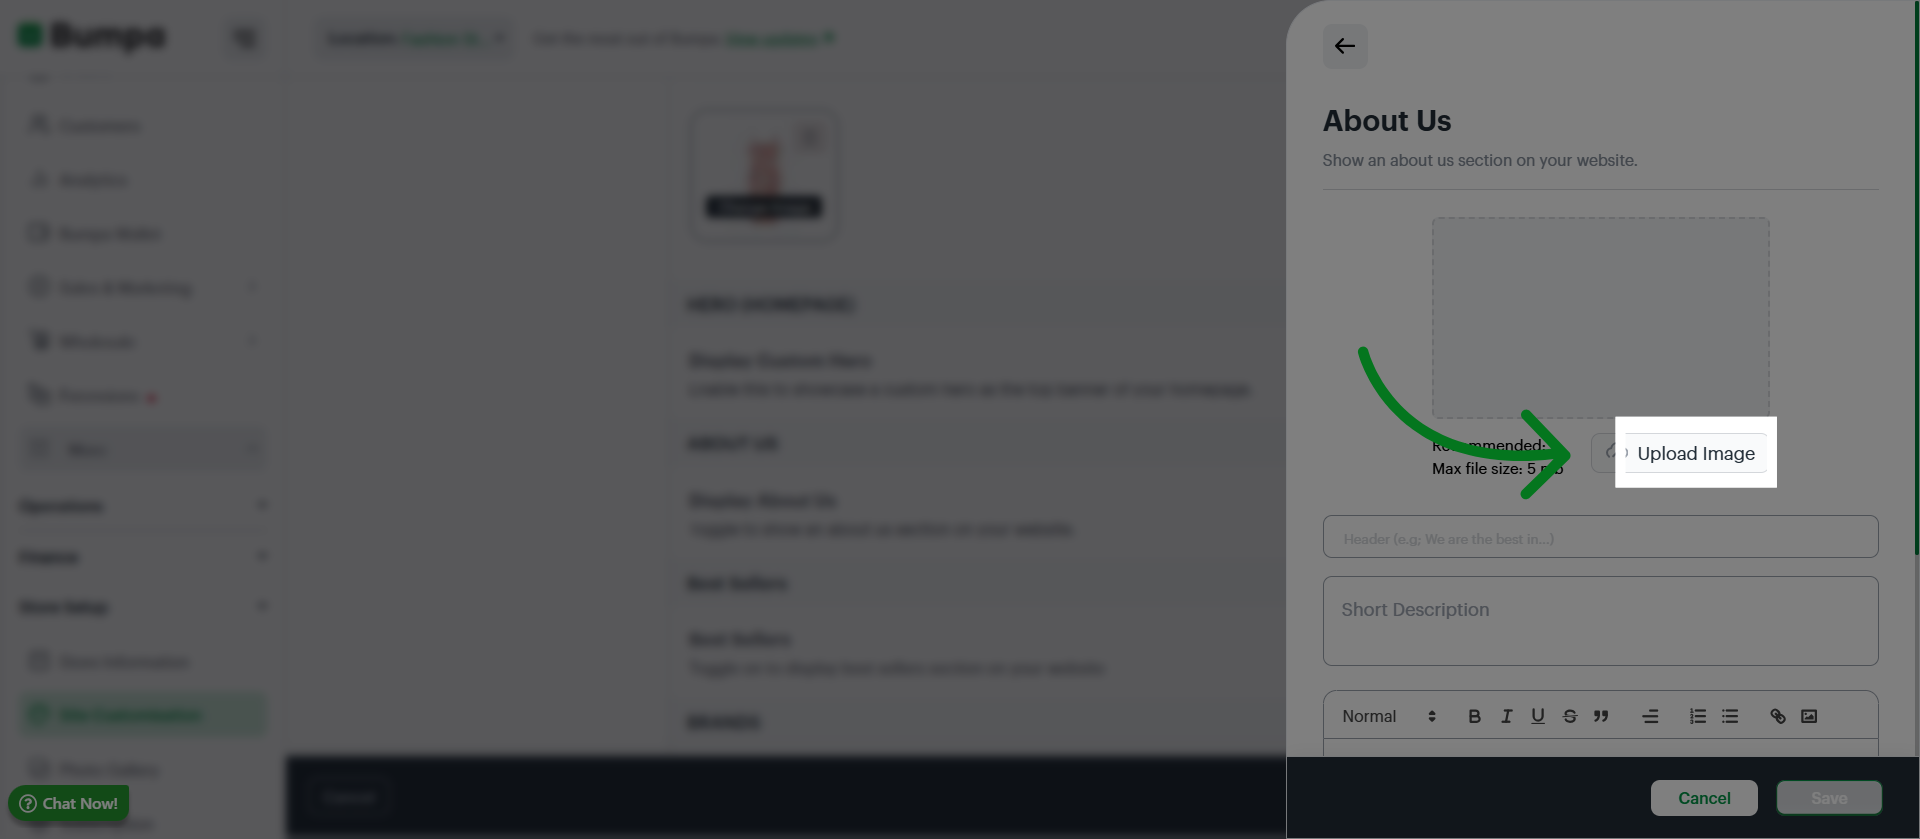
Click Upload Image to add an image to your About us page
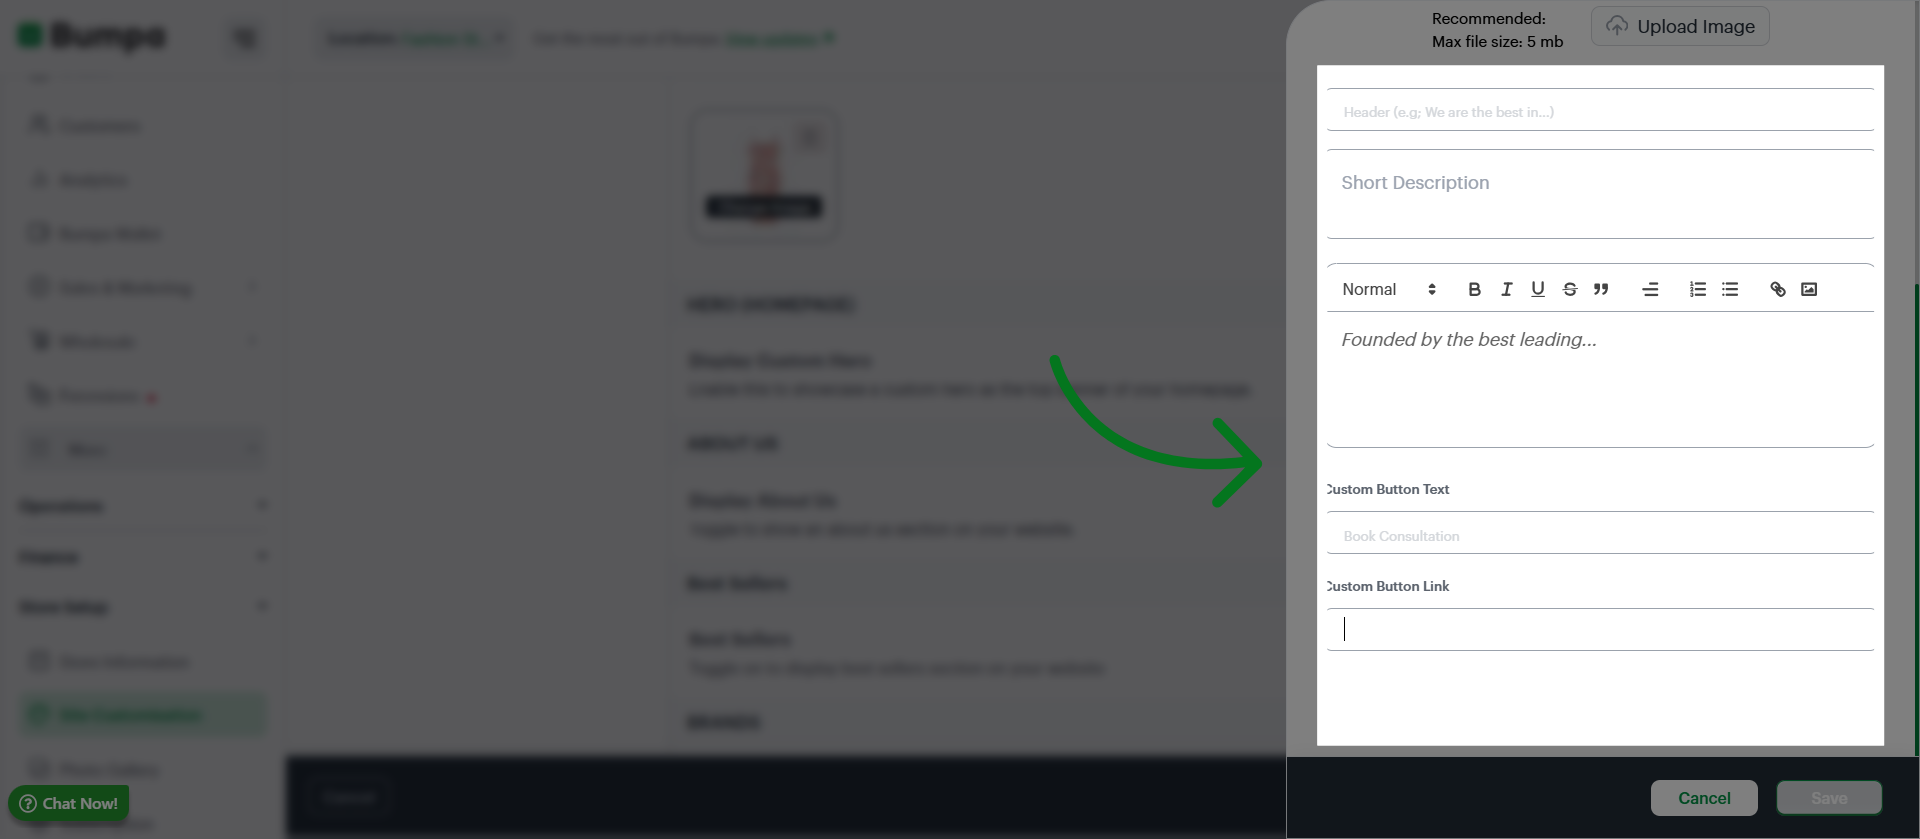
Input a title, descriptions and custom link to your About us page
Click Save to save your About us details
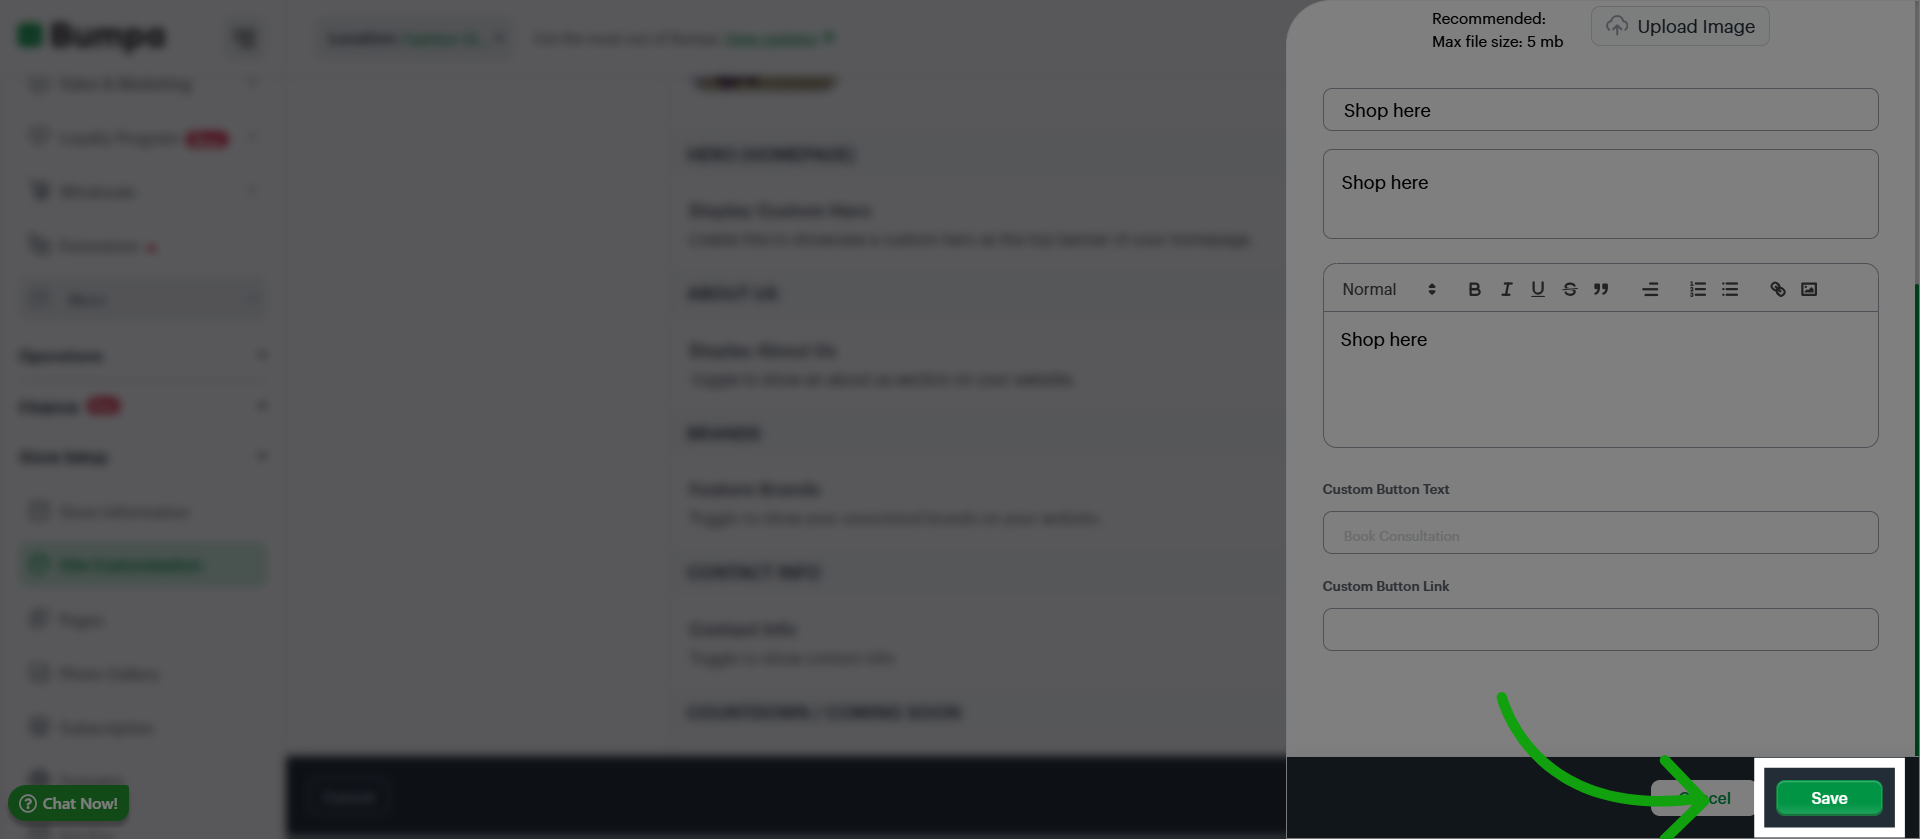
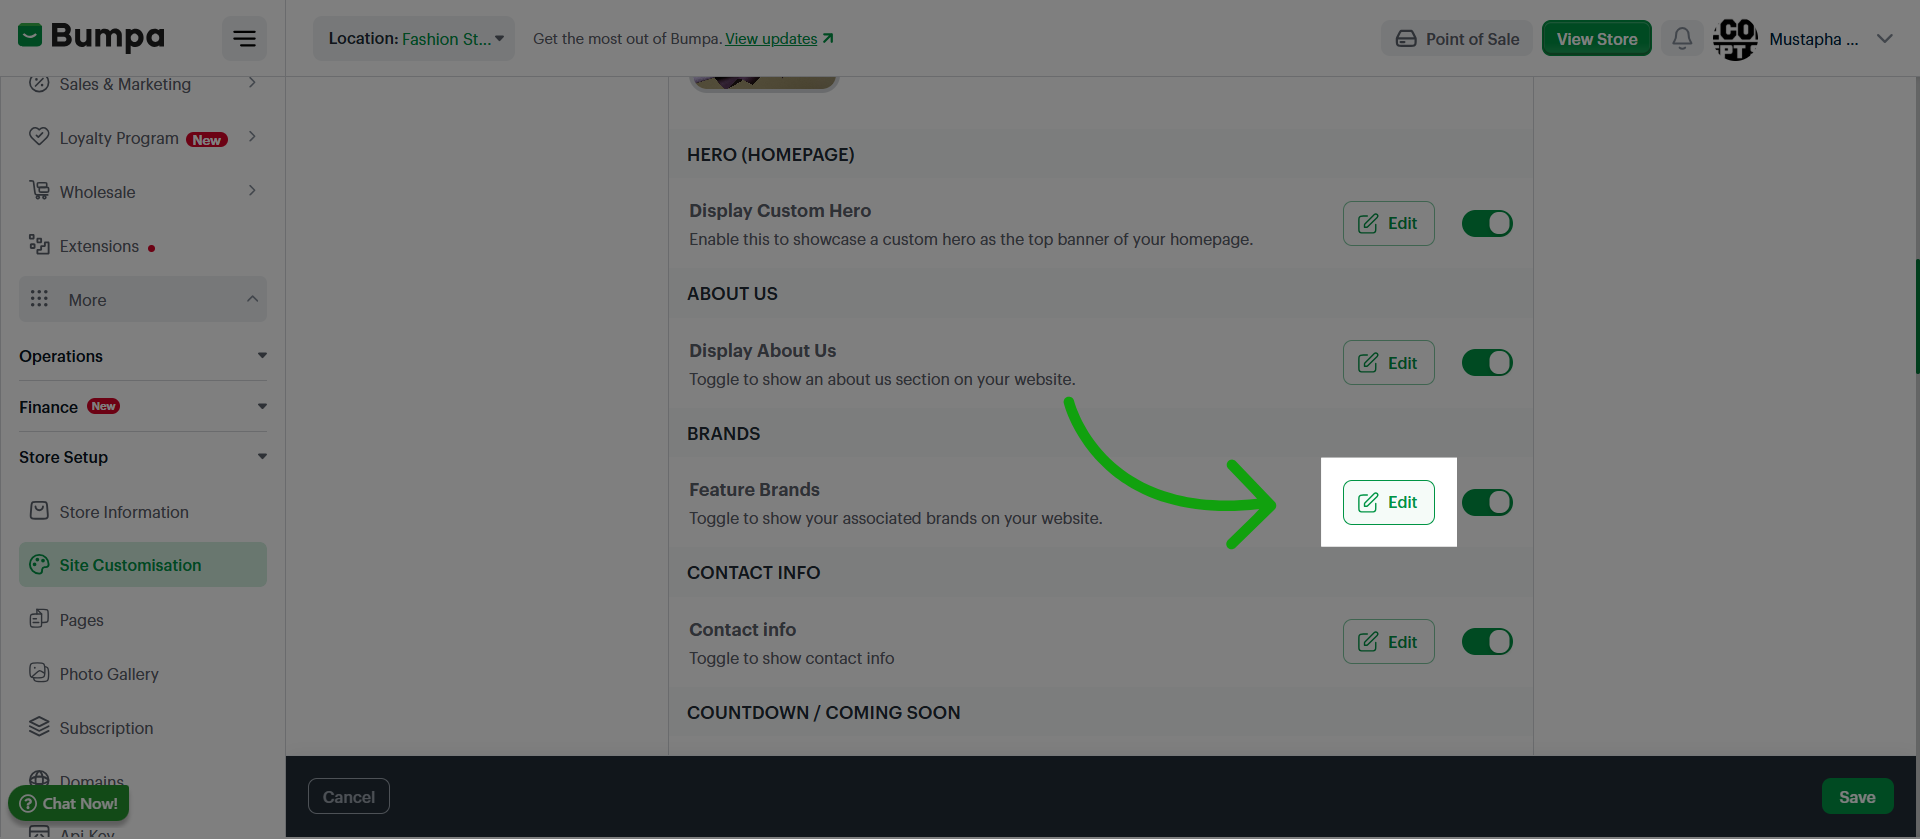
Toggle and click on Edit to set up a featured brands section on your website.
Note: Featured brands can be created using the featured brands extension. This extension is free on the scale plan and can be purchased on other plans
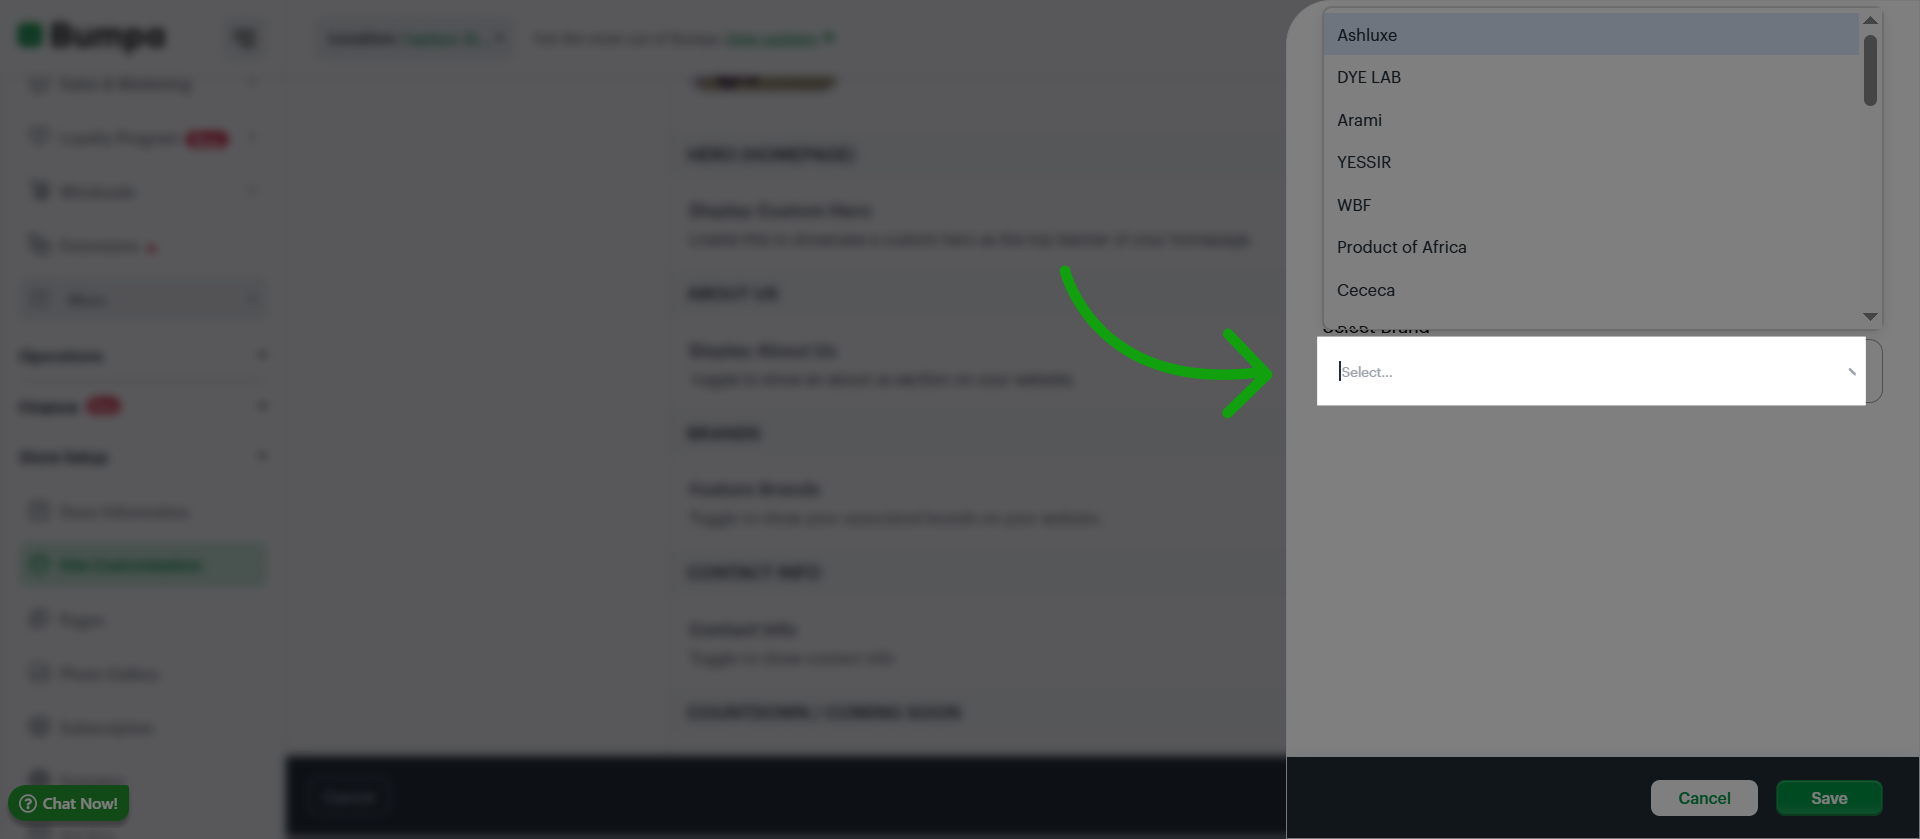
Select the brands you would like to be featured on your website
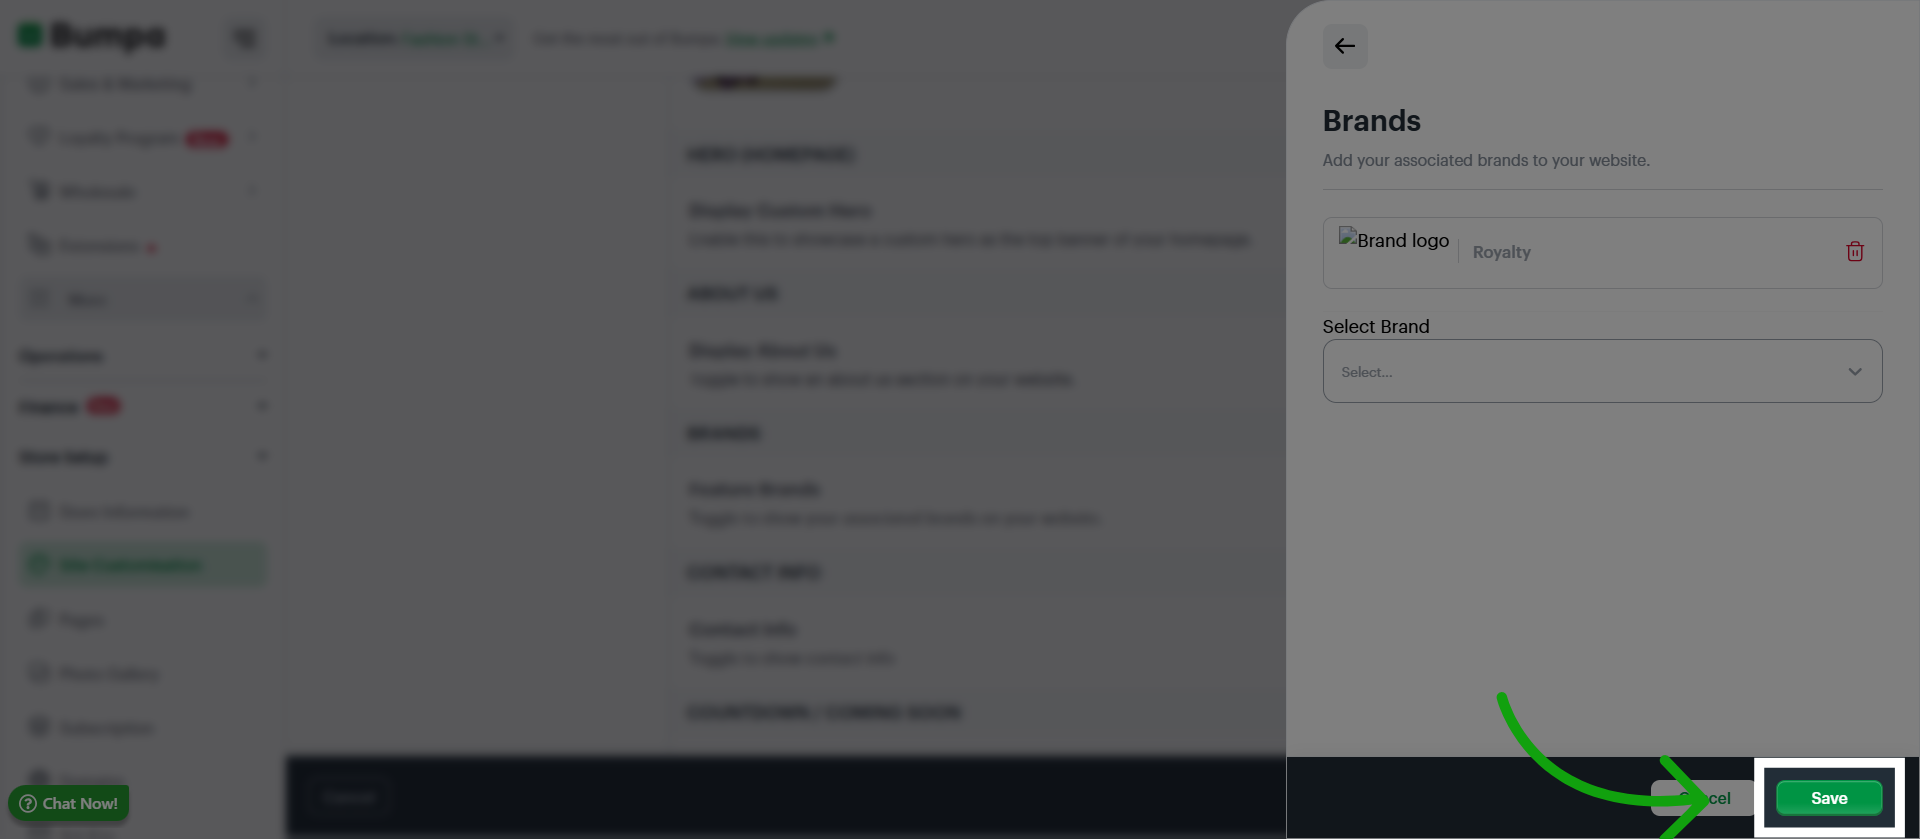
Click Save to apply and save the additional changes made to your store settings.
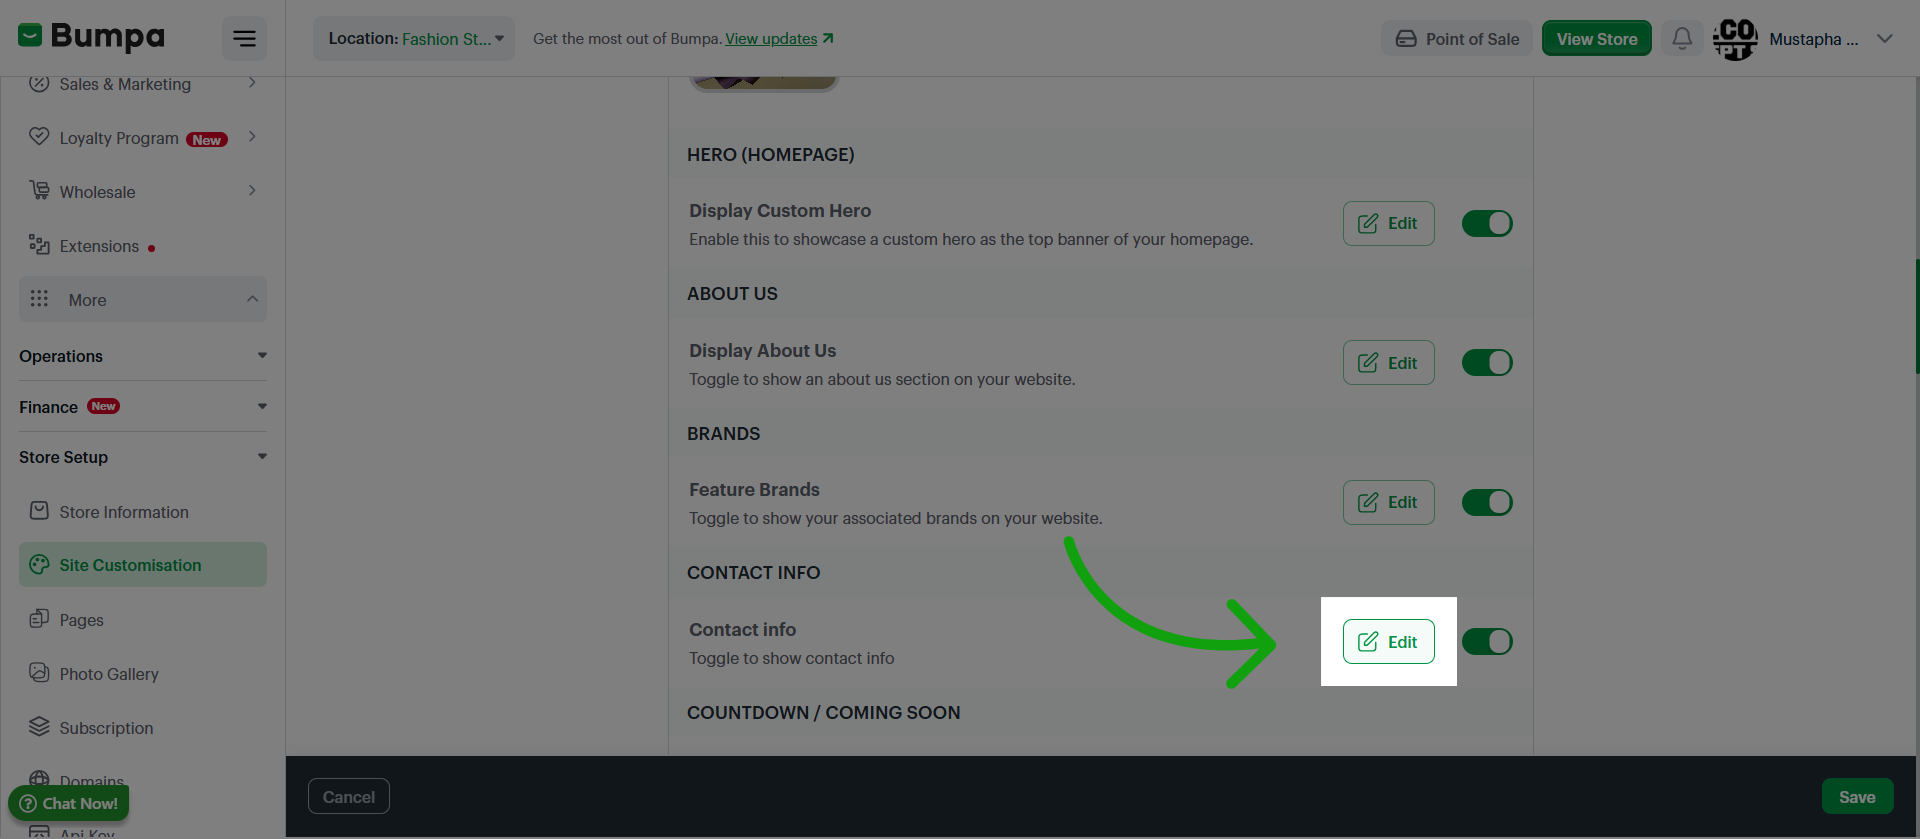
Click Edit to access and modify your contact information on the website
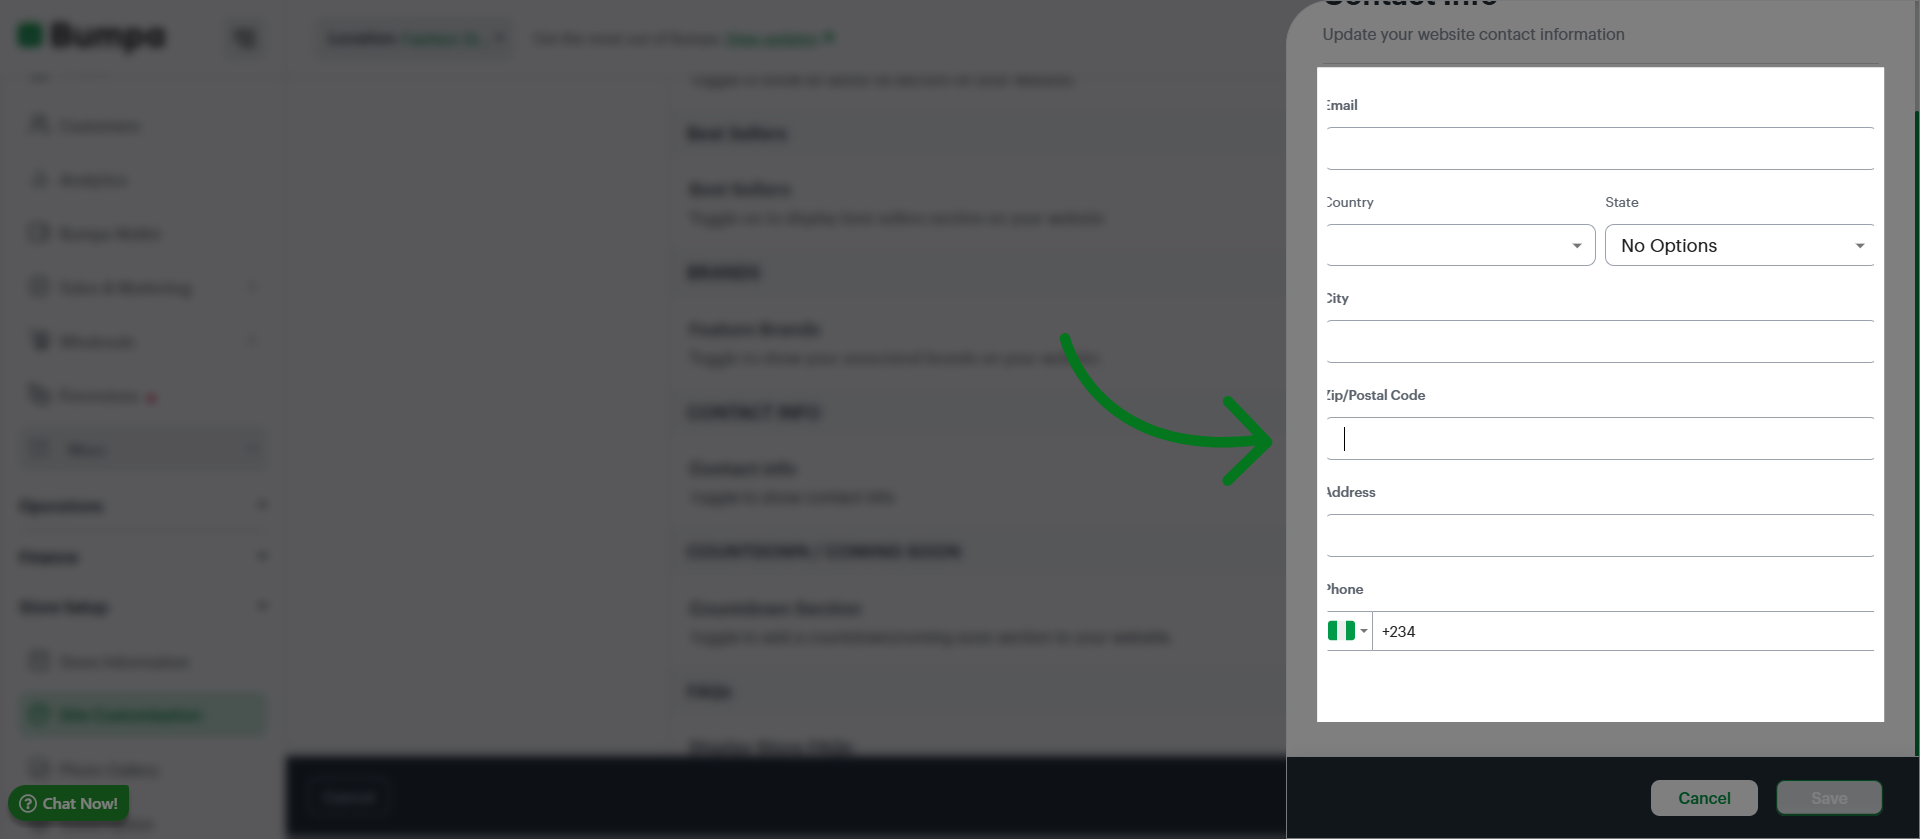
Input all necessary information
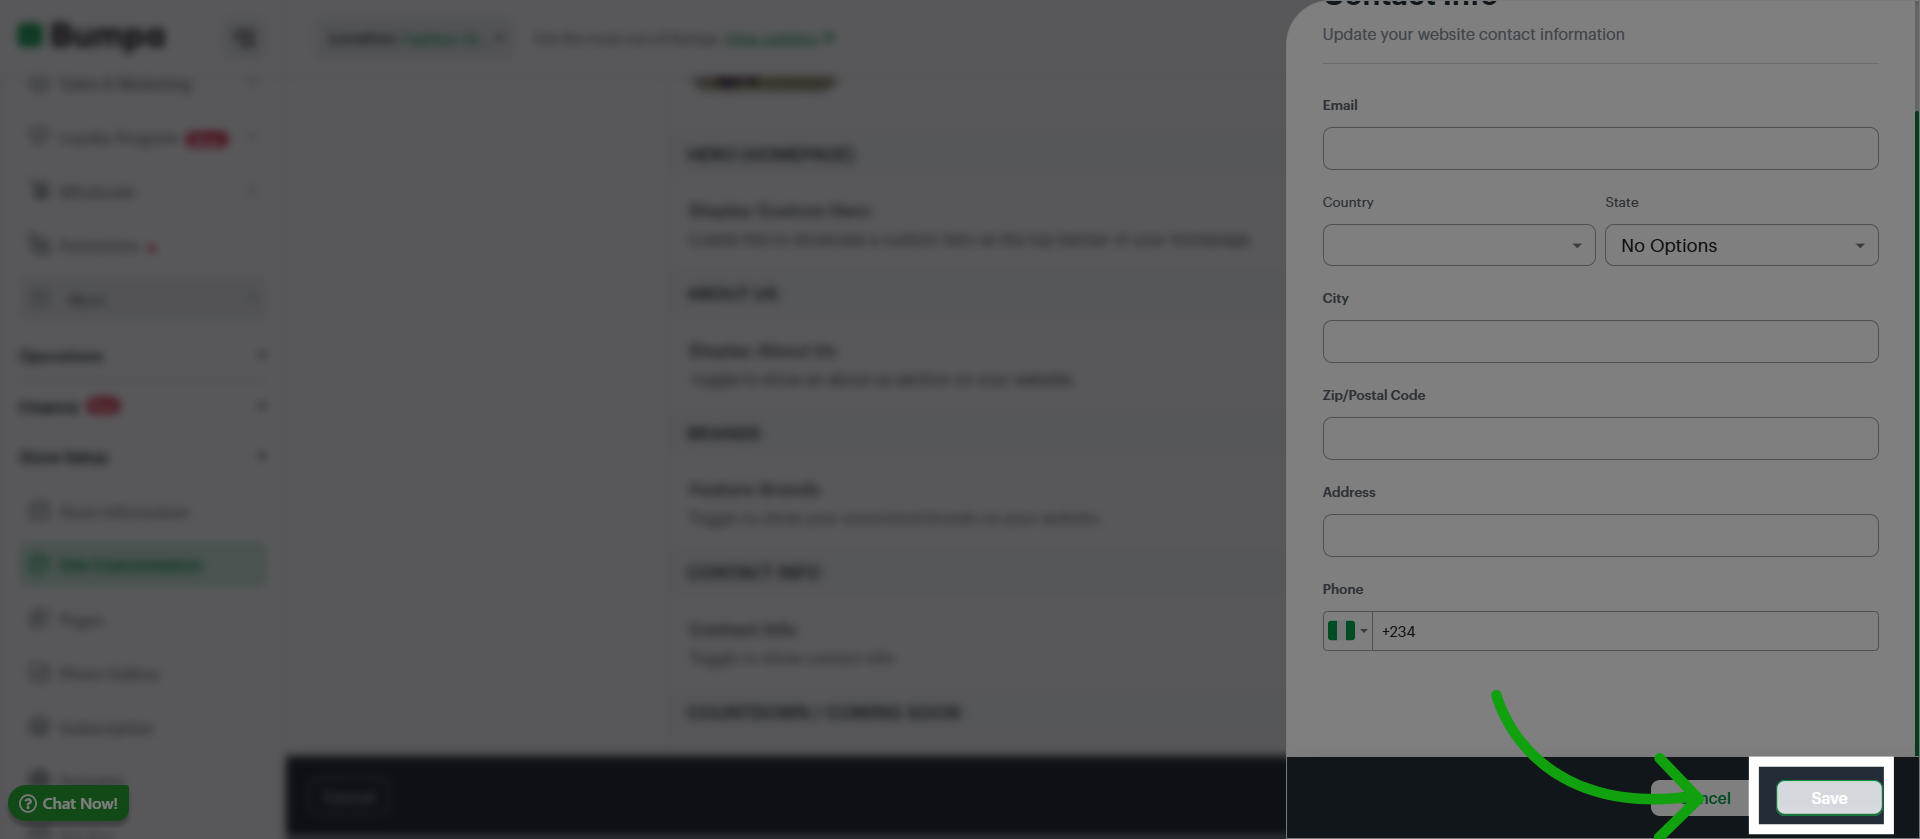
Click Save
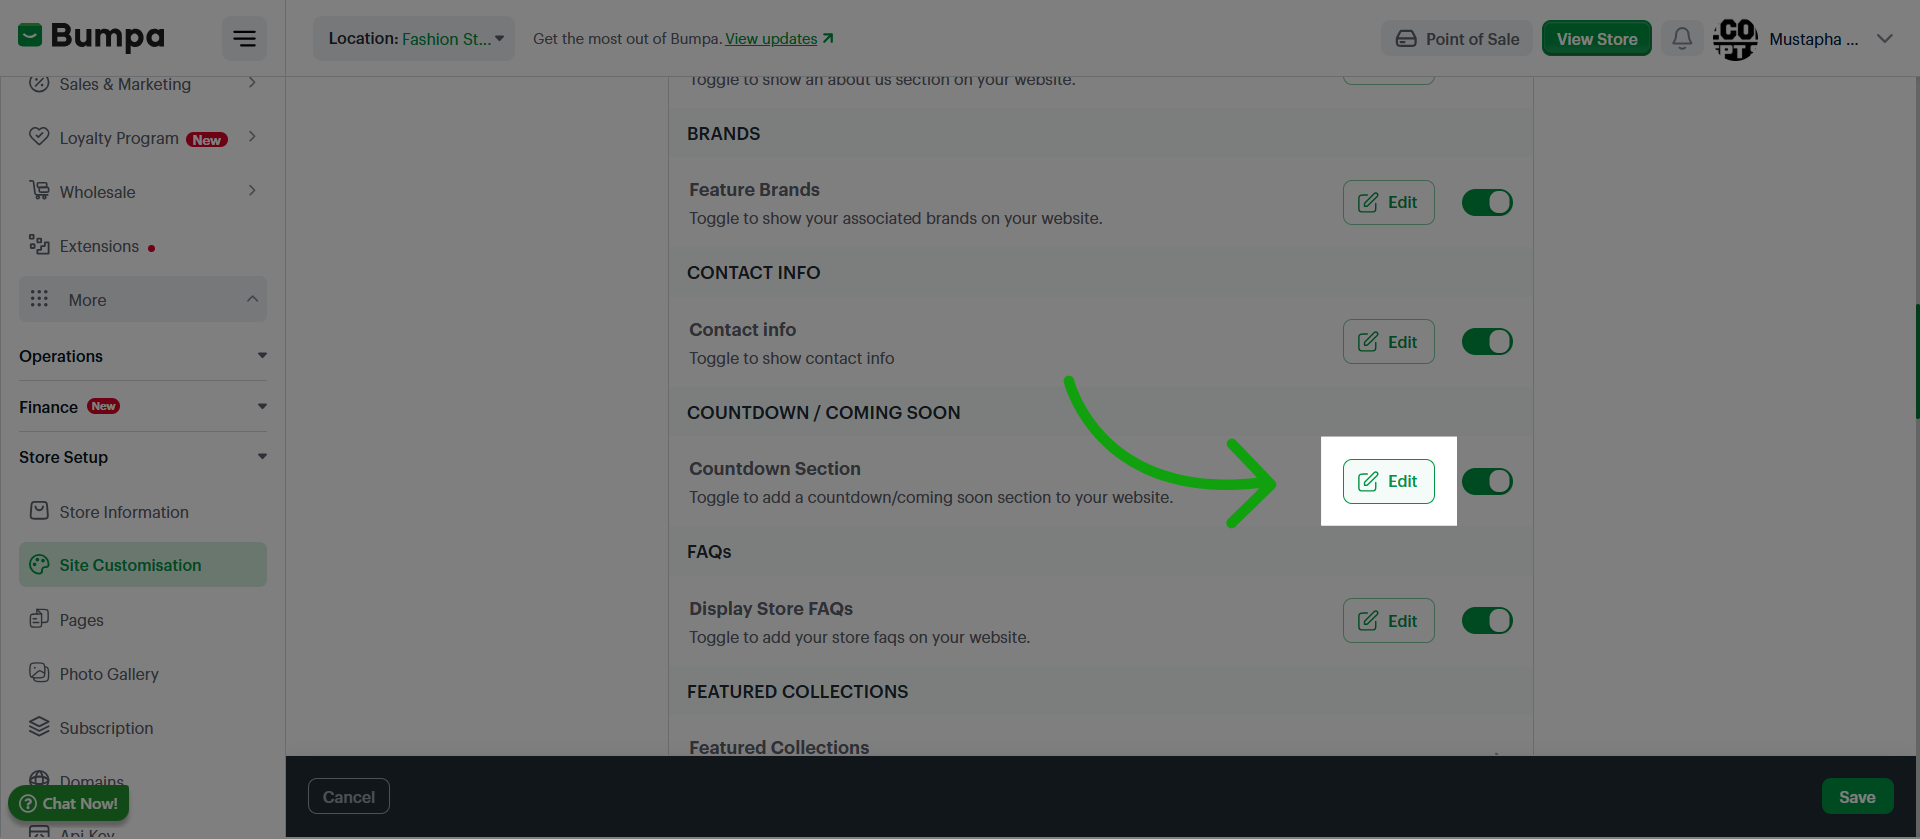
Click Edit to add a Countdown promotional banner to your website
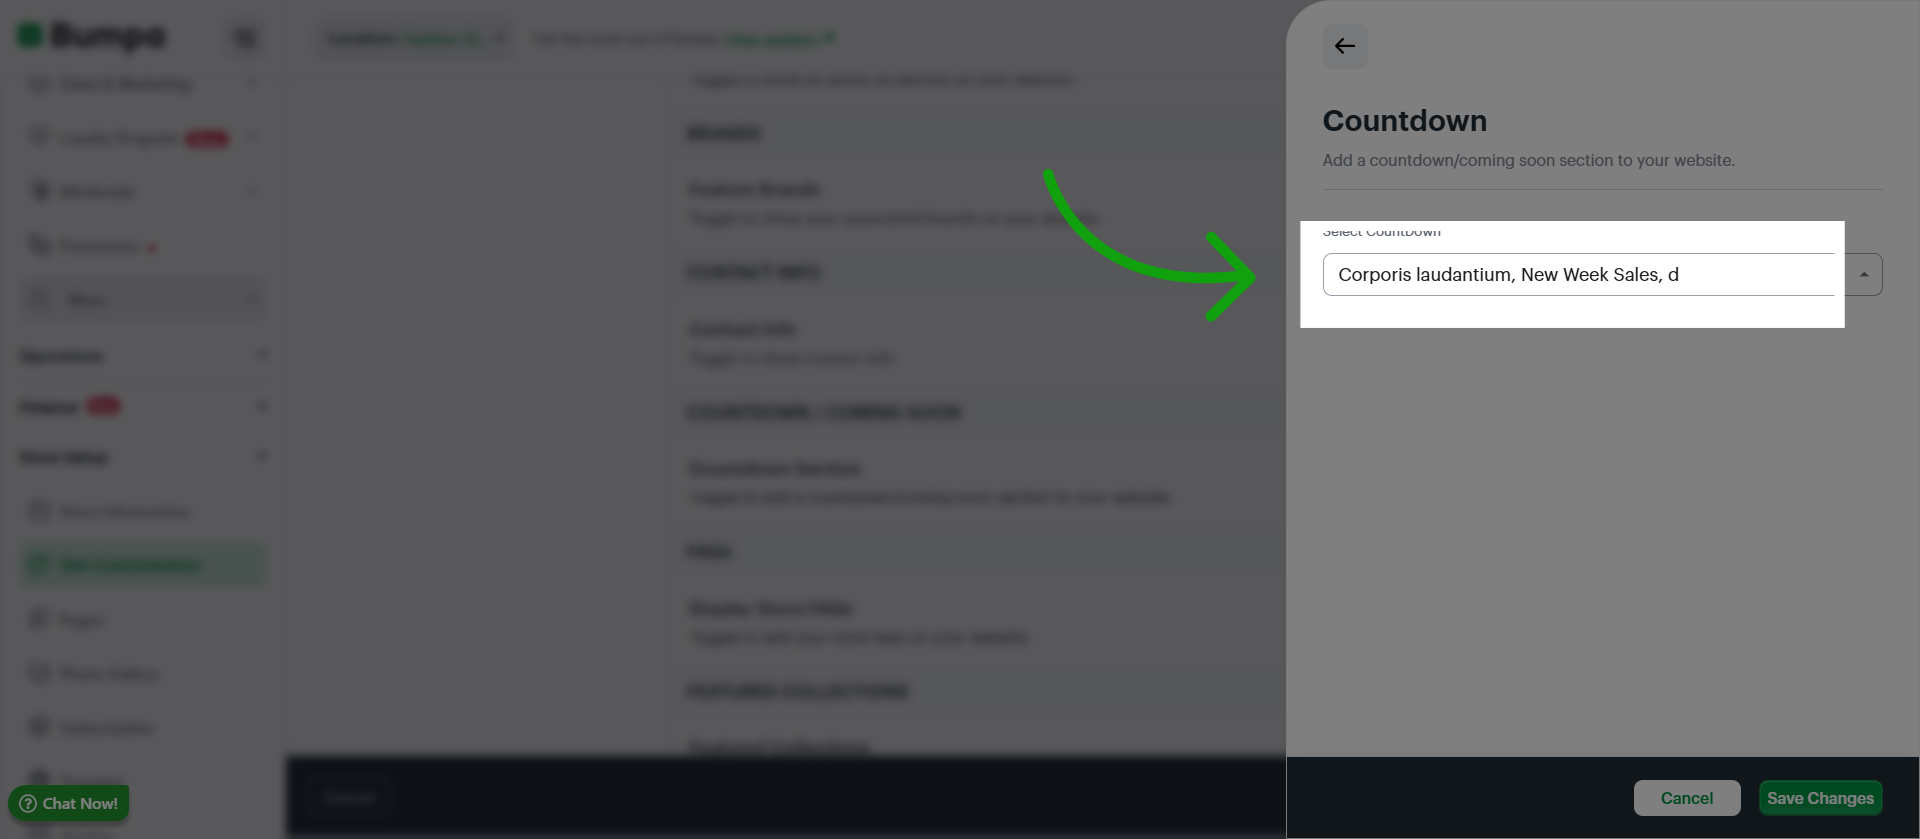
Select the countdown you would like to display
Note: You can create countdowns using the Countdown Extension. This is available to all plans except the Starter plan
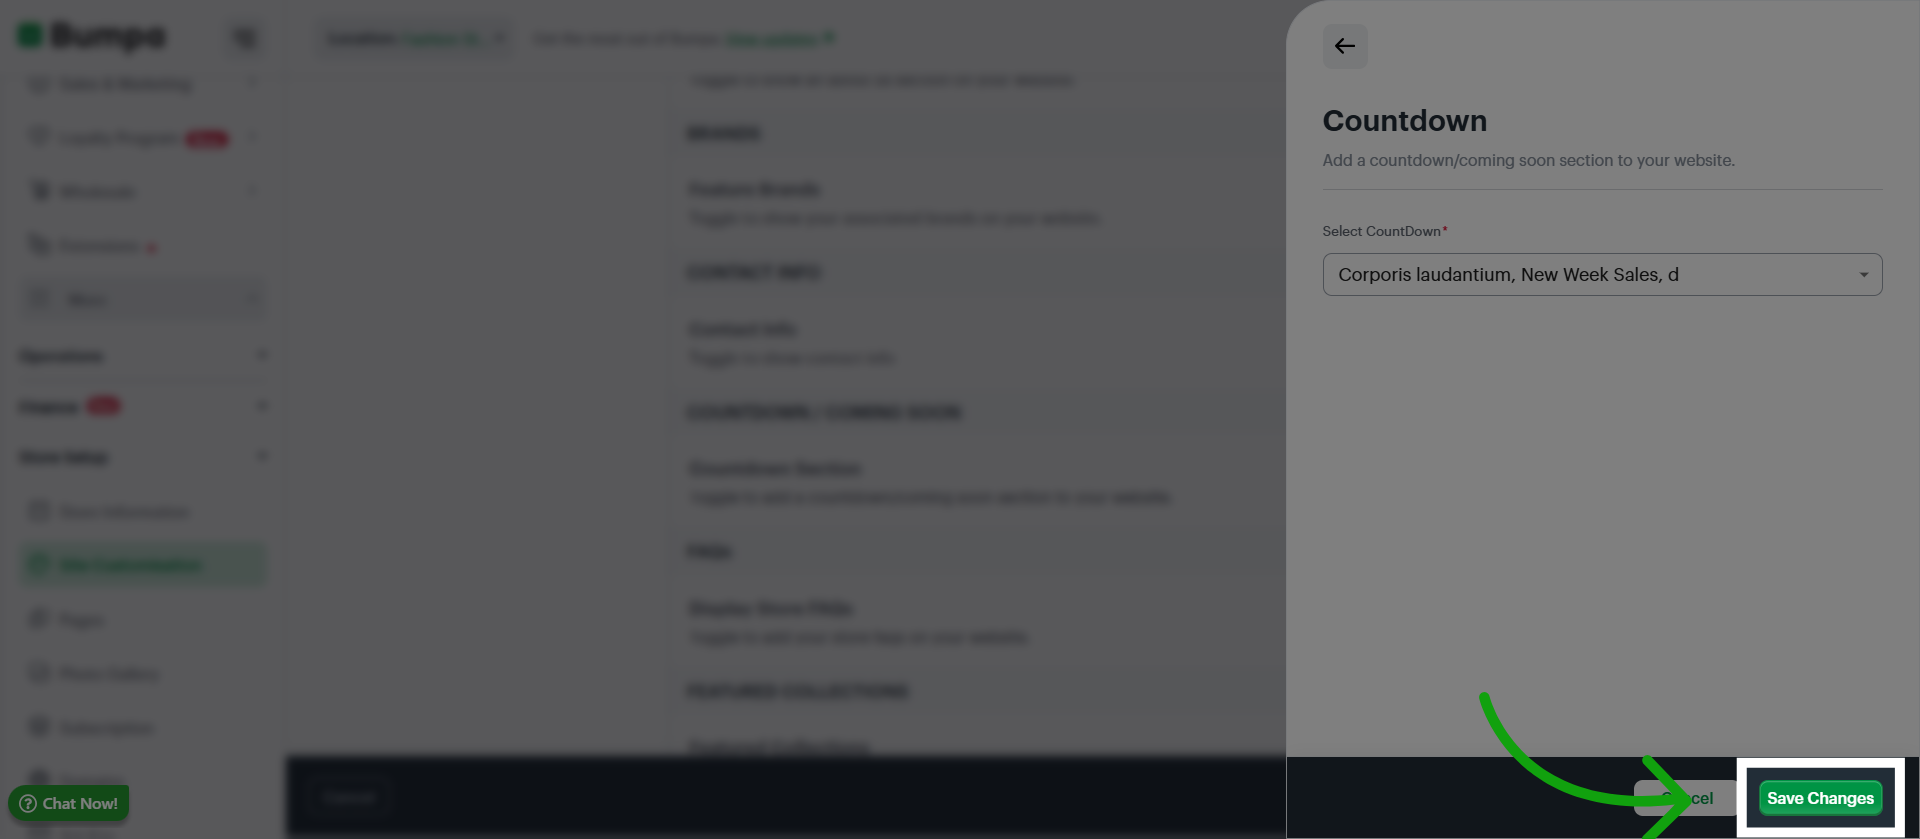
Click Save Changes to apply the countdown feature to your website
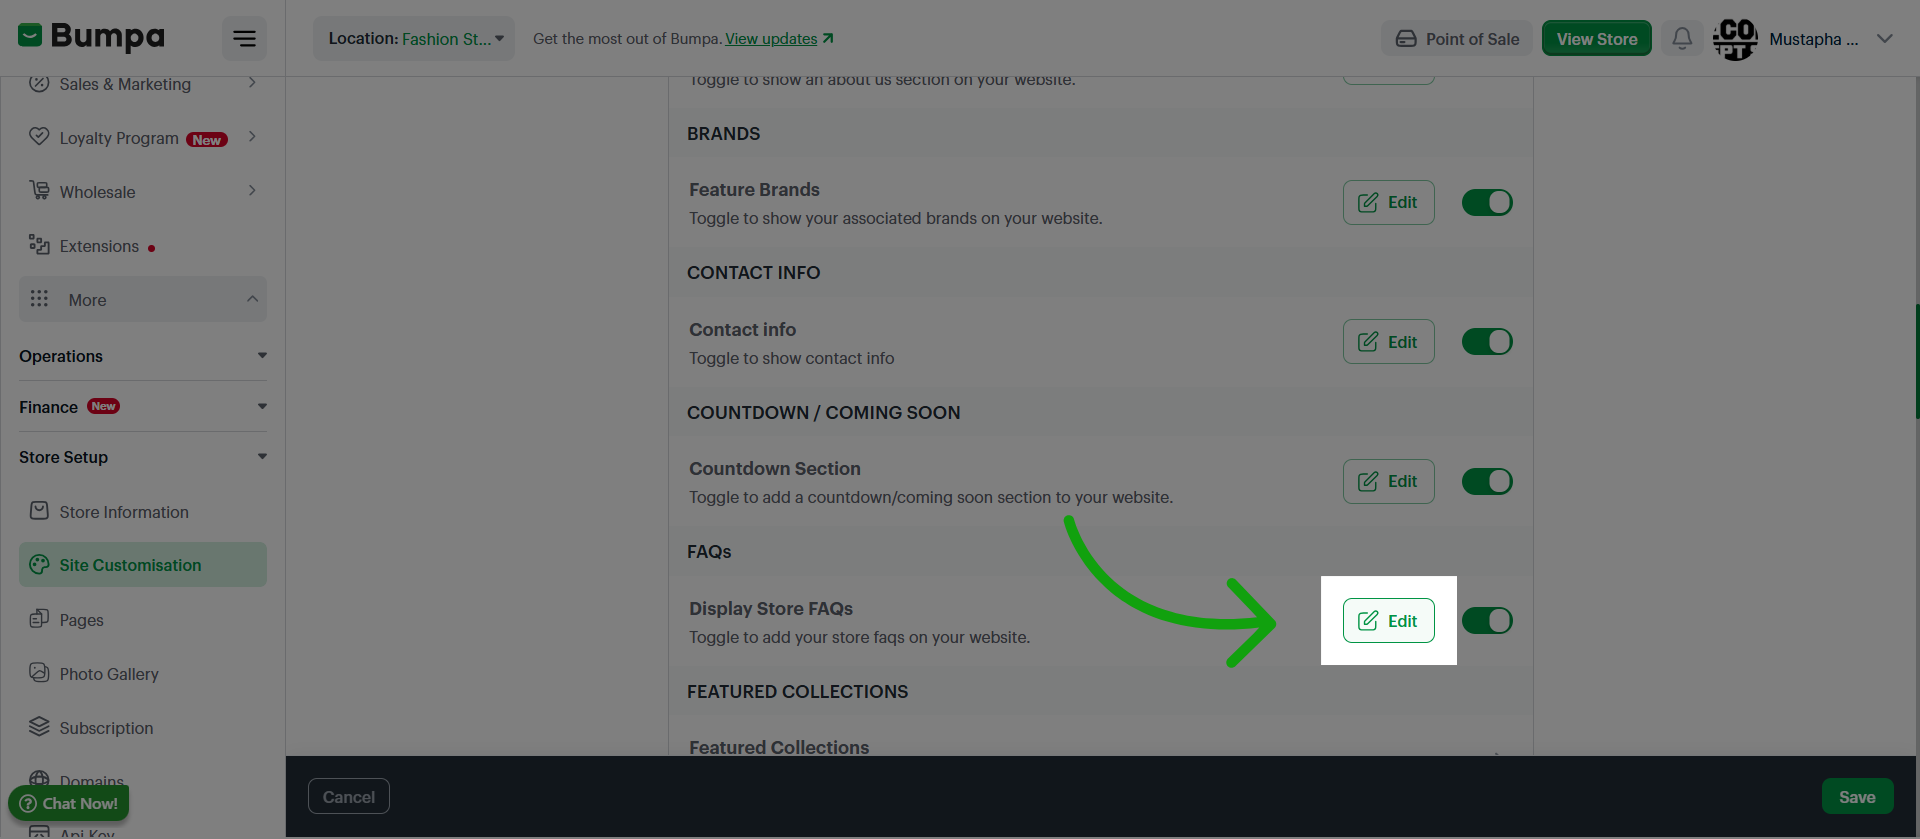
Click Edit to access and modify the Frequently Asked Questions section of your store's website.
Input the question(s) and answer(s) for your website's FAQ section.
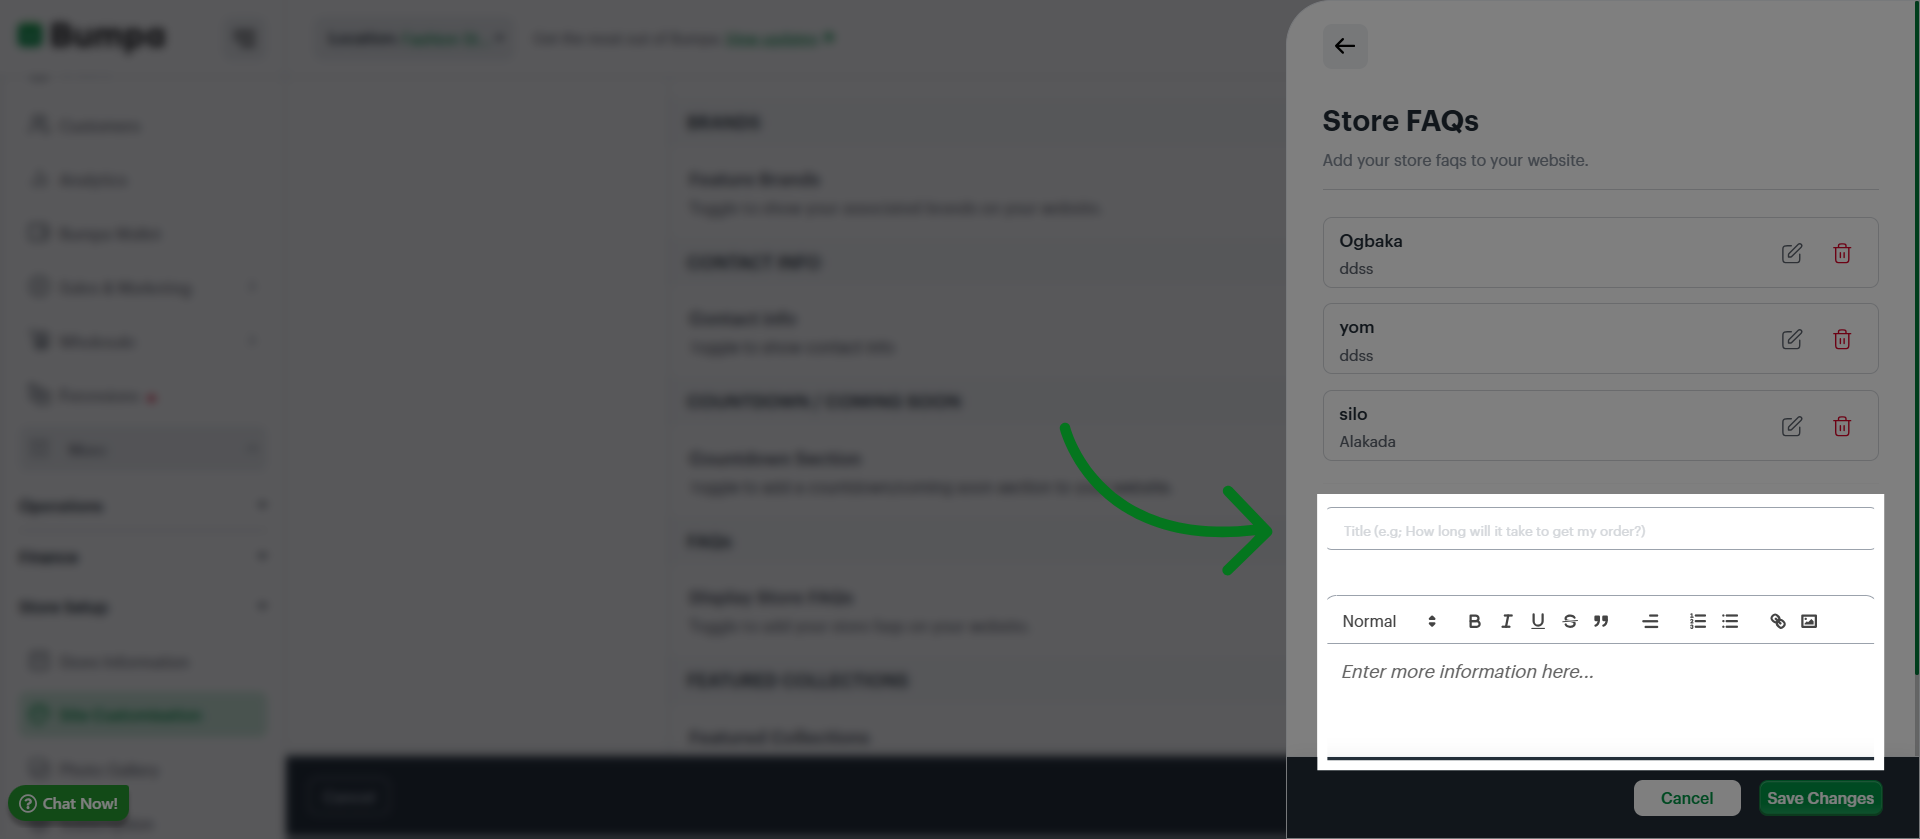
Click Add Faq to include a new question and answer in your website's FAQ section.
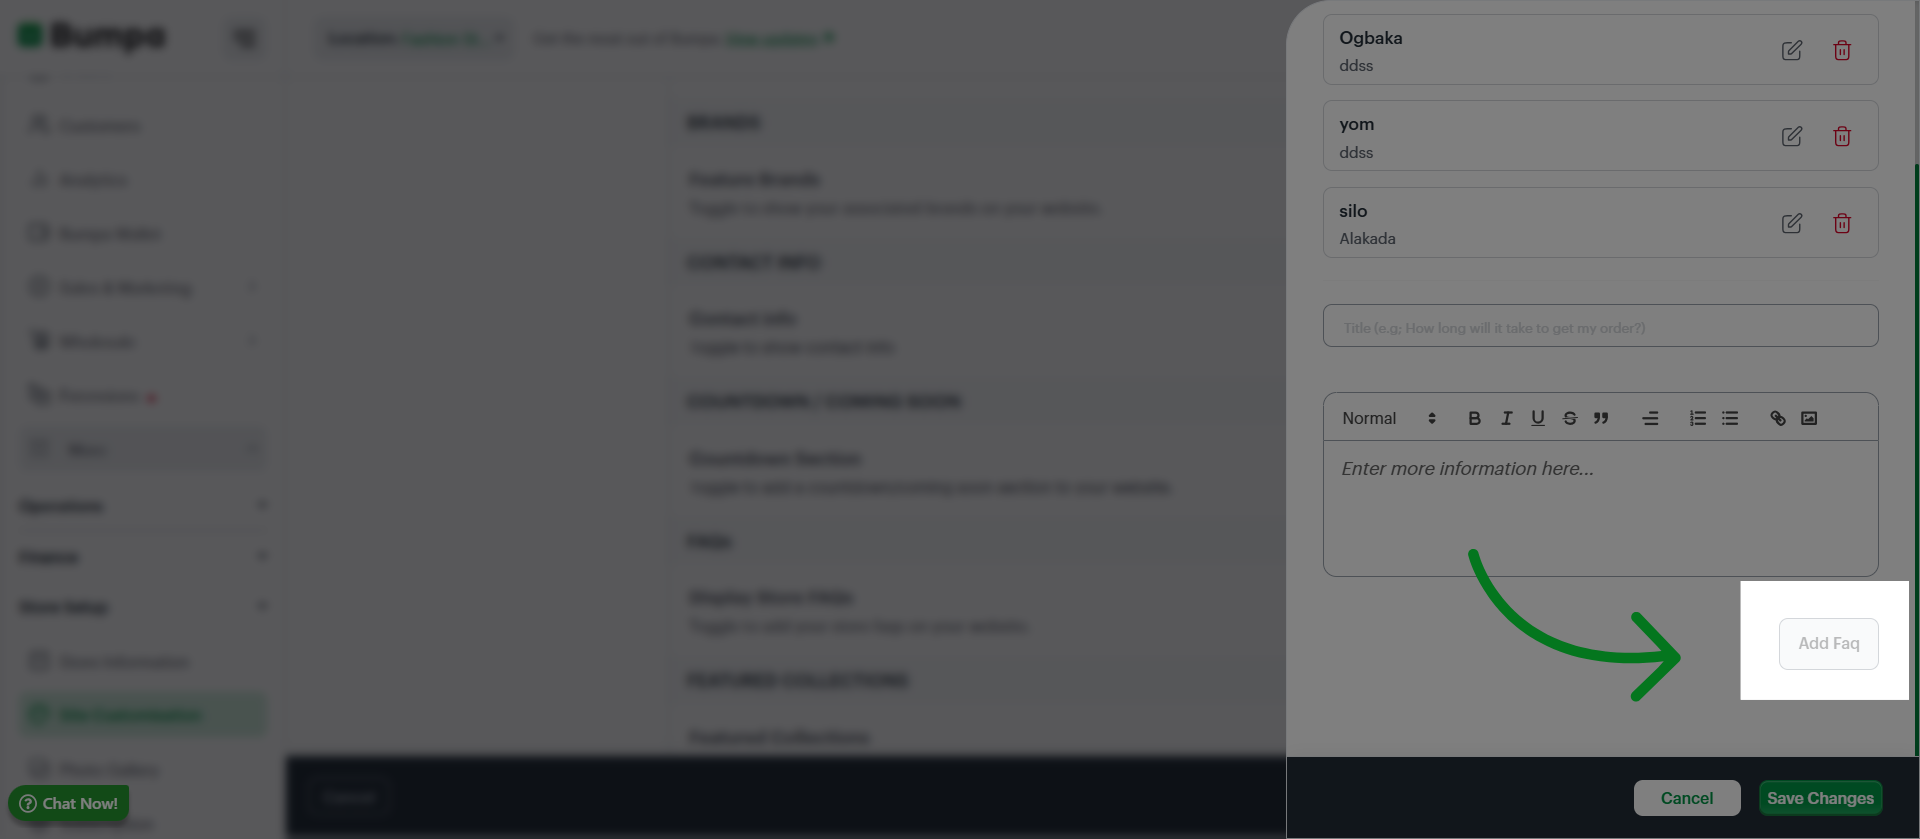
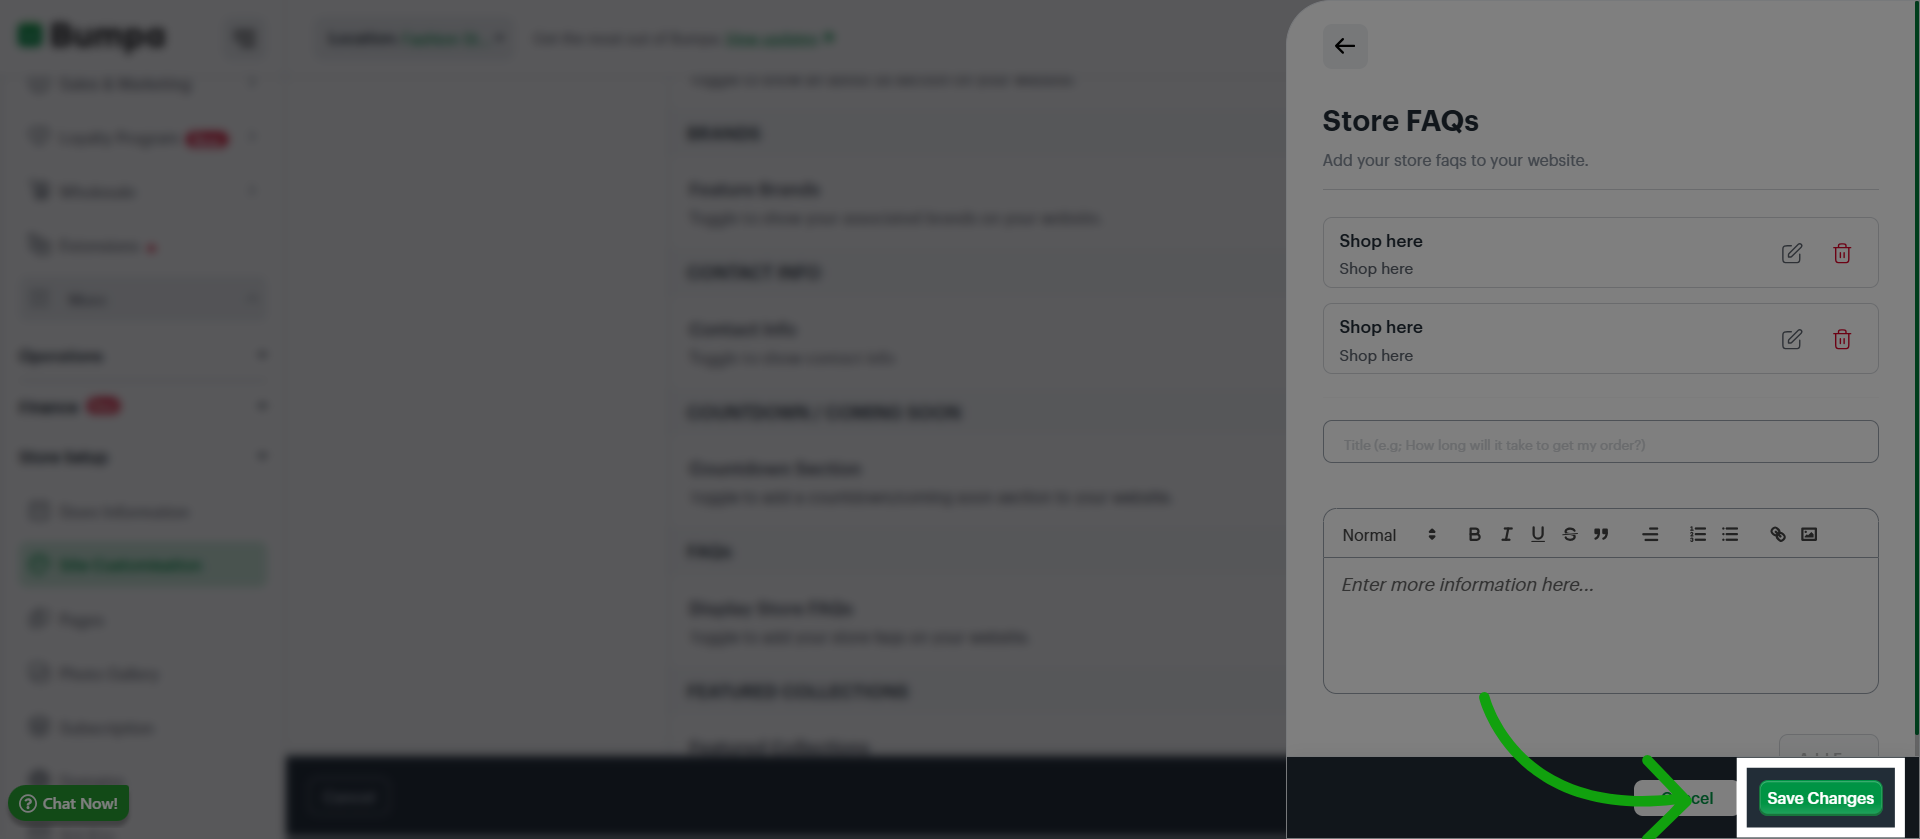
Click Save Changes to apply updates made to your FAQ section on the website.
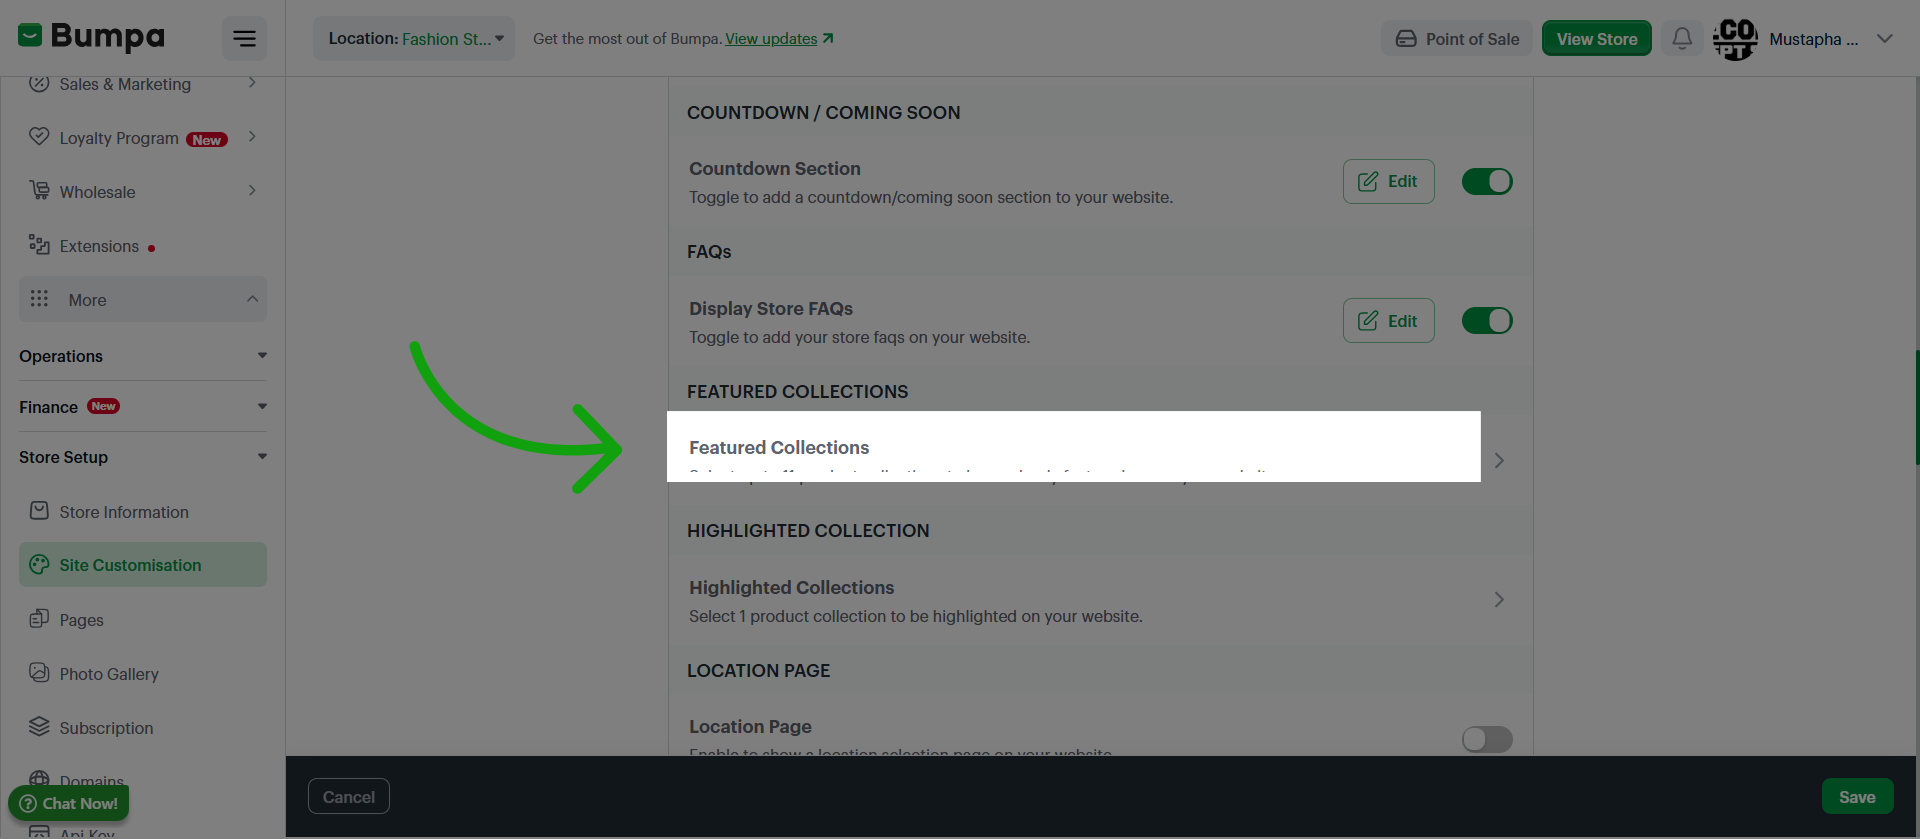
Click Featured Collections to feature up to 11 products across your website randomly.
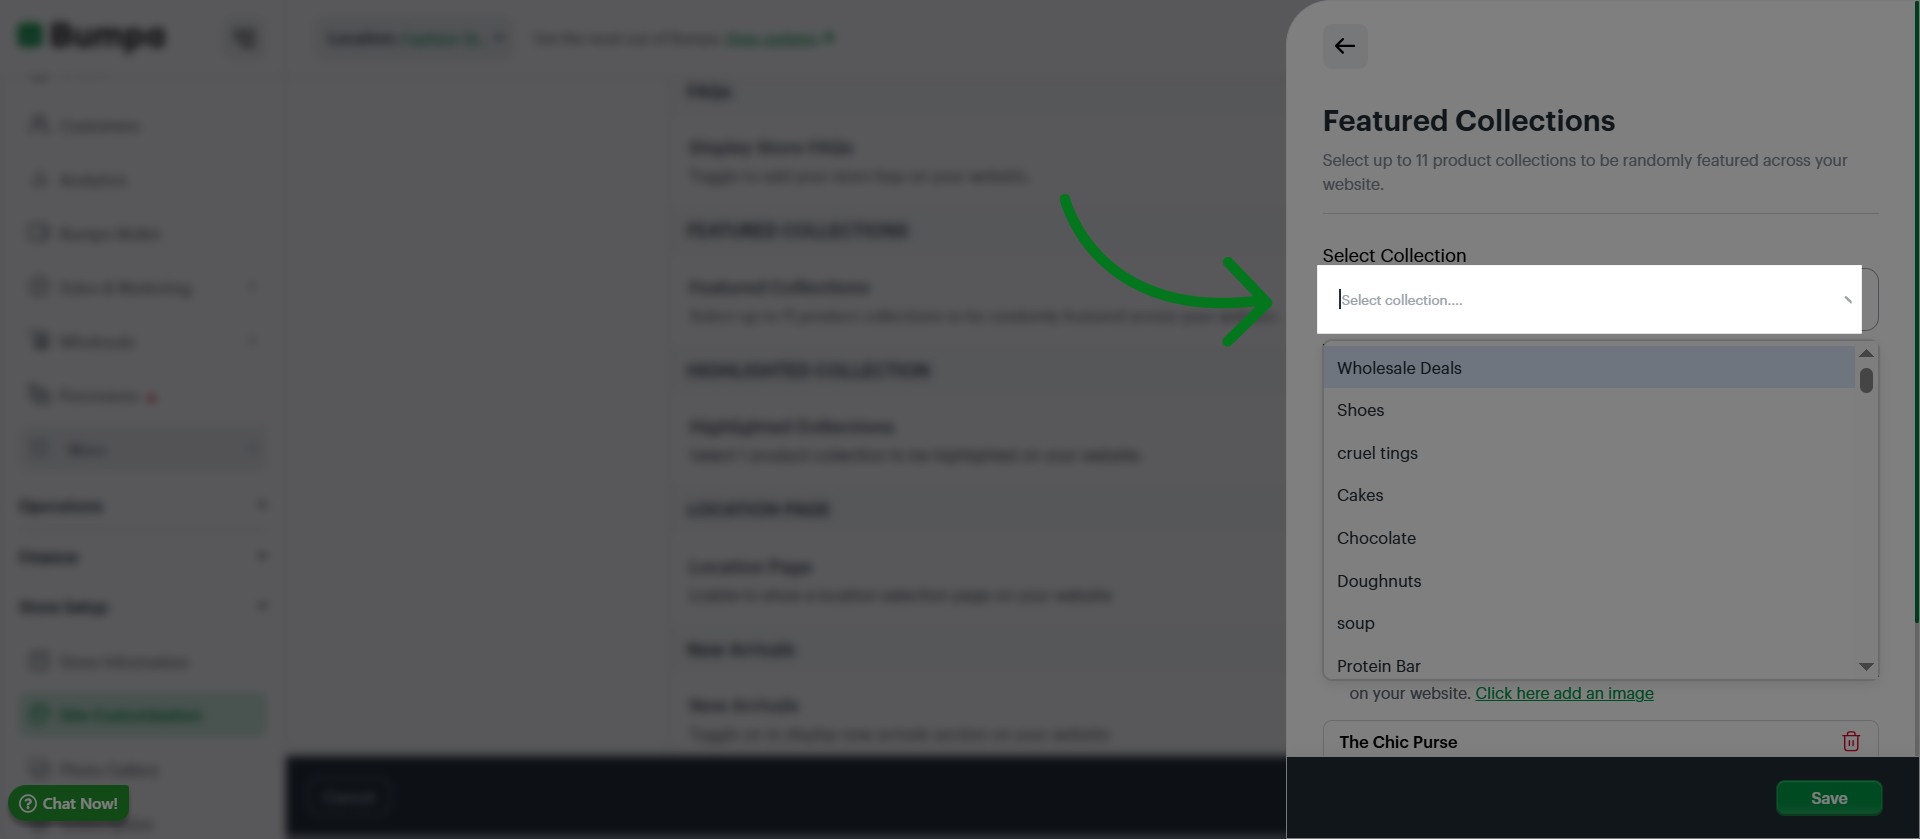
Select the collections you would like to be featured on your website
You can add an image for your featured collection.
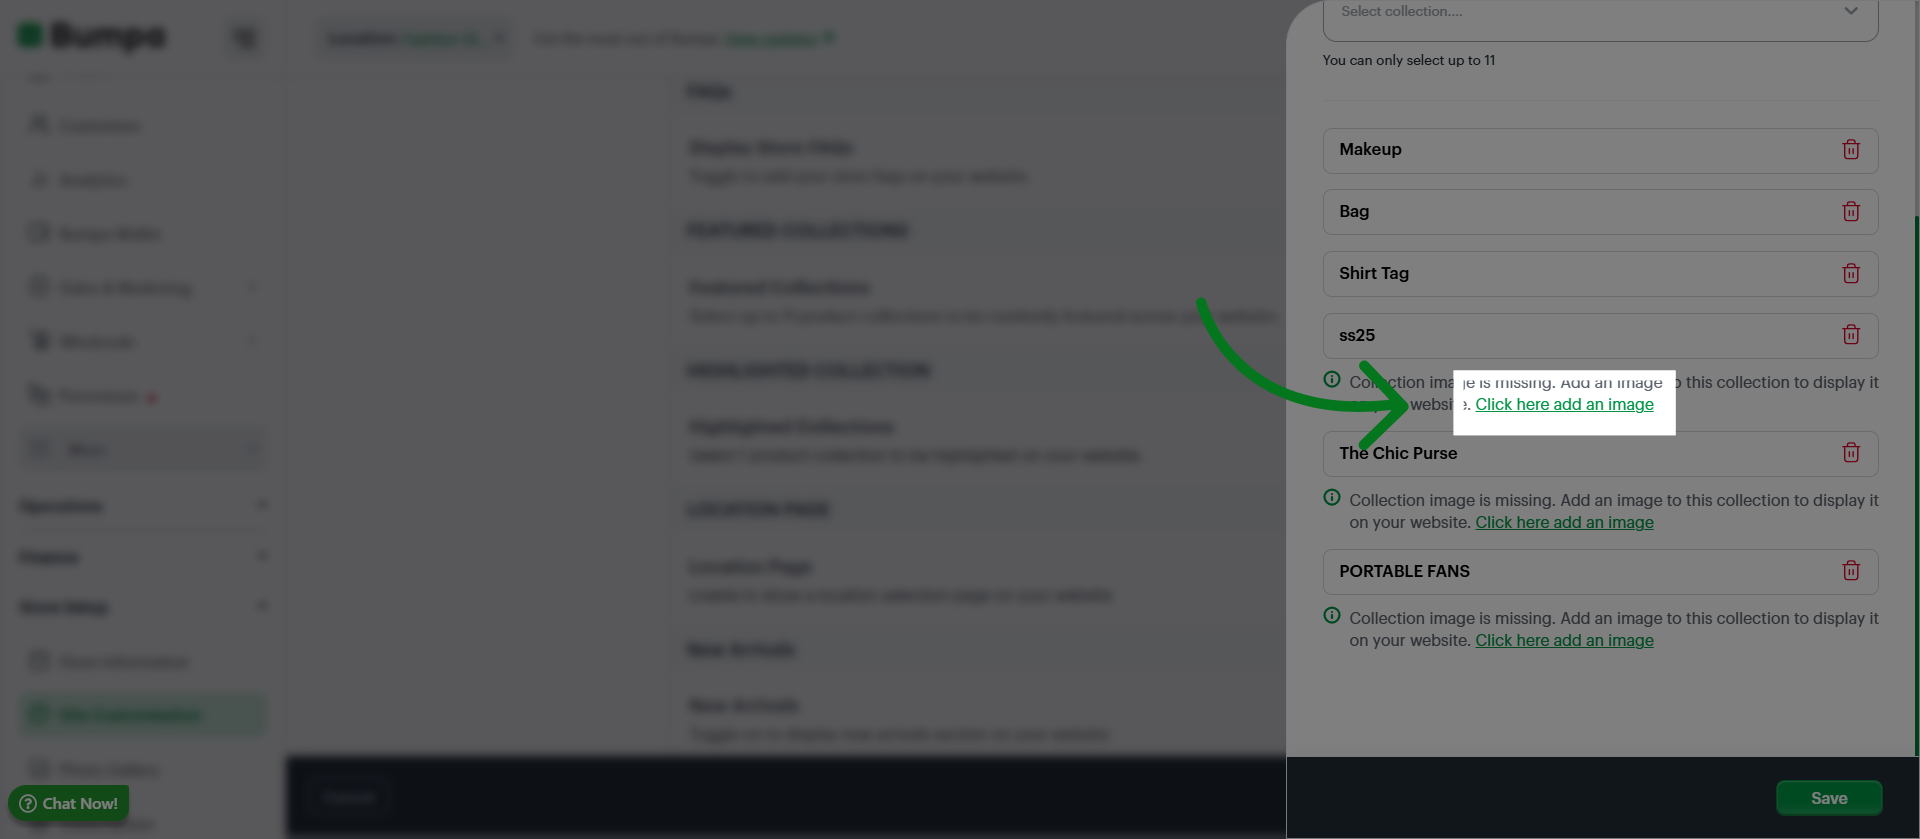
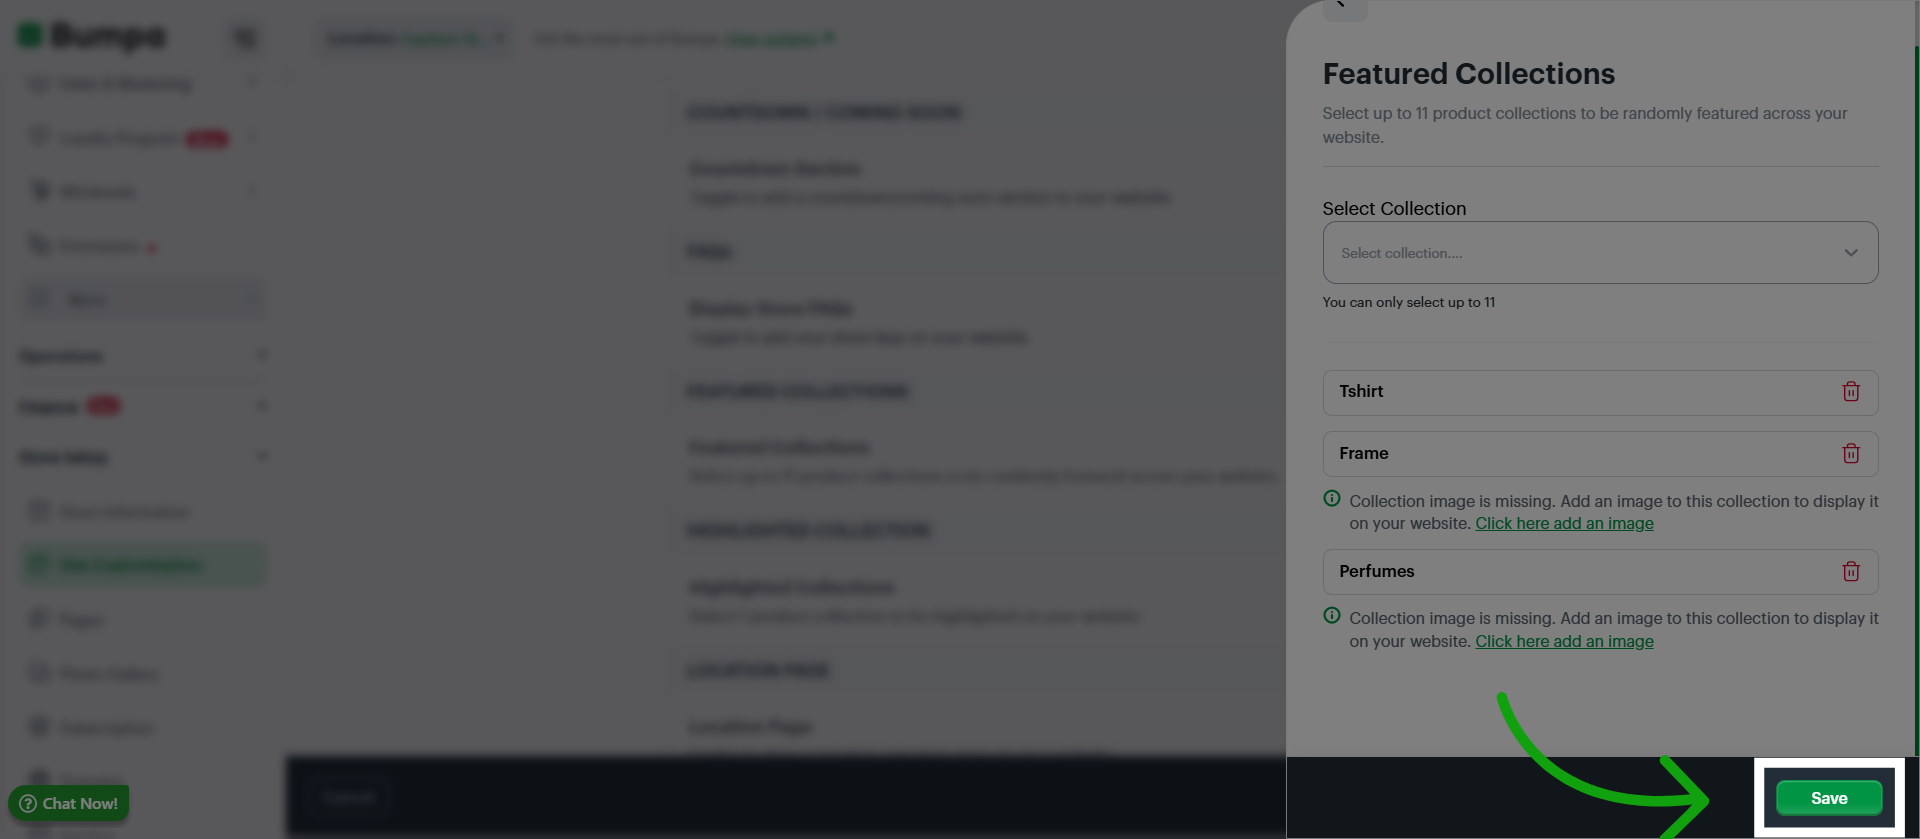
Click Save to apply and save changes made to the featured collections section.
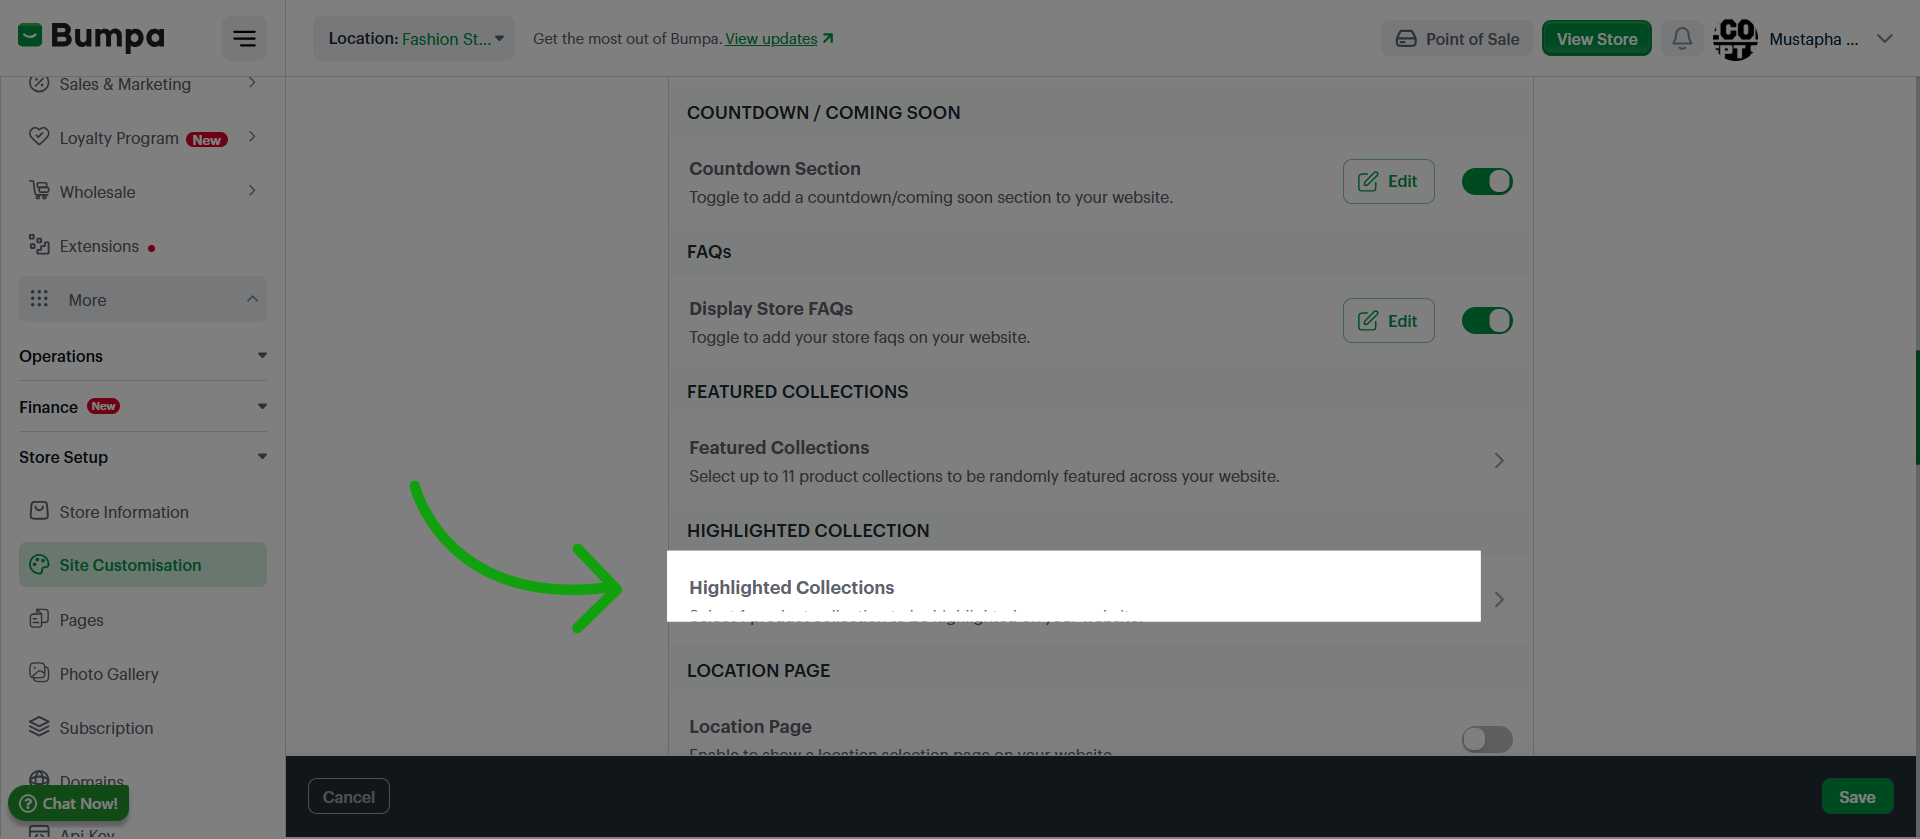
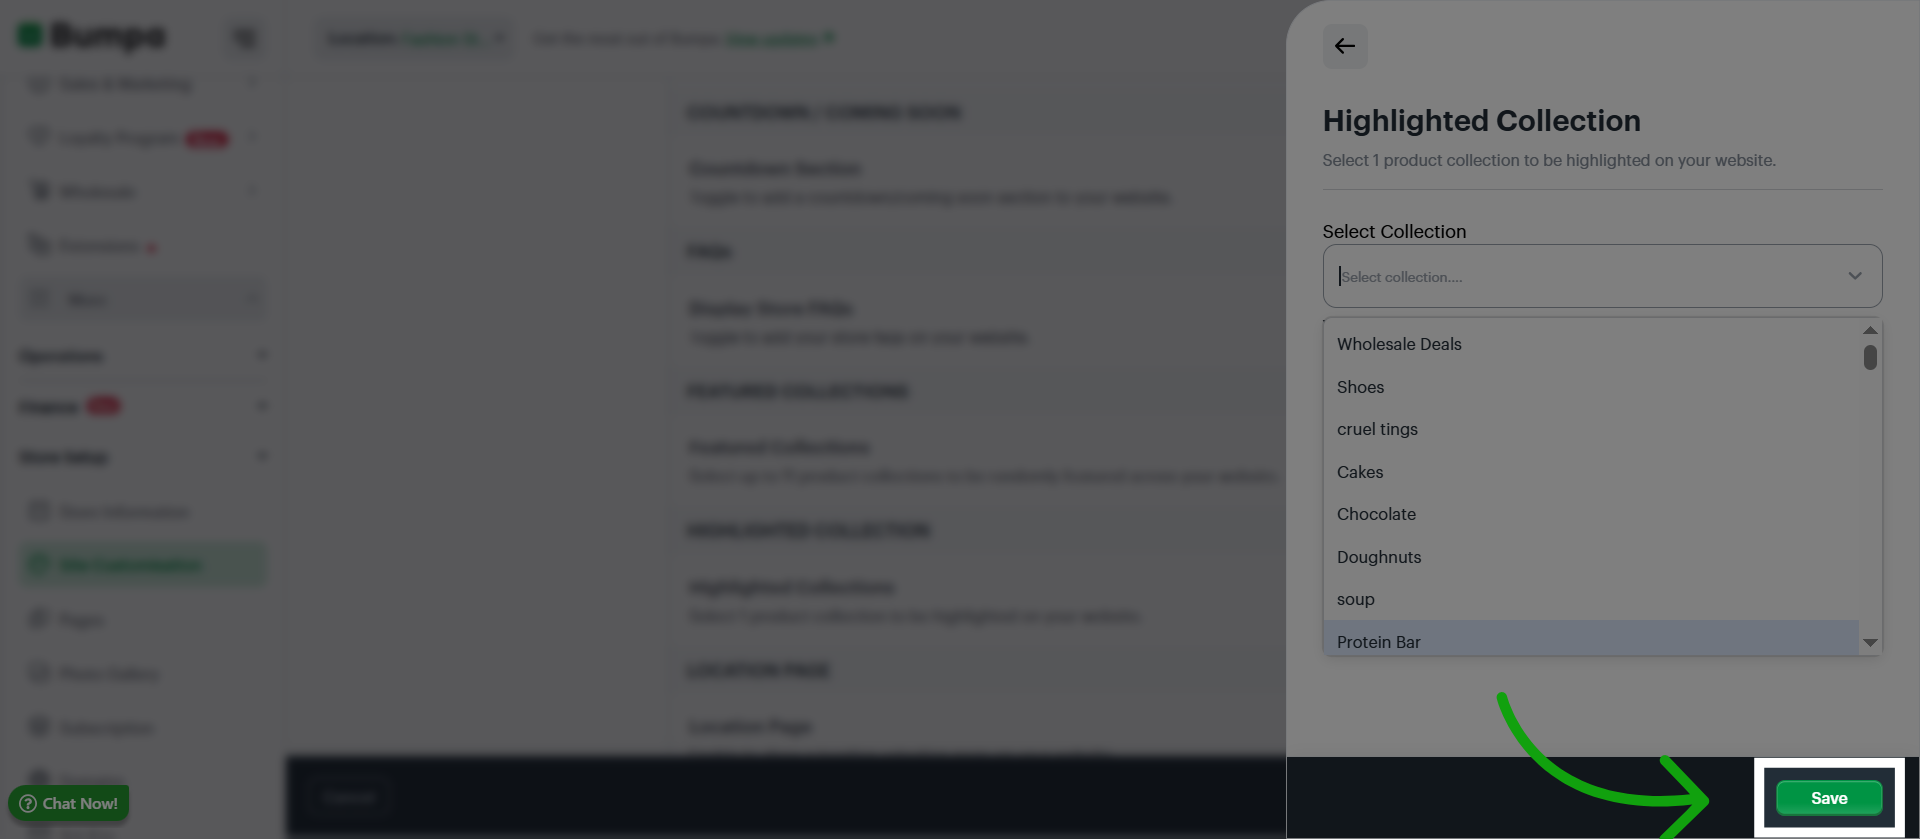
Click Highlighted Collections to highlight 1 specific collection on your website
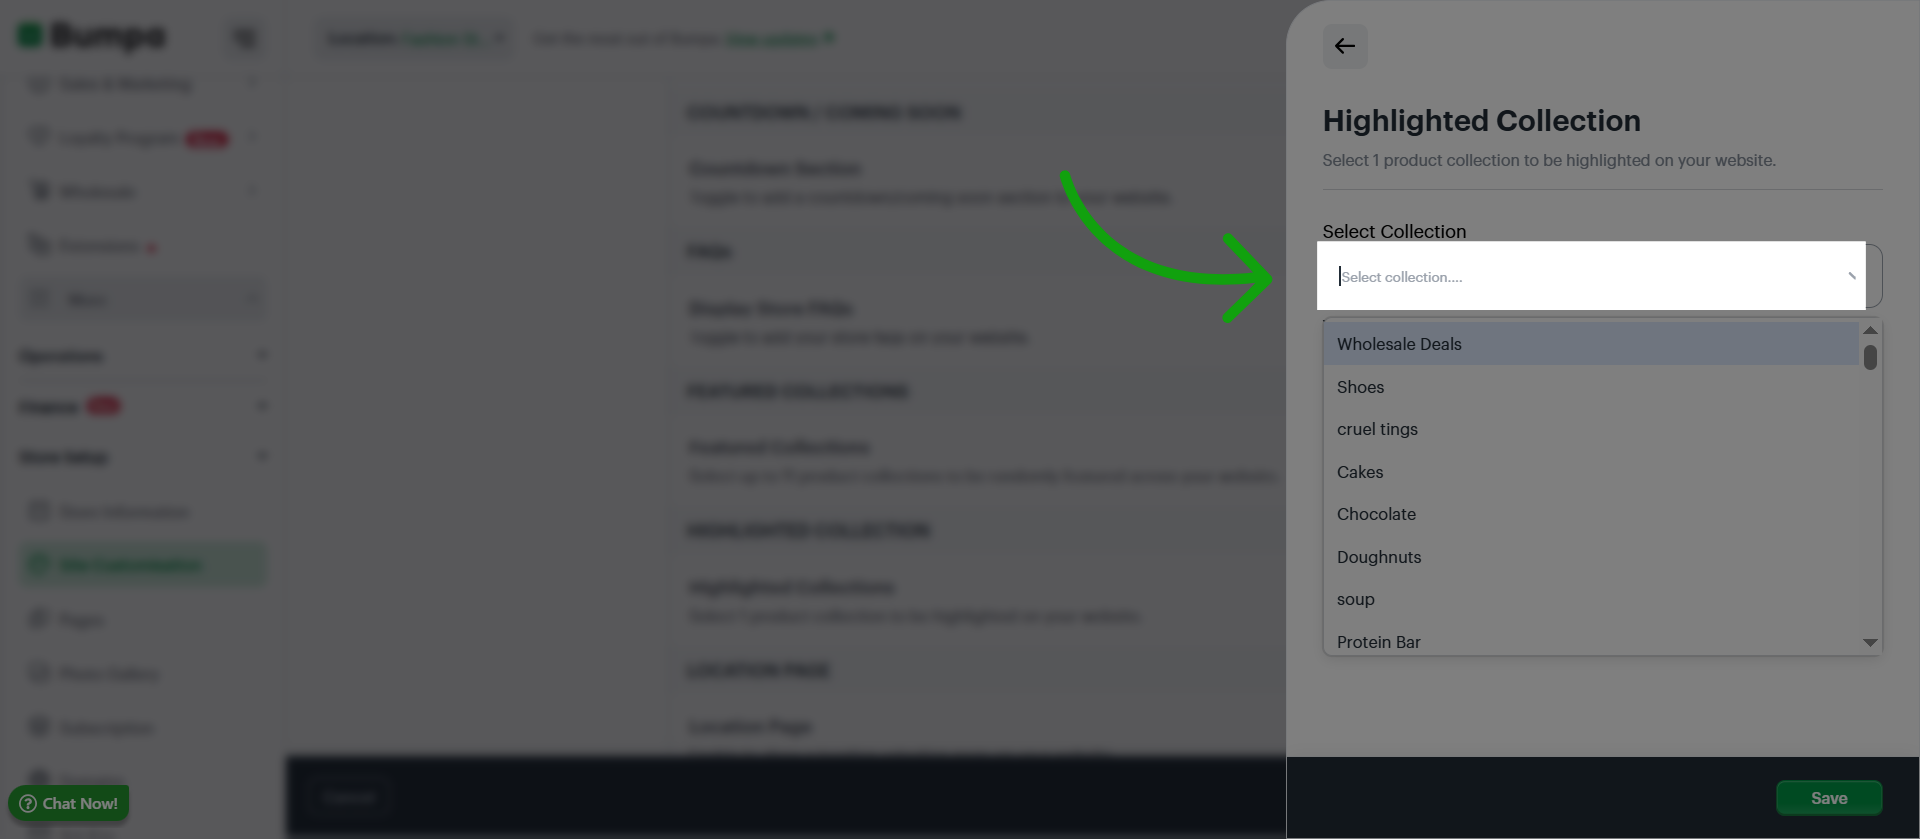
Select your preferred collection to be highlighted.
Click Save to confirm and save changes made to the highlighted collections.
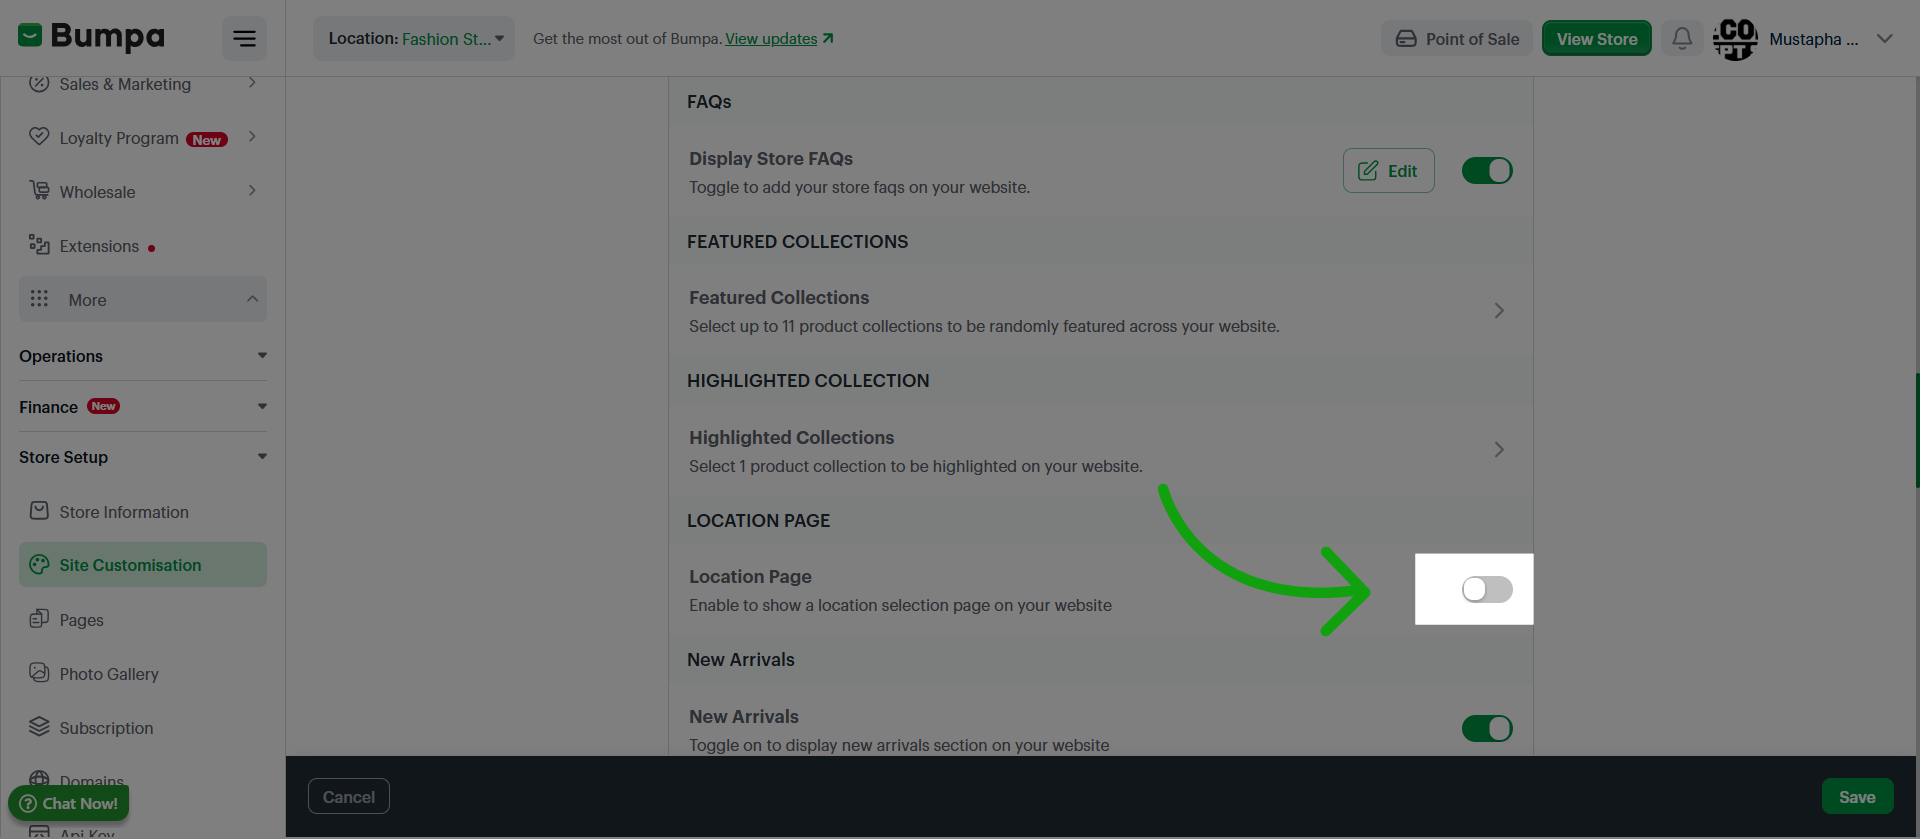
Toggle to Add a Location Selection Page to your website (for merchants with multiple locations)
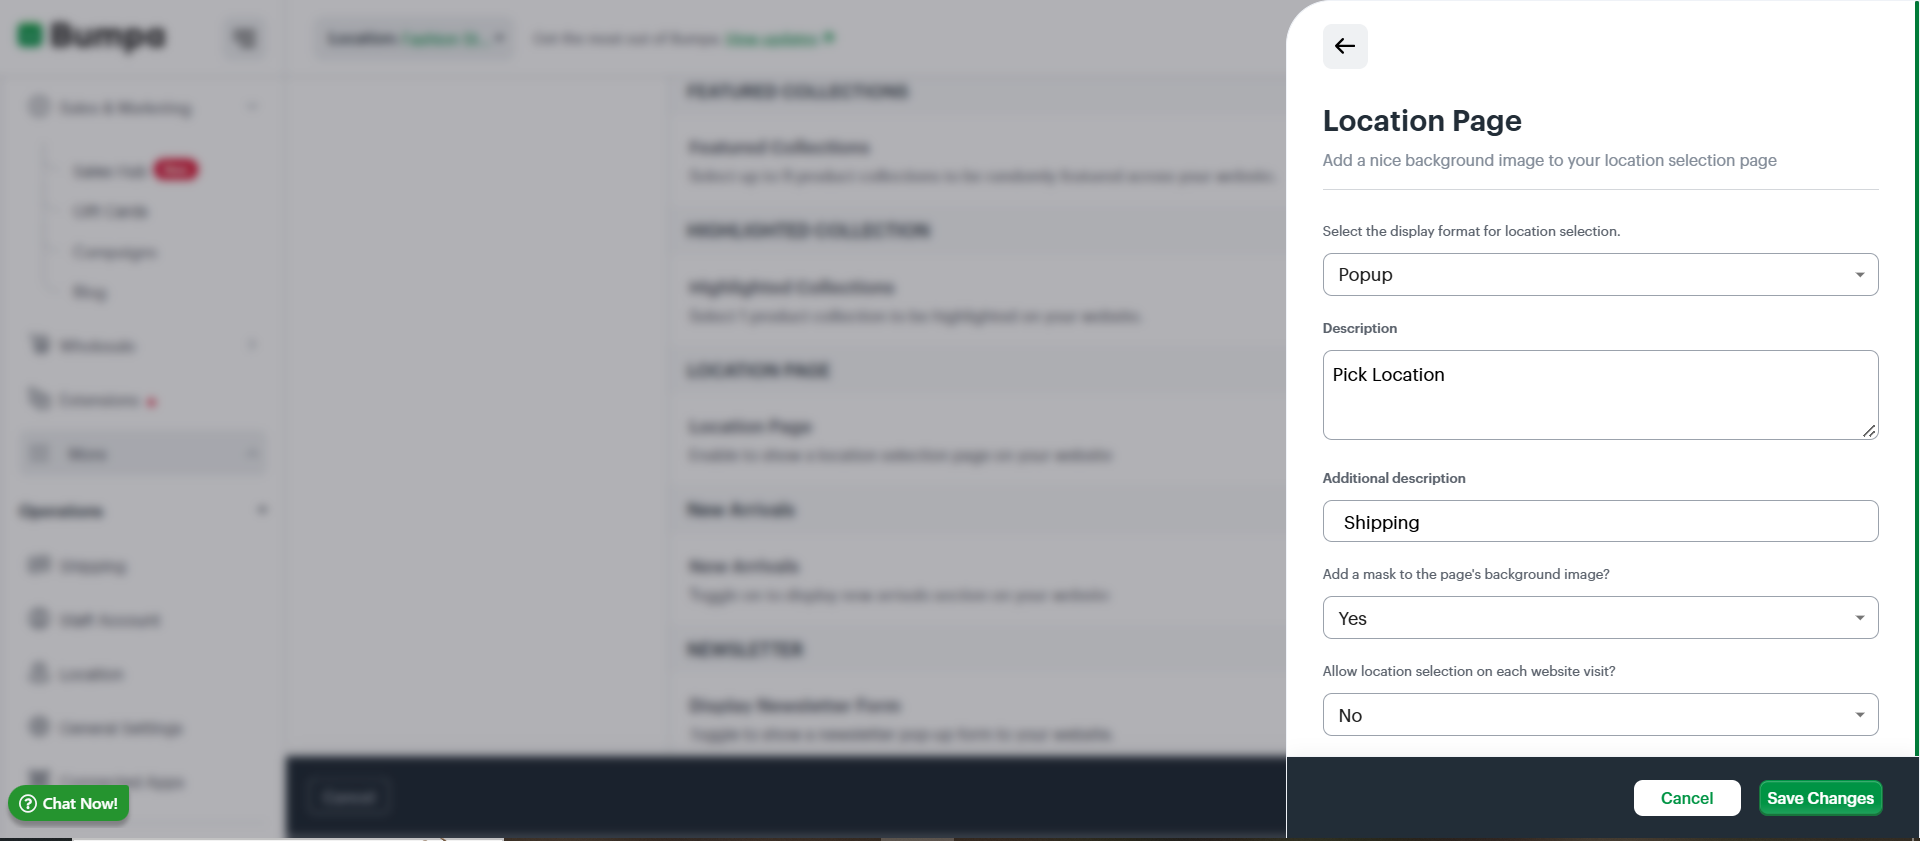
Choose the display format for the location selector, either a full page or a popup
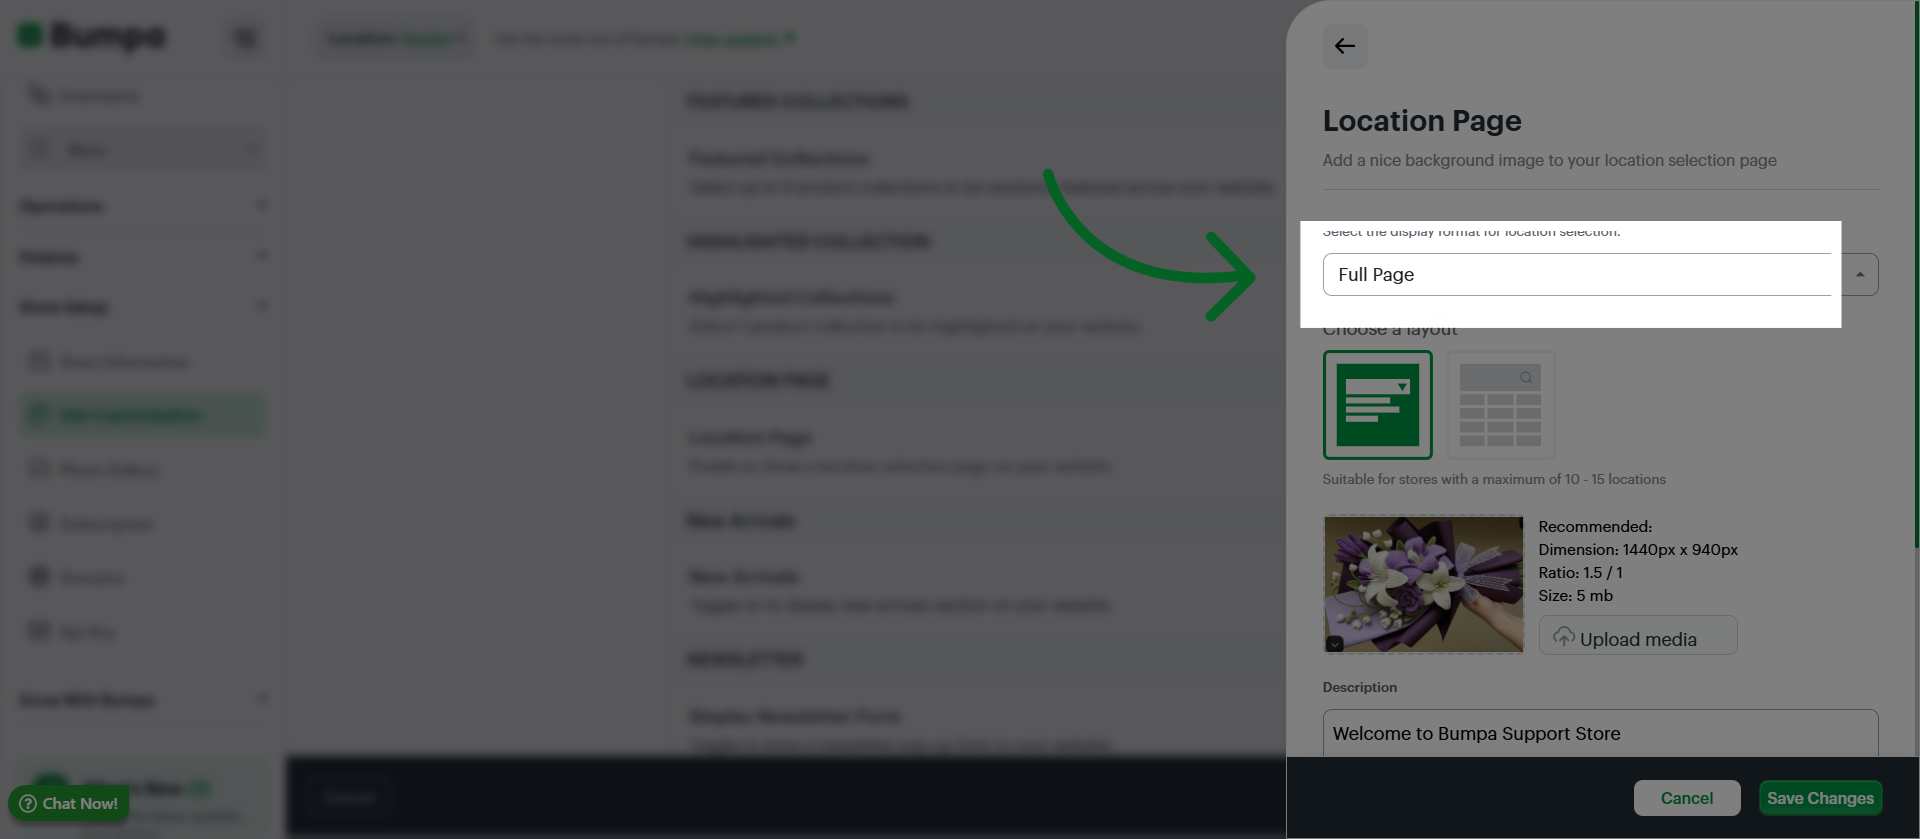
For a full page, choose the display layout
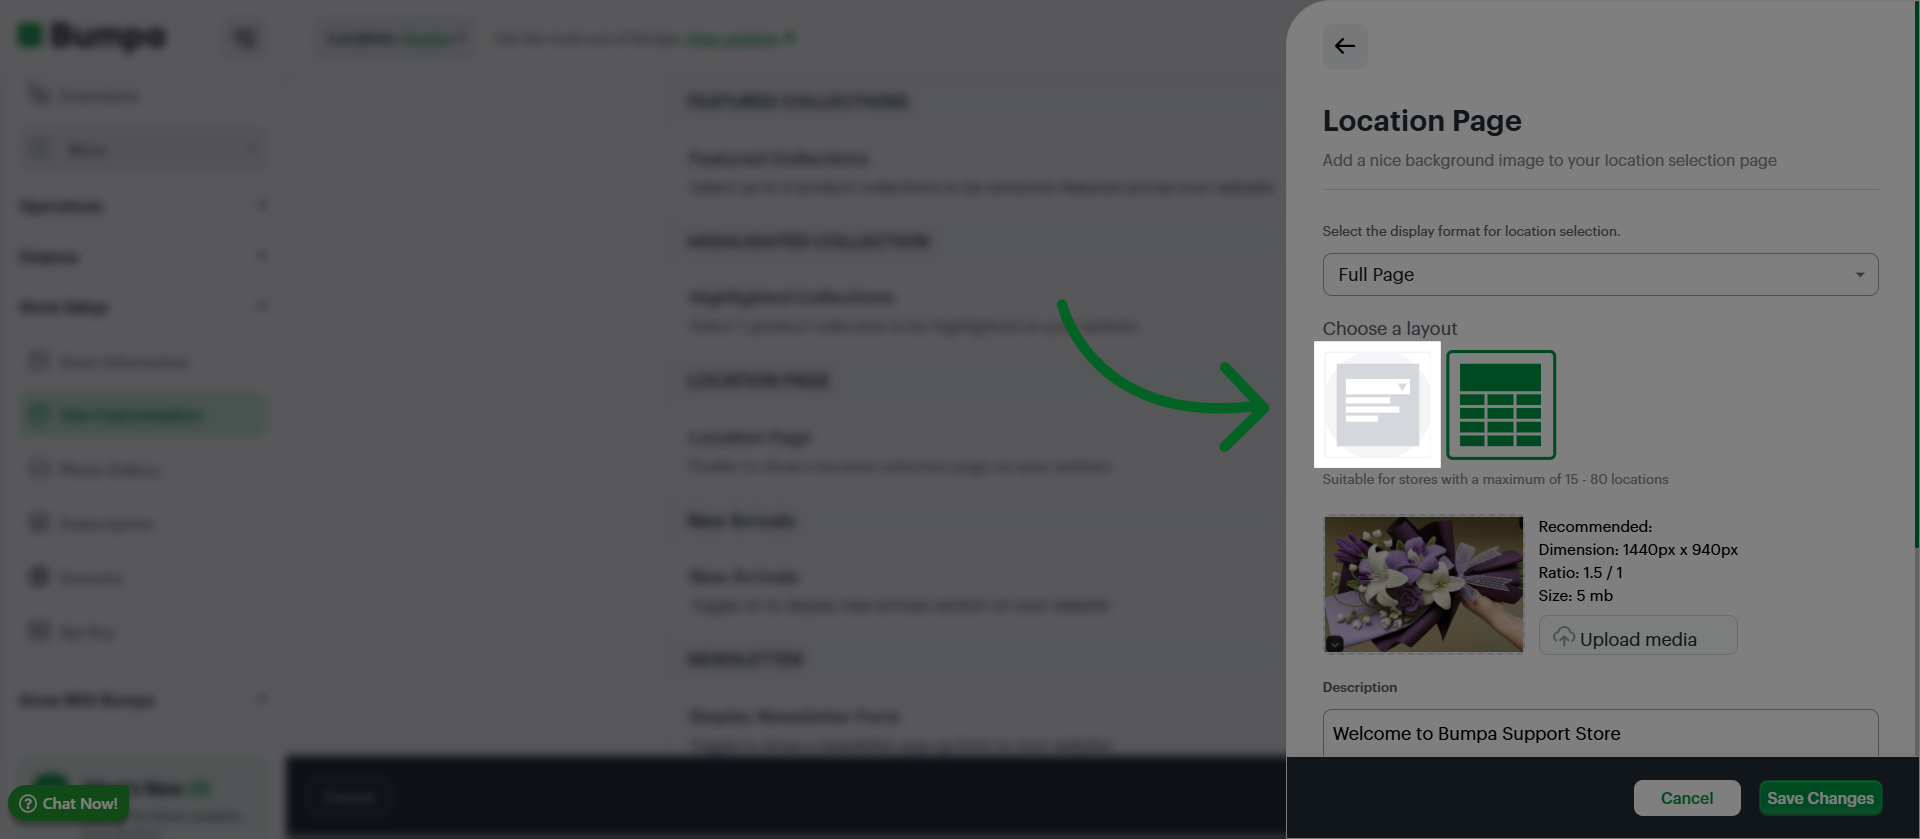
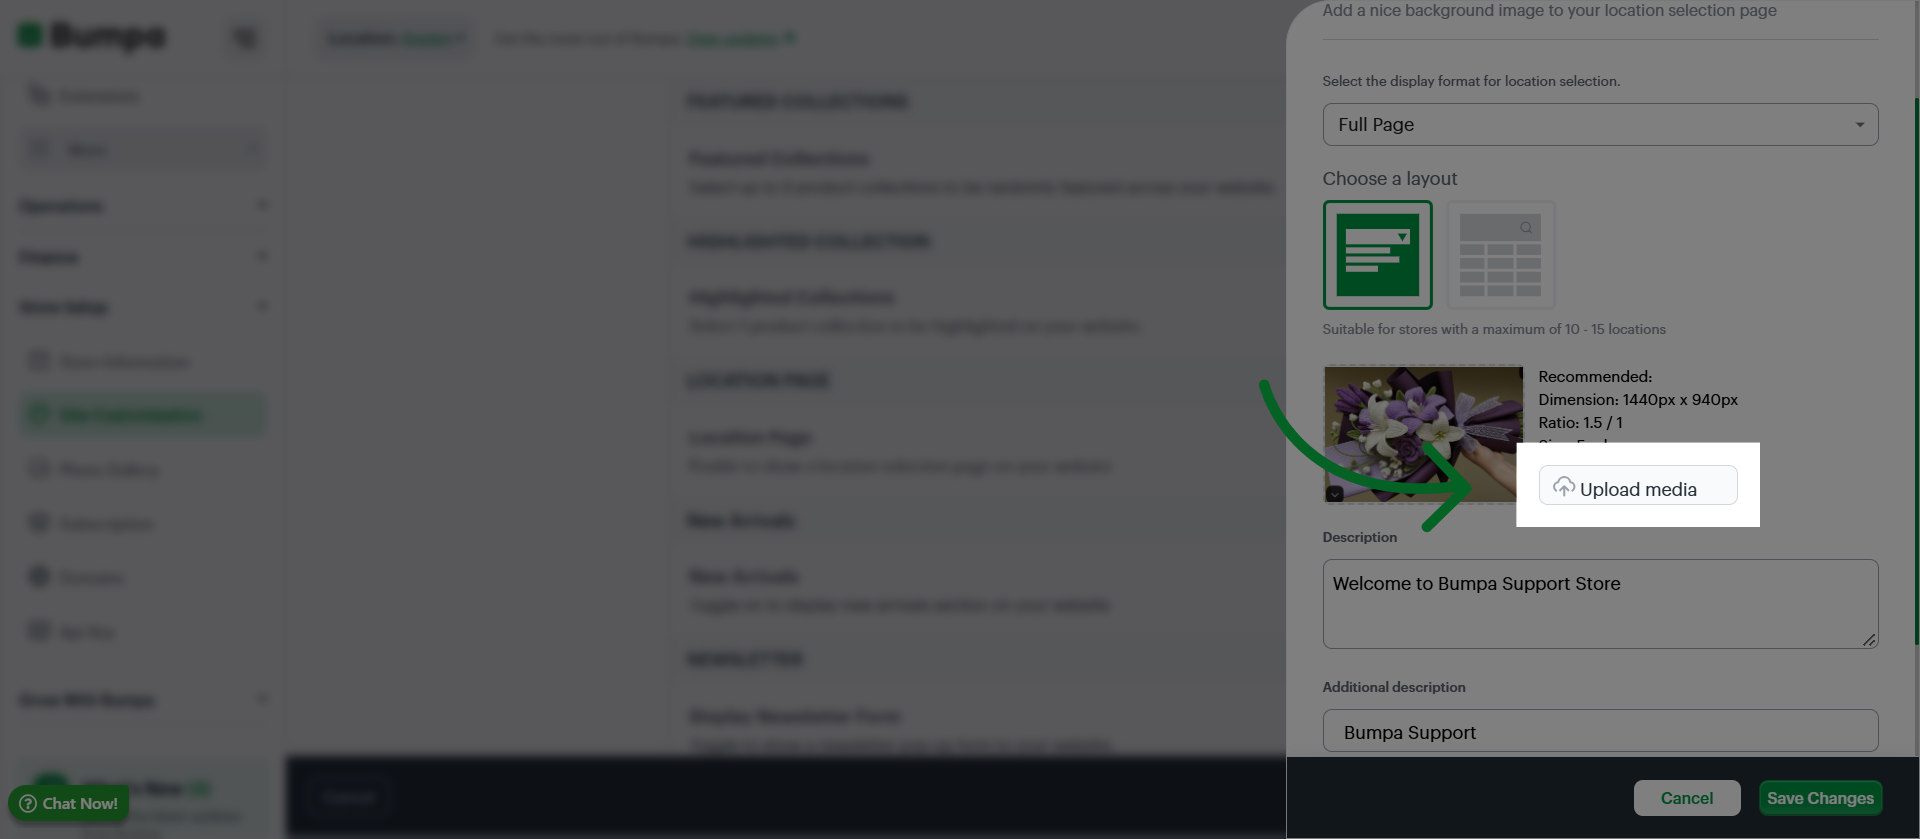
Click Upload to add the background image for the page
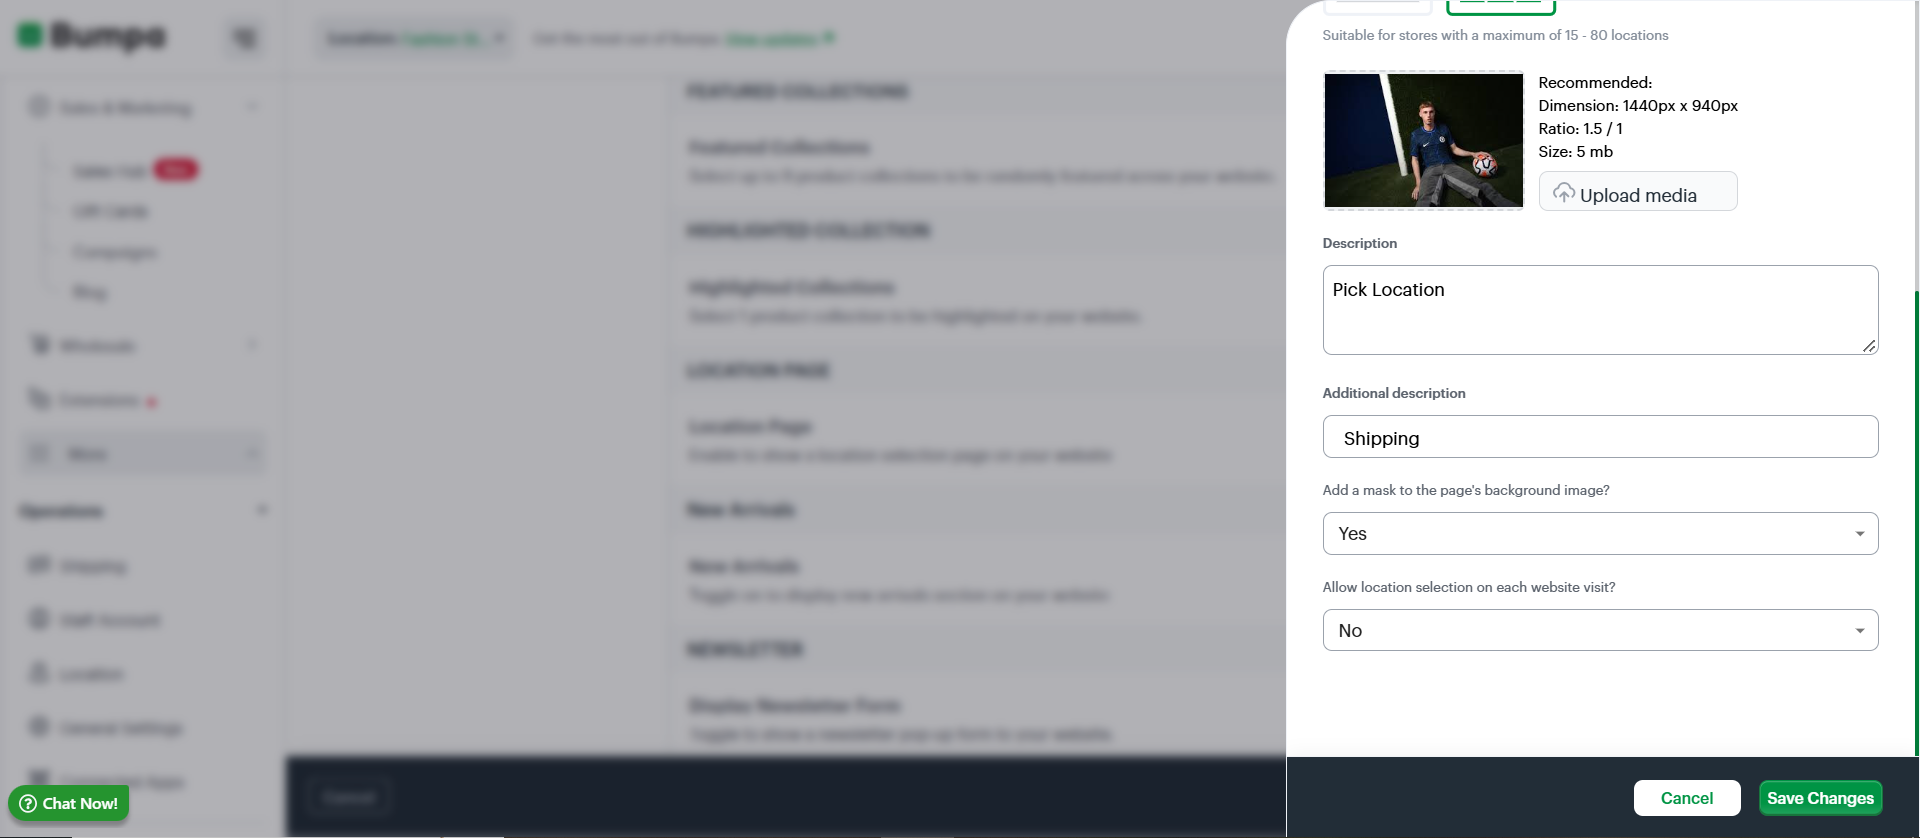
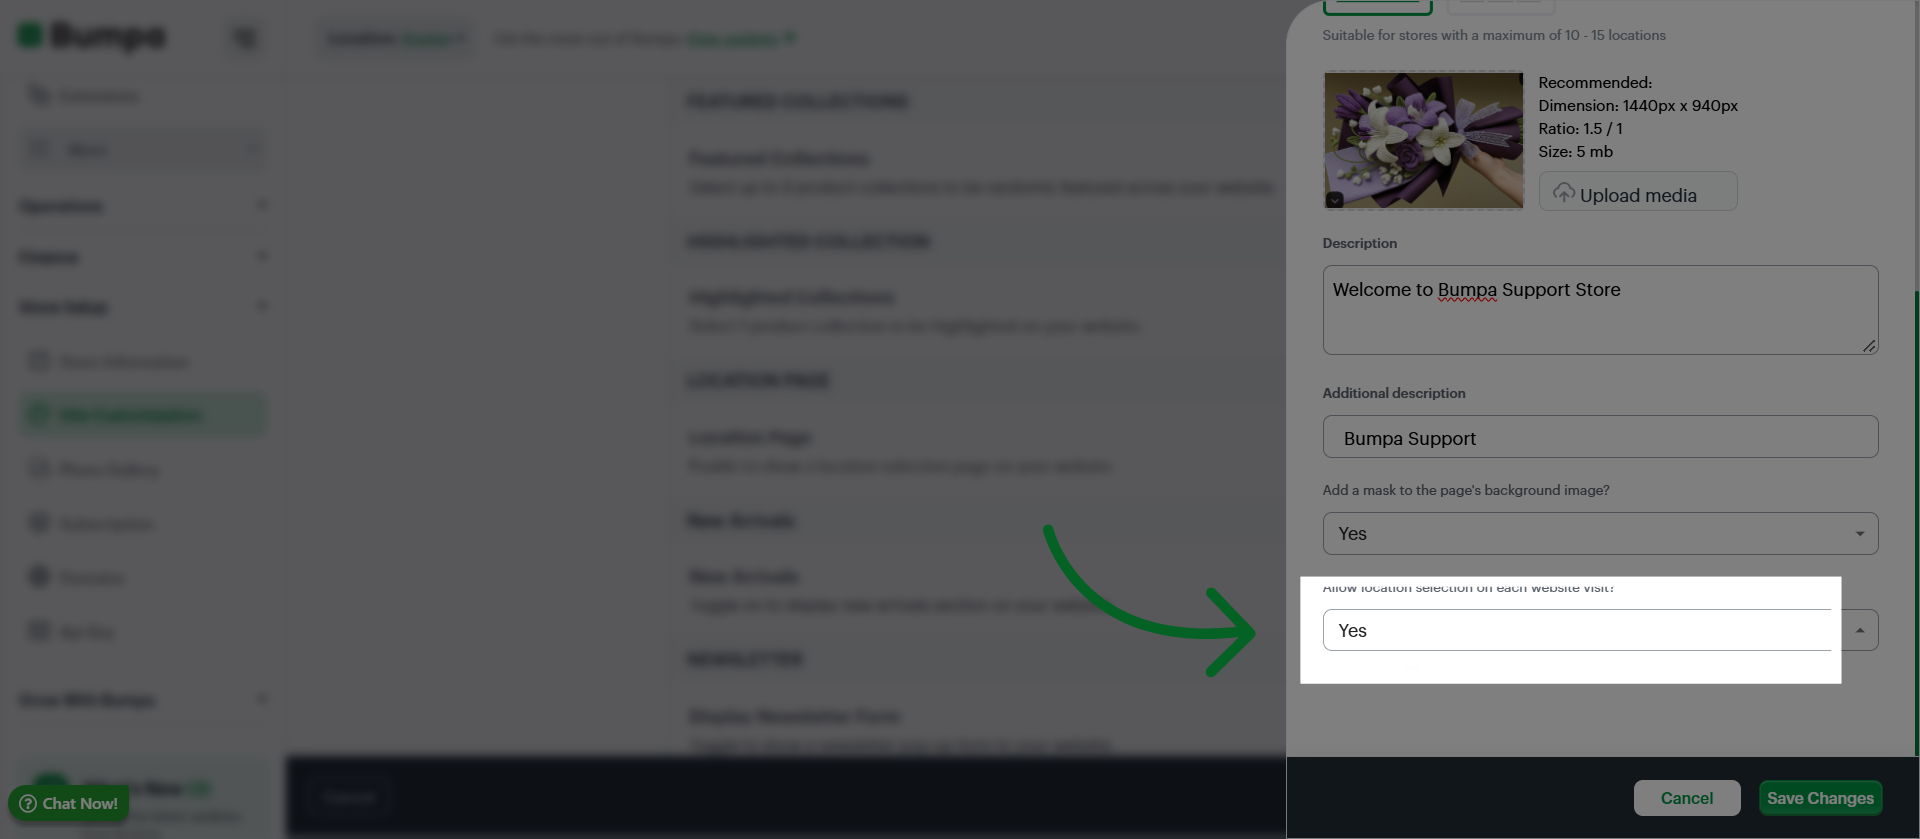
Input a description for the location selector page
Confirm if you would like to add a Mask to the location selector display
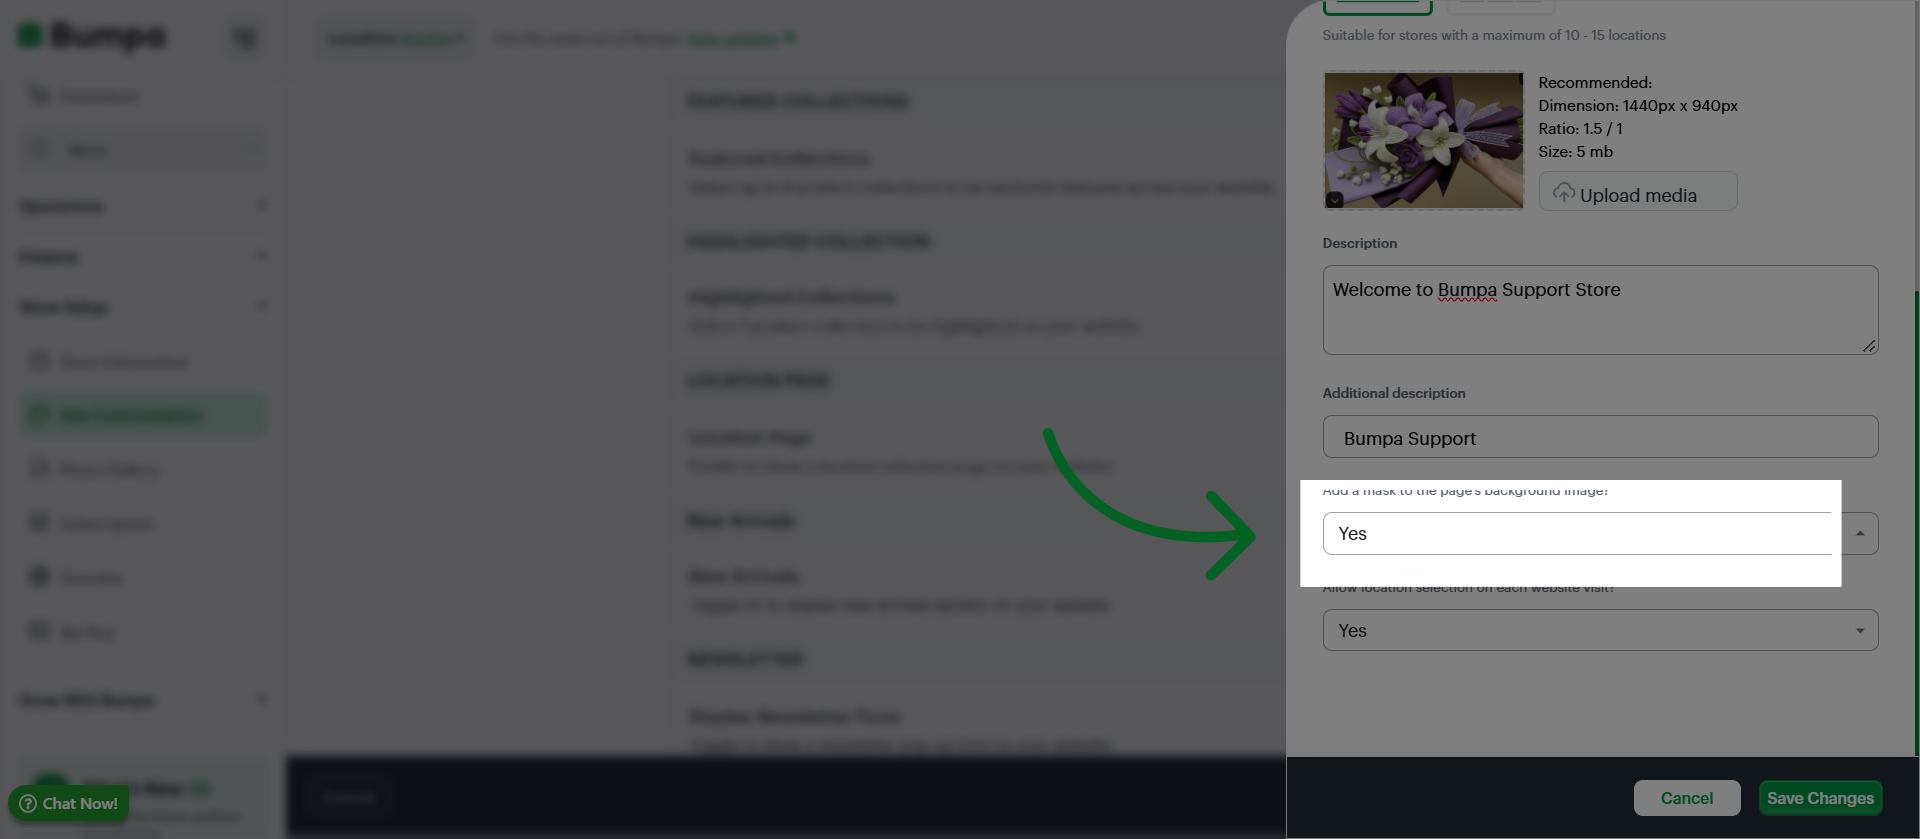
Confirm if you would like the selector to come up every time a customer visits the website
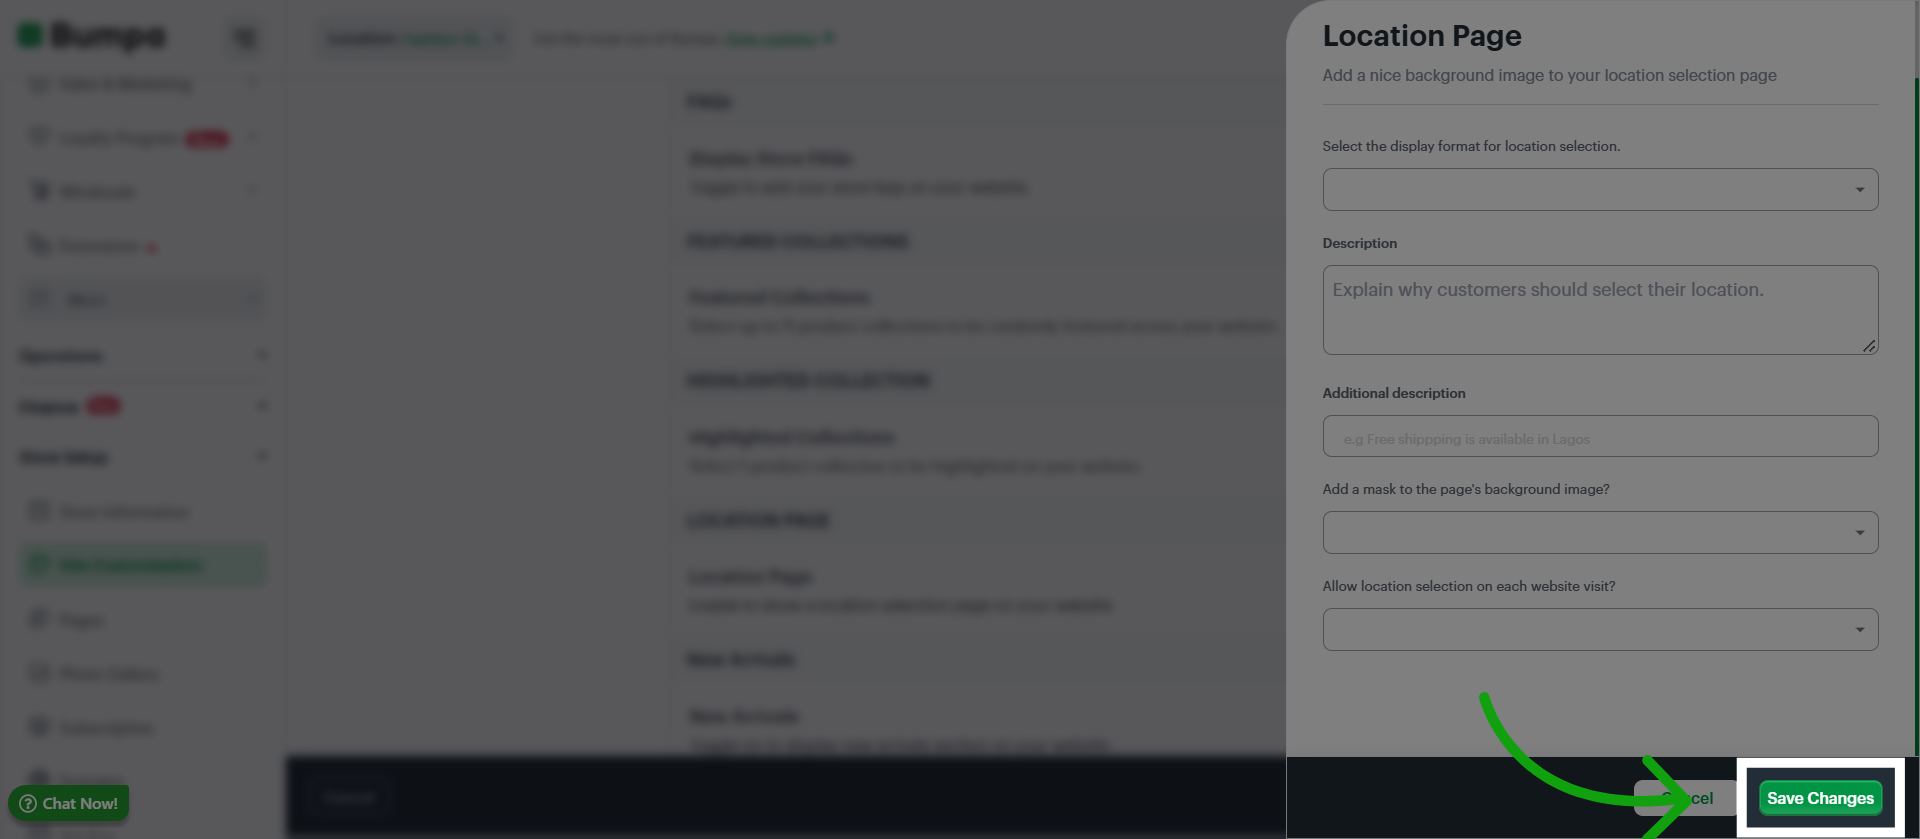
Click Save Changes to apply and save all updates made to your website's location selector
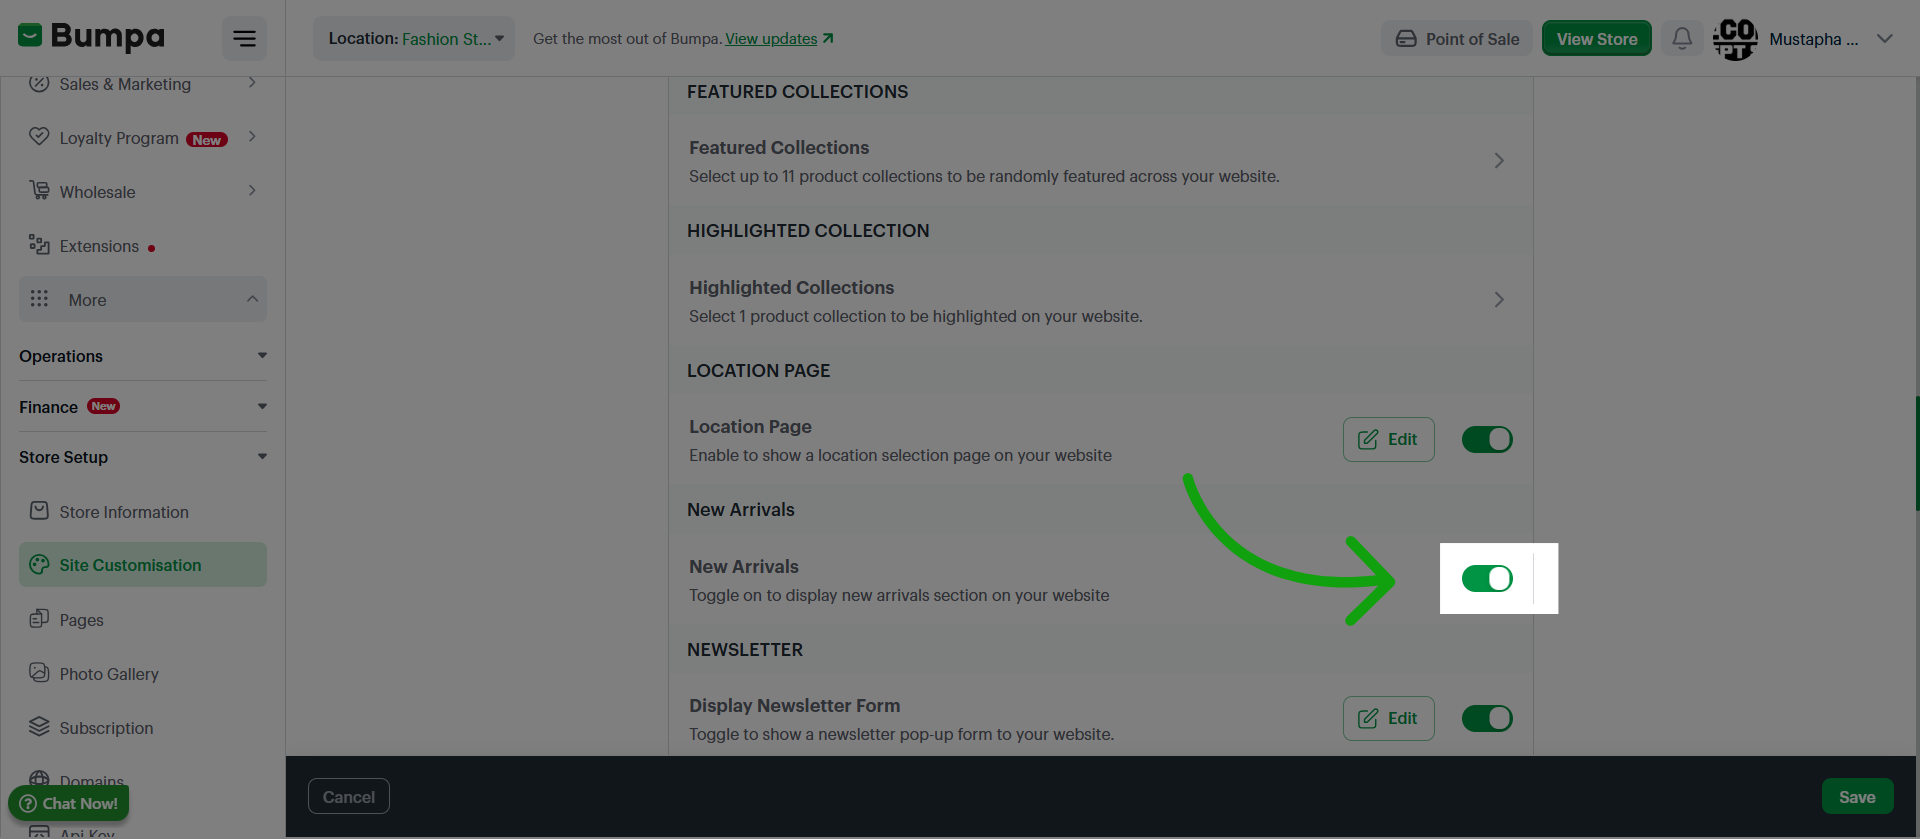
Toggle to Add a New arrival section to your website
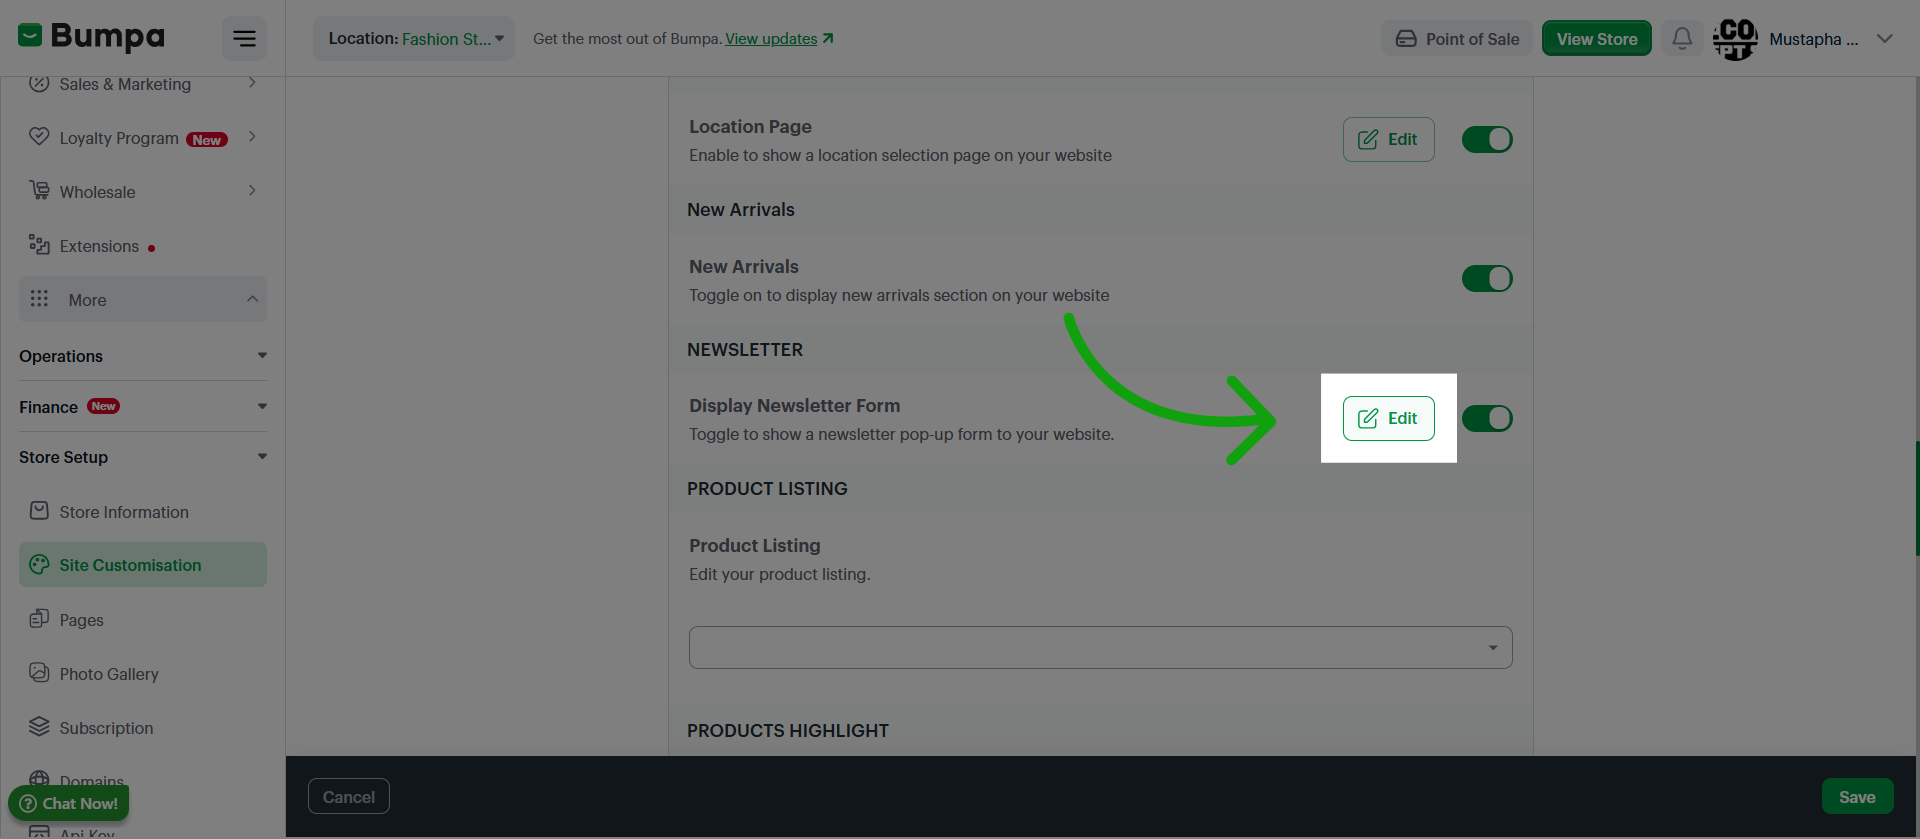
Click Edit to add a newsletter section on your website
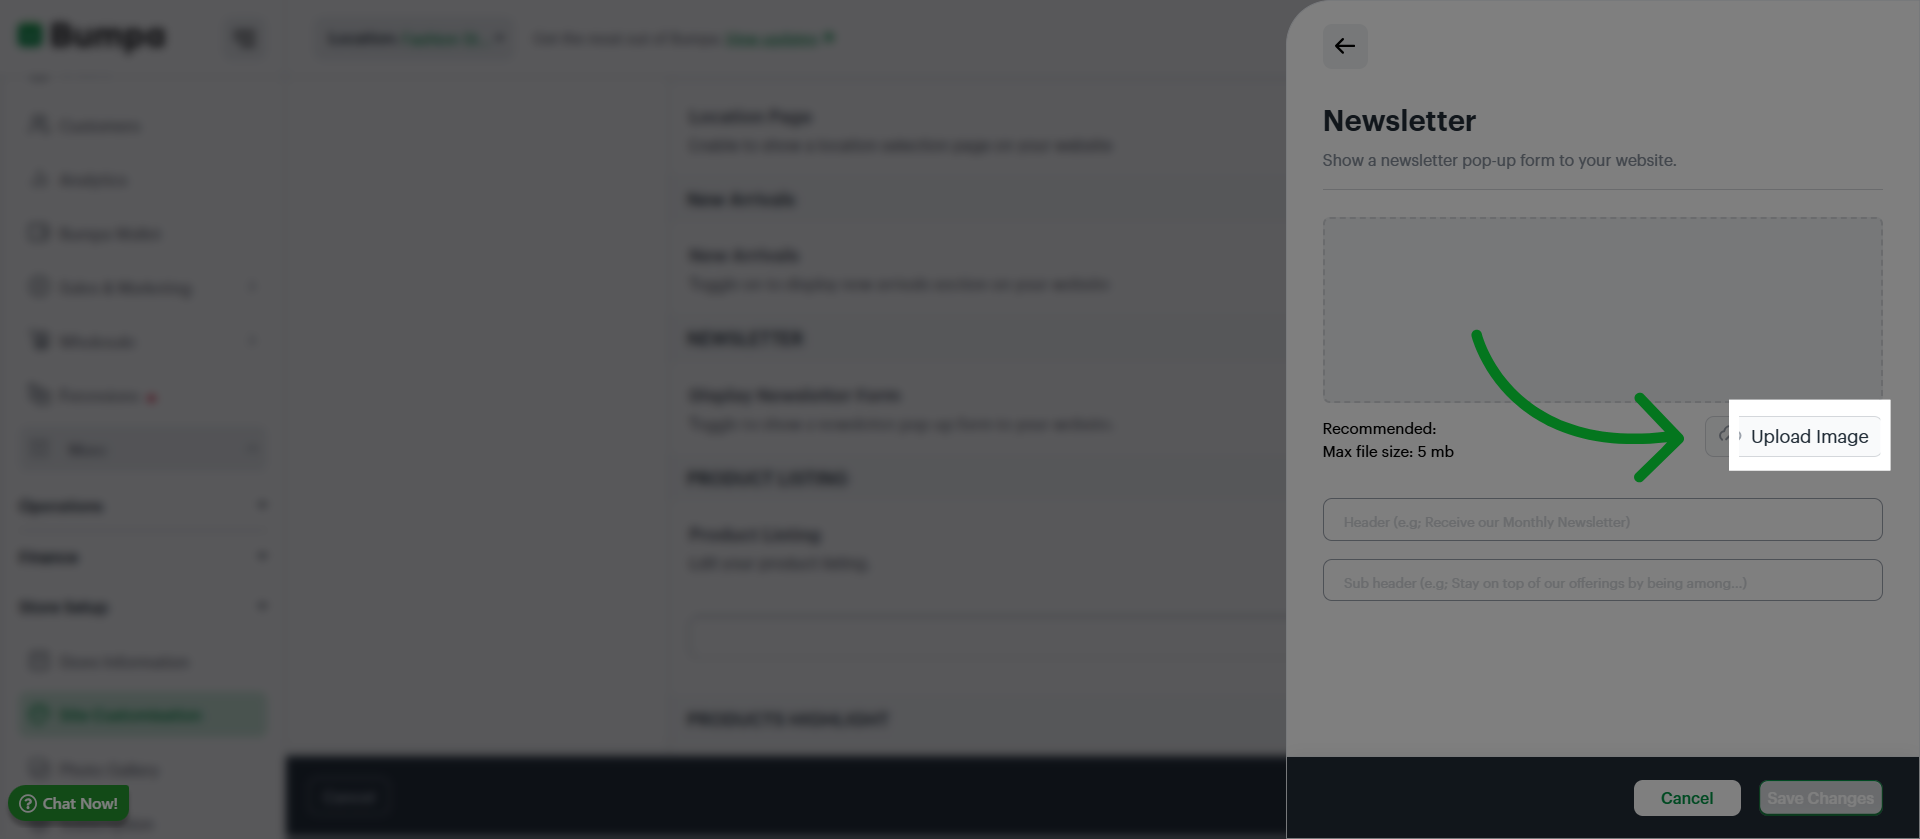
Click Upload Image to add an image to the newsletter feature
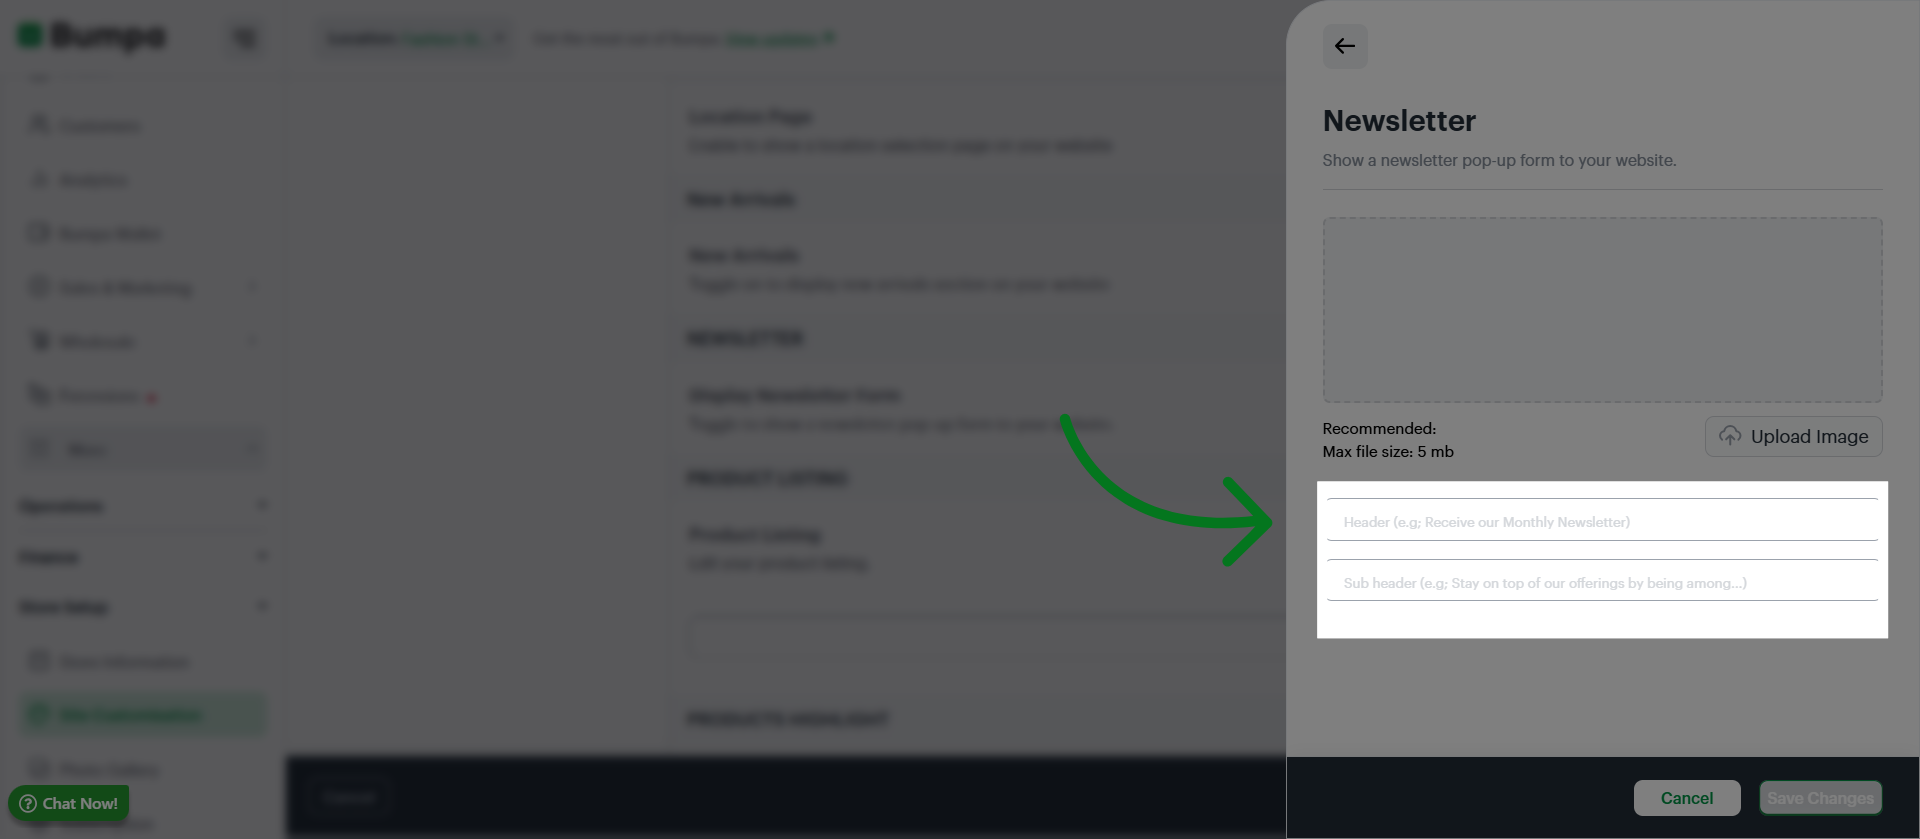
Input the header and content of your newsletter page
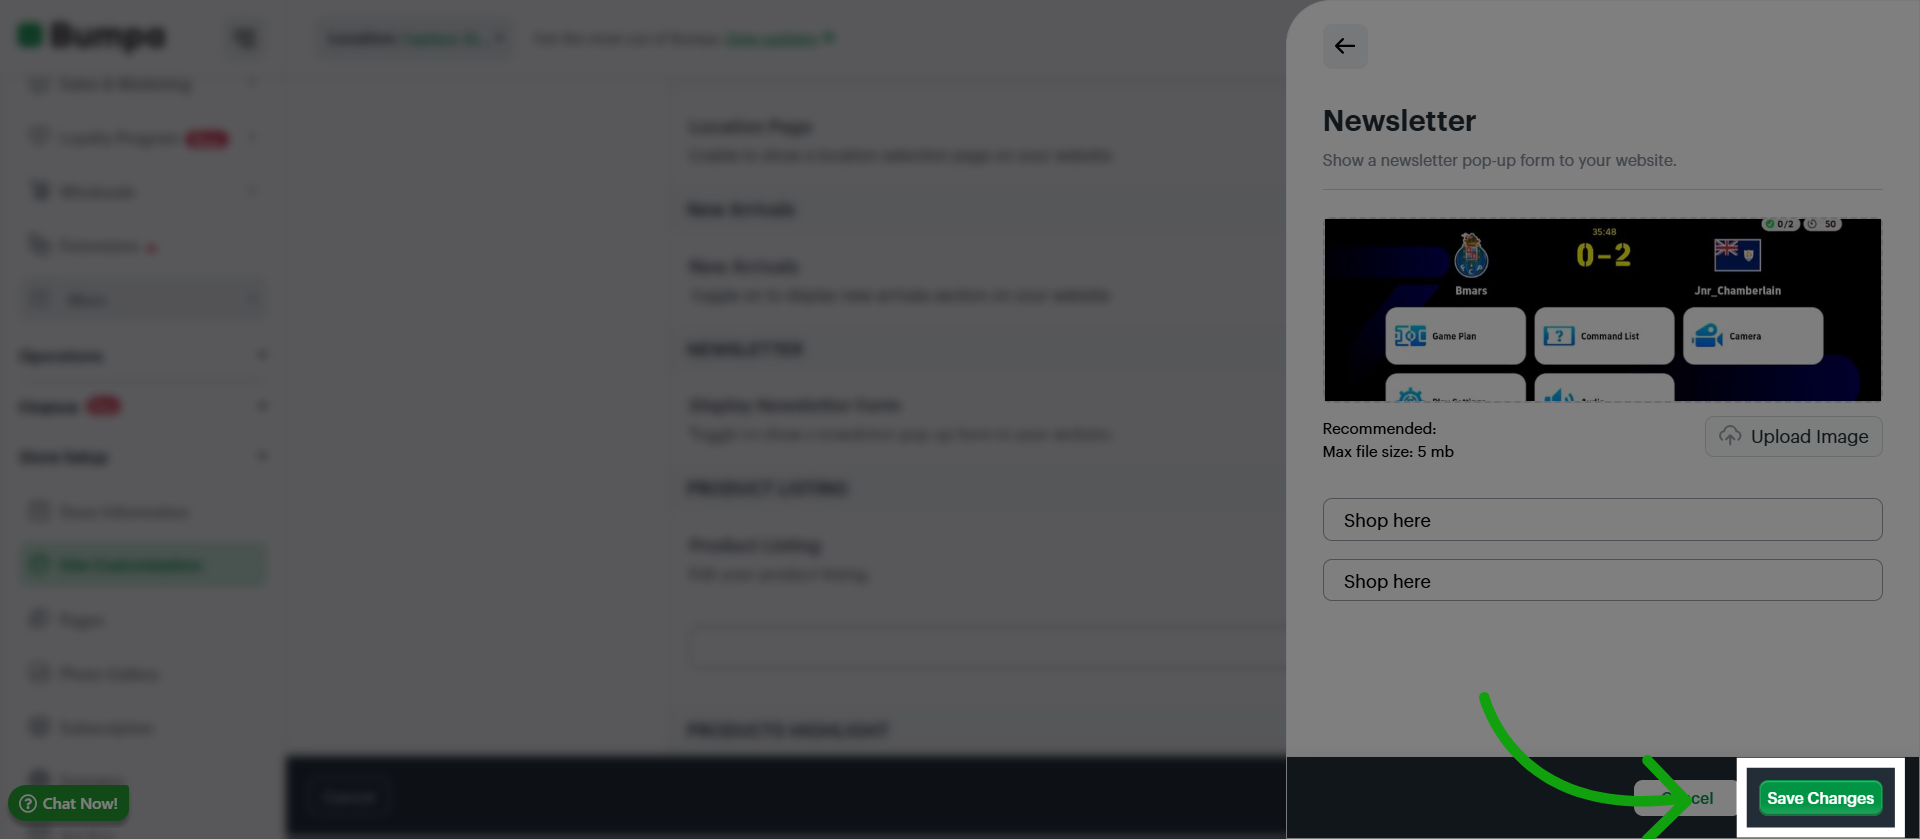
Click Save Changes to confirm and save the newsletter feature
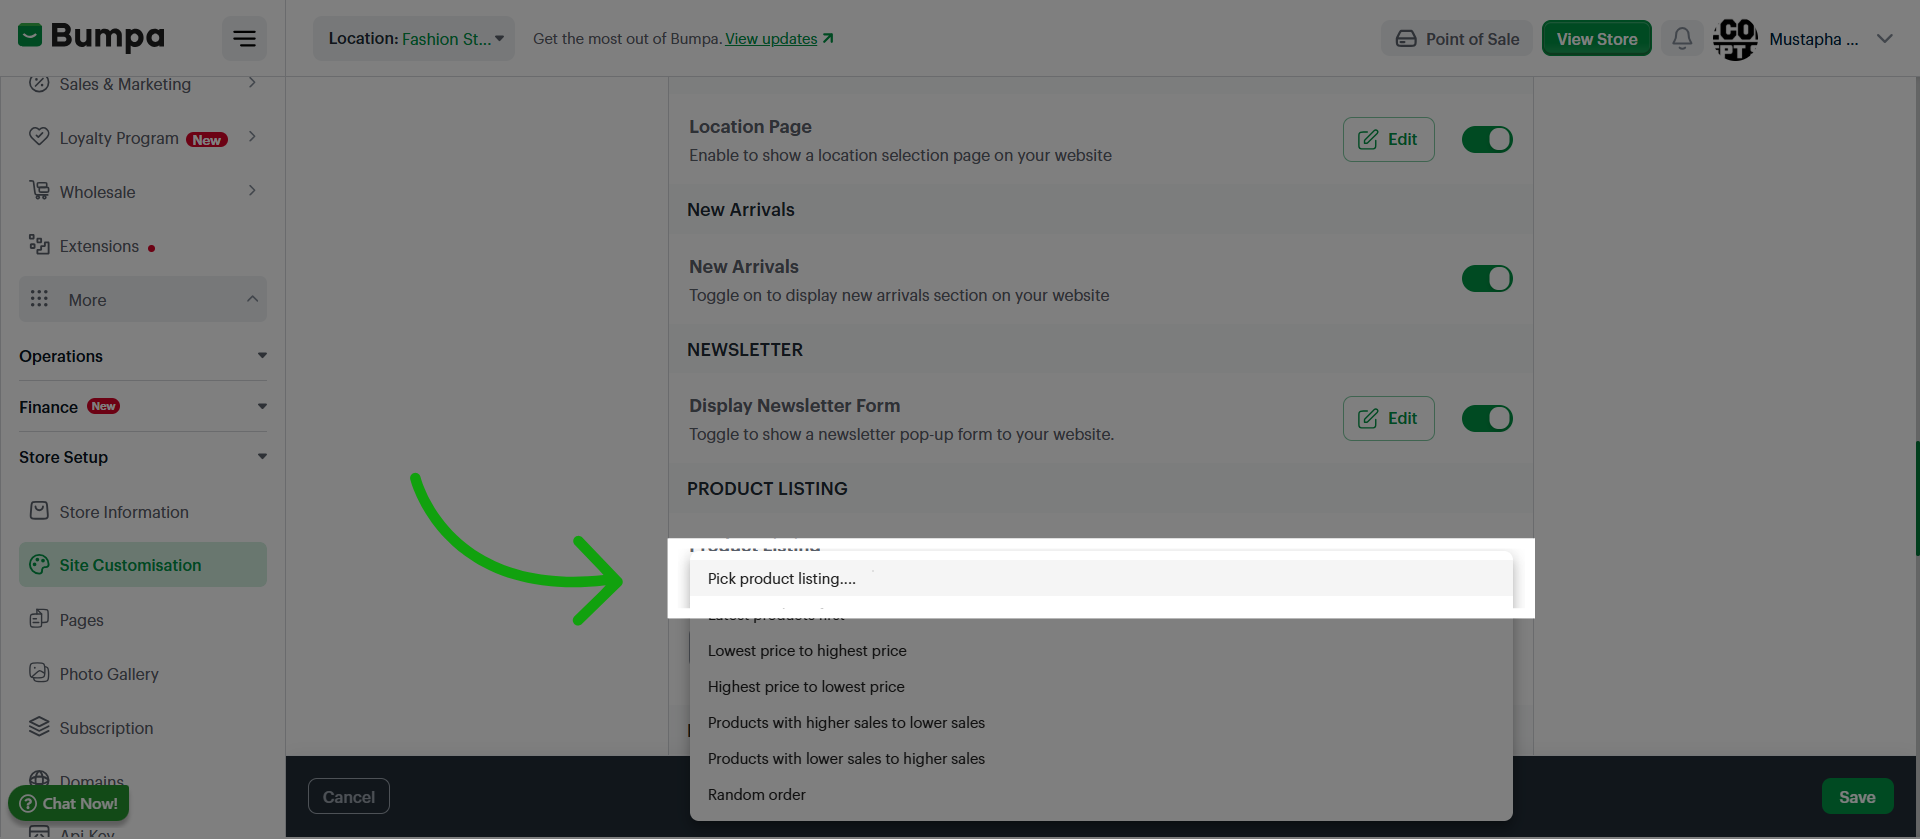
Click the dropdown to select how you would like your product listing to be displayed
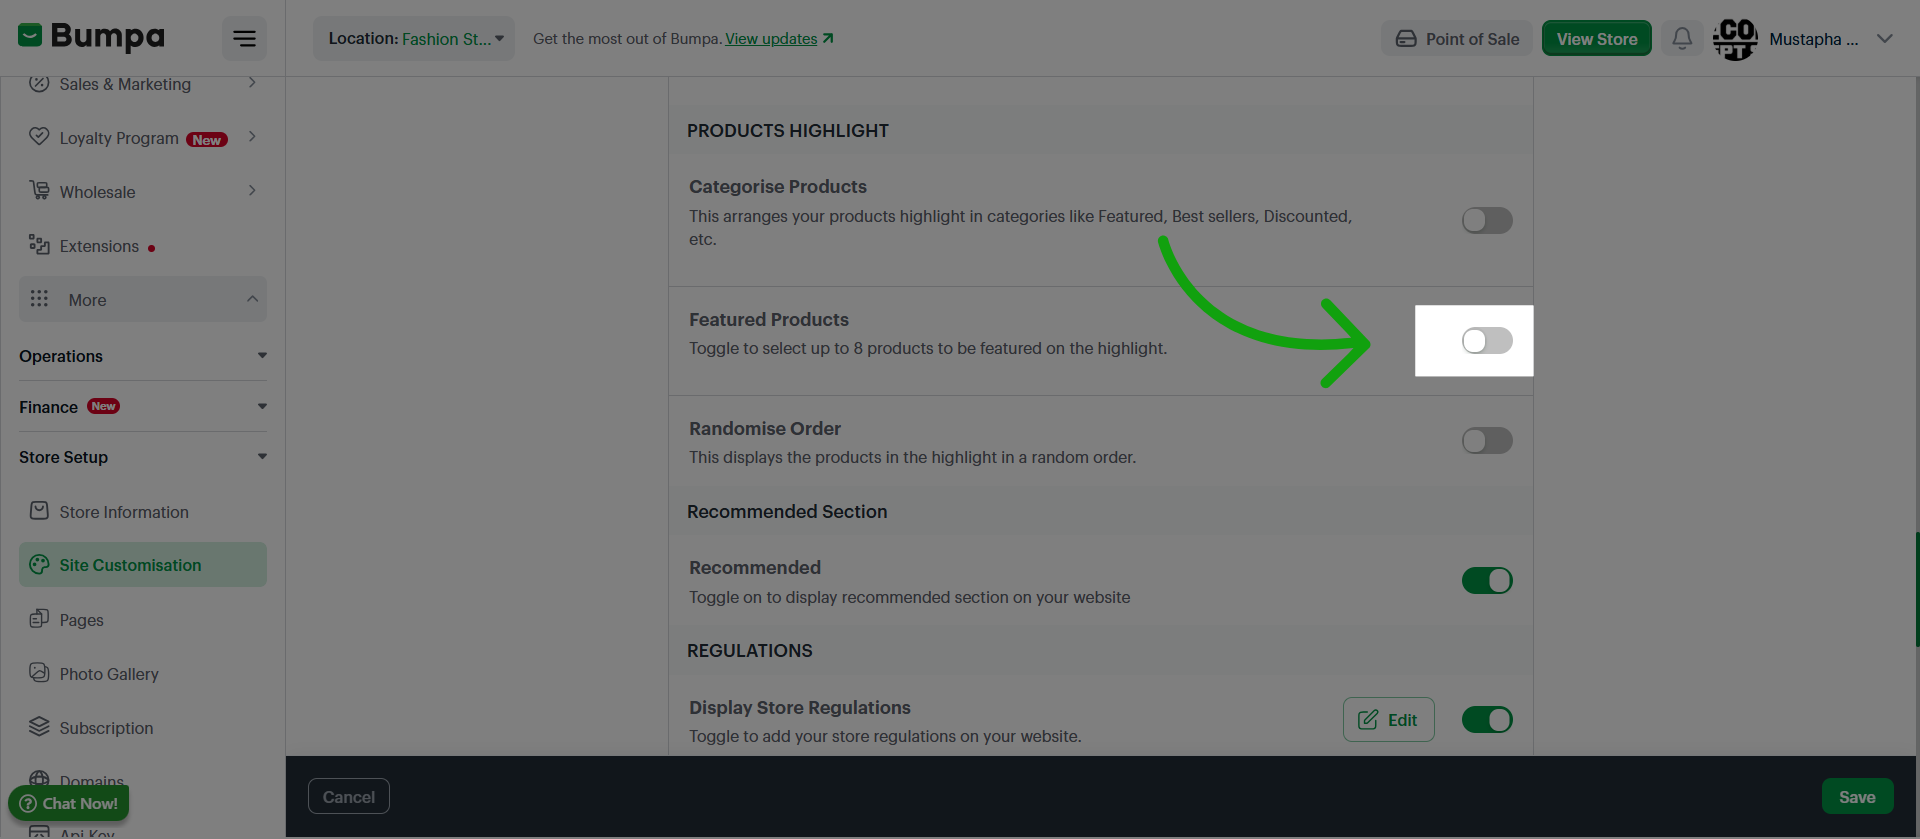
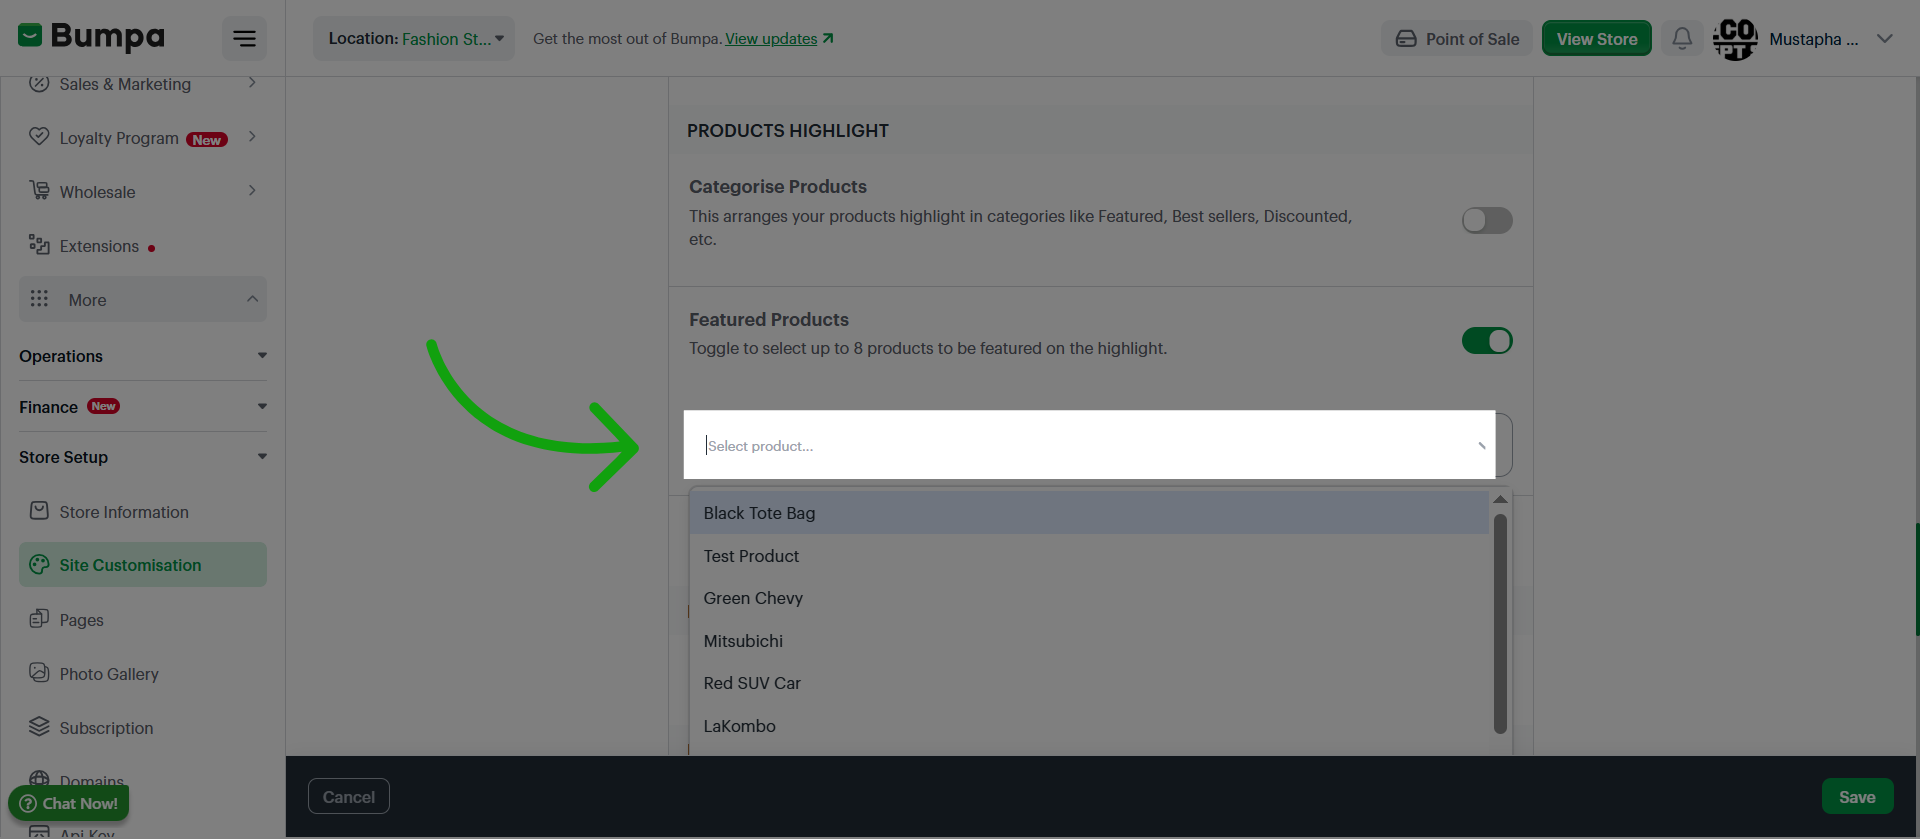
Toggle to activate Featured products and select up to 8 products you would like to be featured on your website
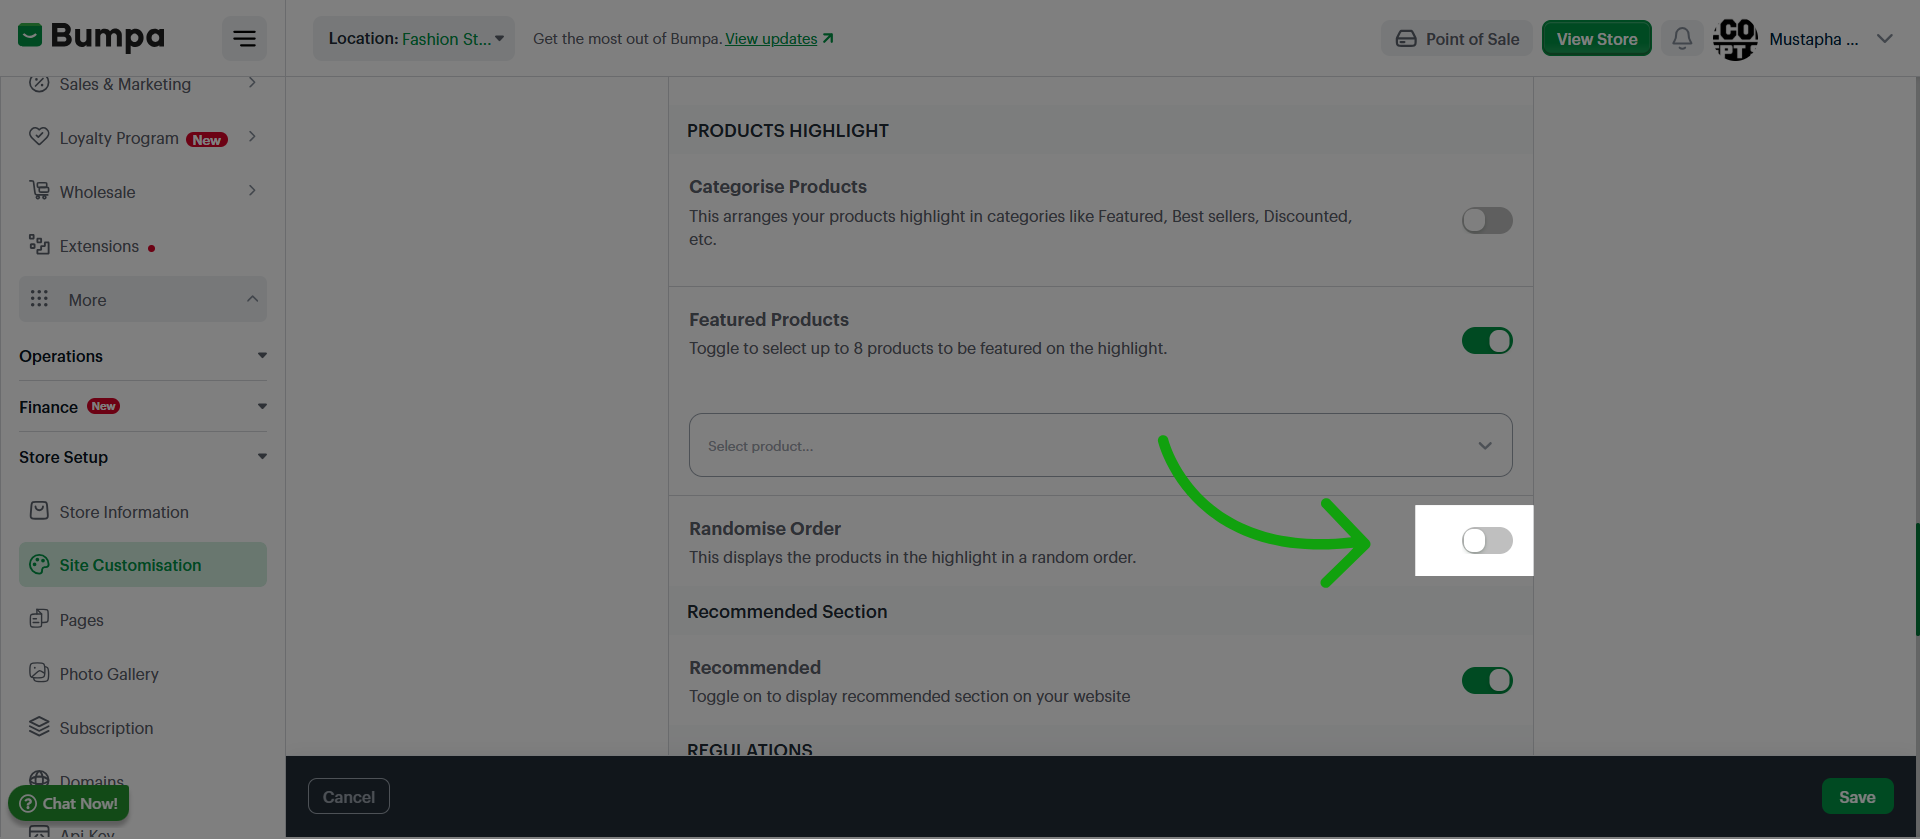
Enable the Randomise Order option to display products in the highlight section in a random sequence, enhancing product visibility.
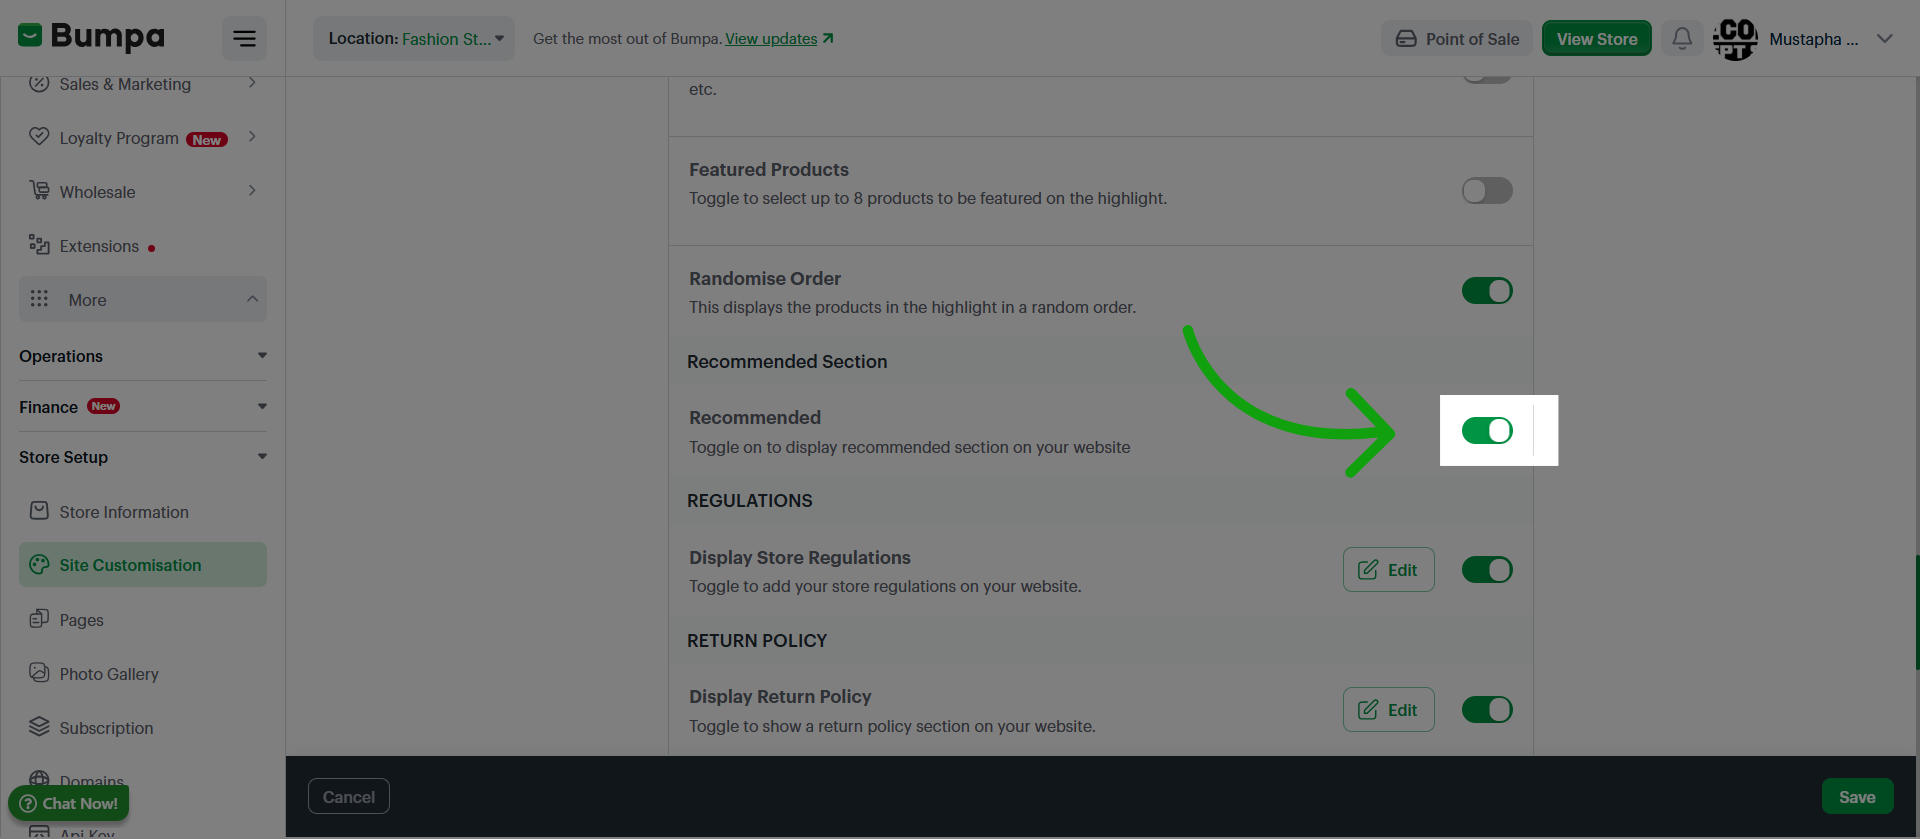
Enable the Recommended Section to display product recommendations on your website
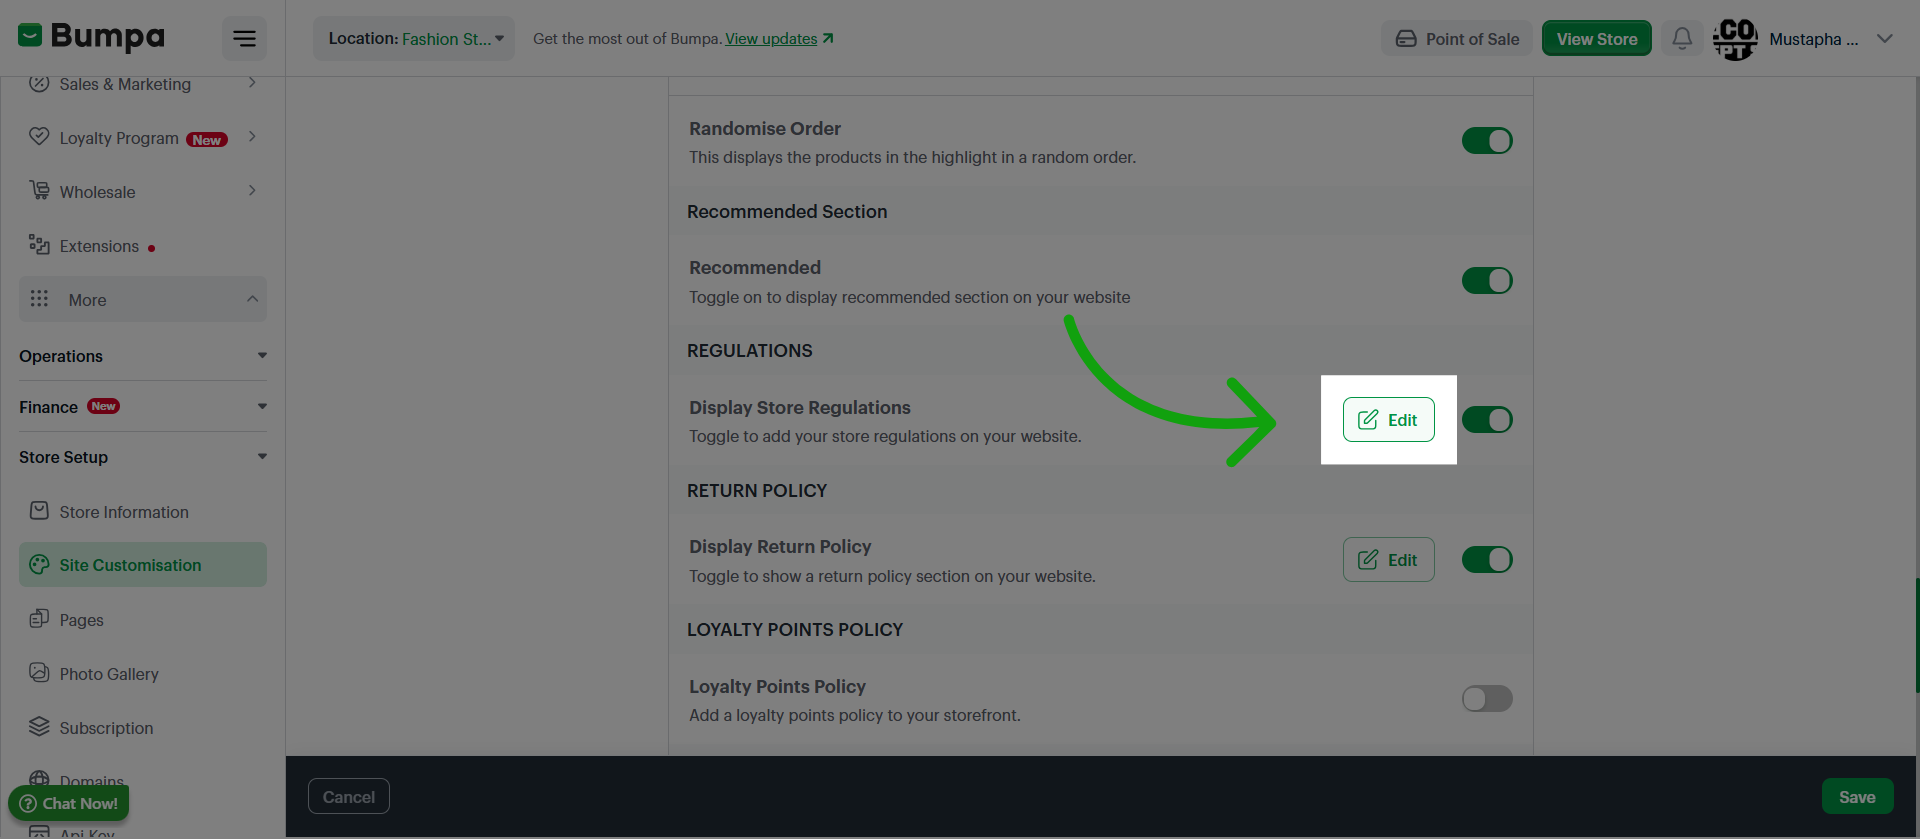
Click the Edit button to add up to 4 Store regulations to your website
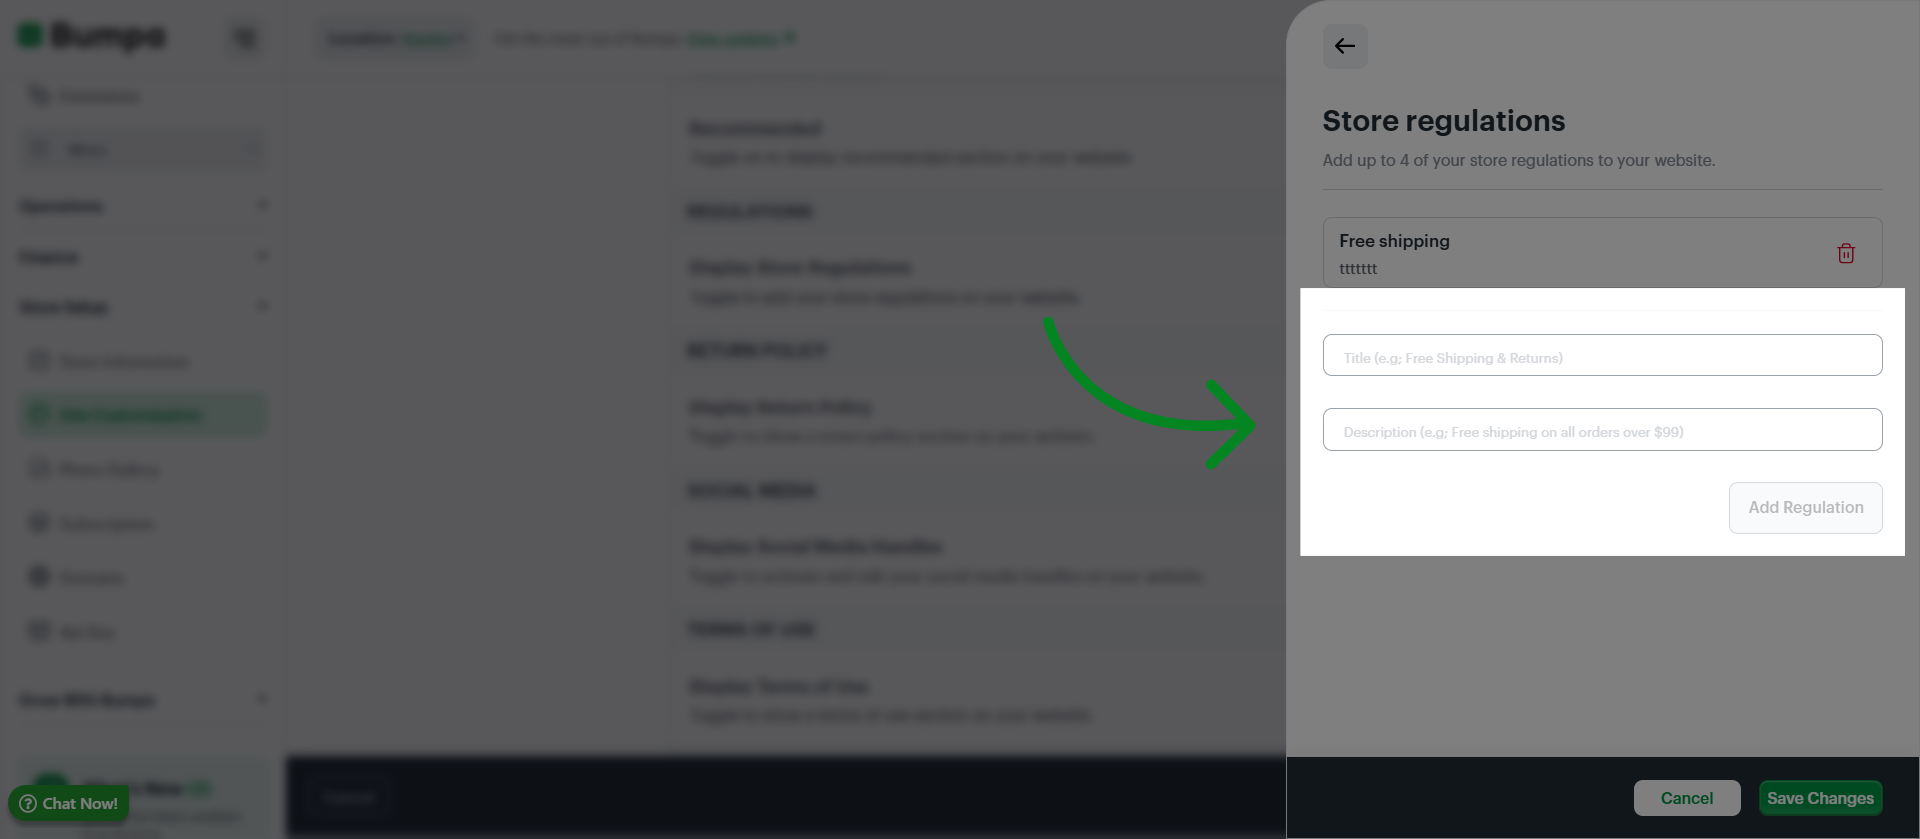
Input the header and content and Click Add Regulation to include a new compliance or policy rule within your store's settings.
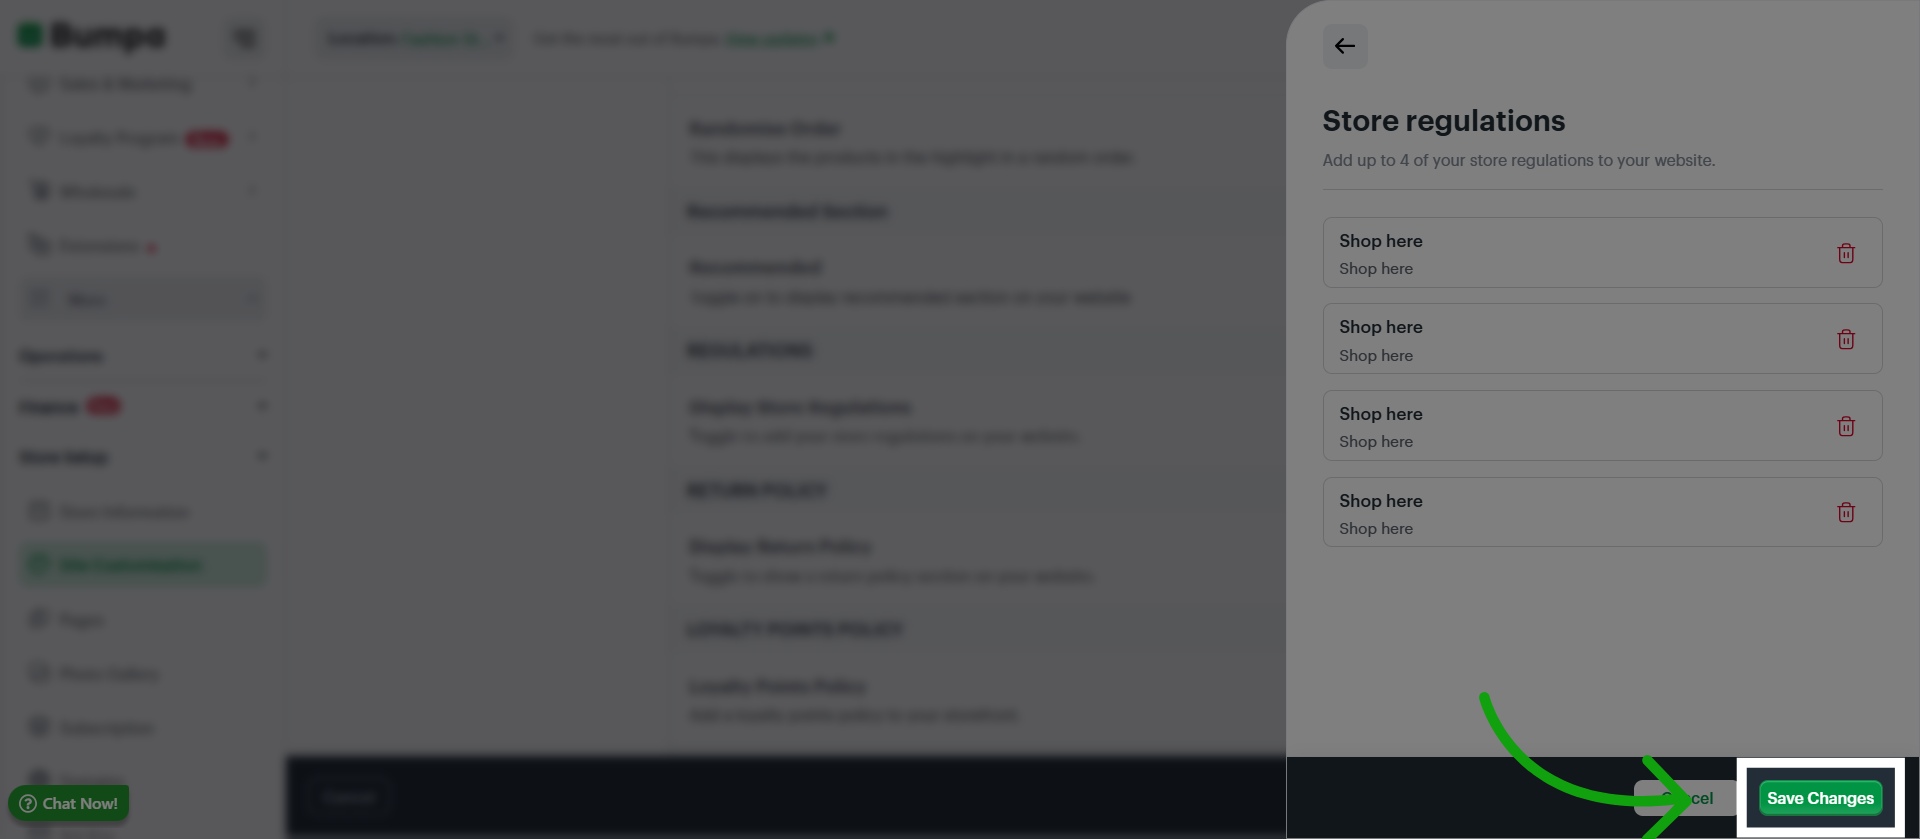
Click Save Changes to apply and store the newly added regulations to your store
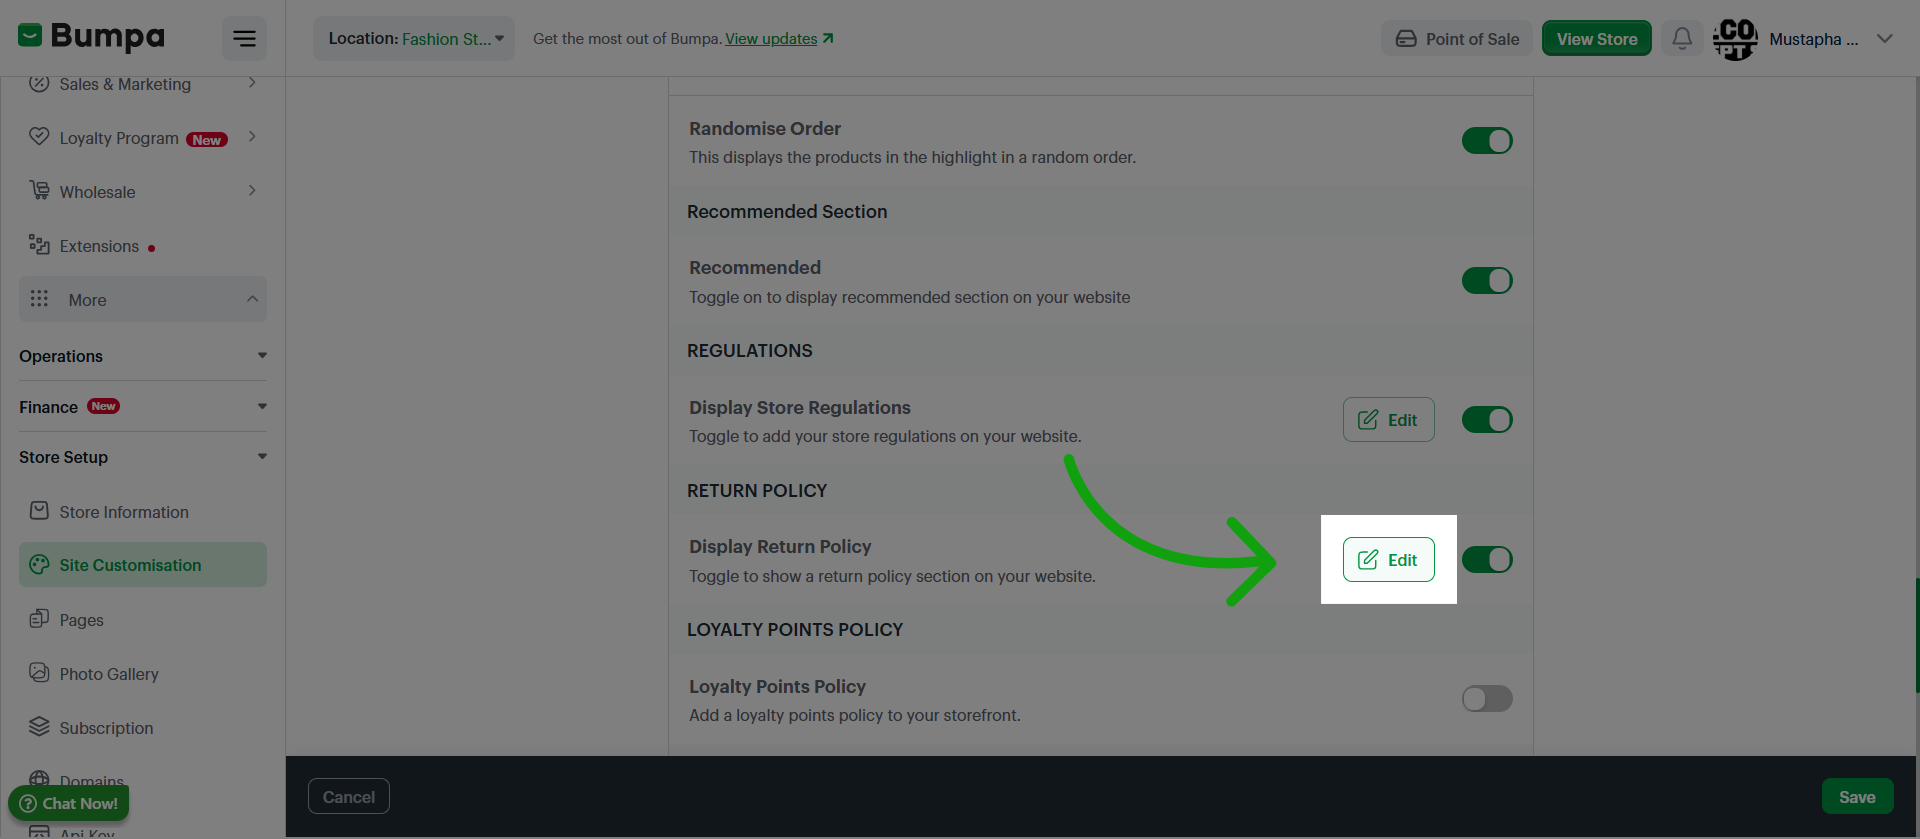
Click Edit to include a return Policy to your store set up
Input your store’s return policy
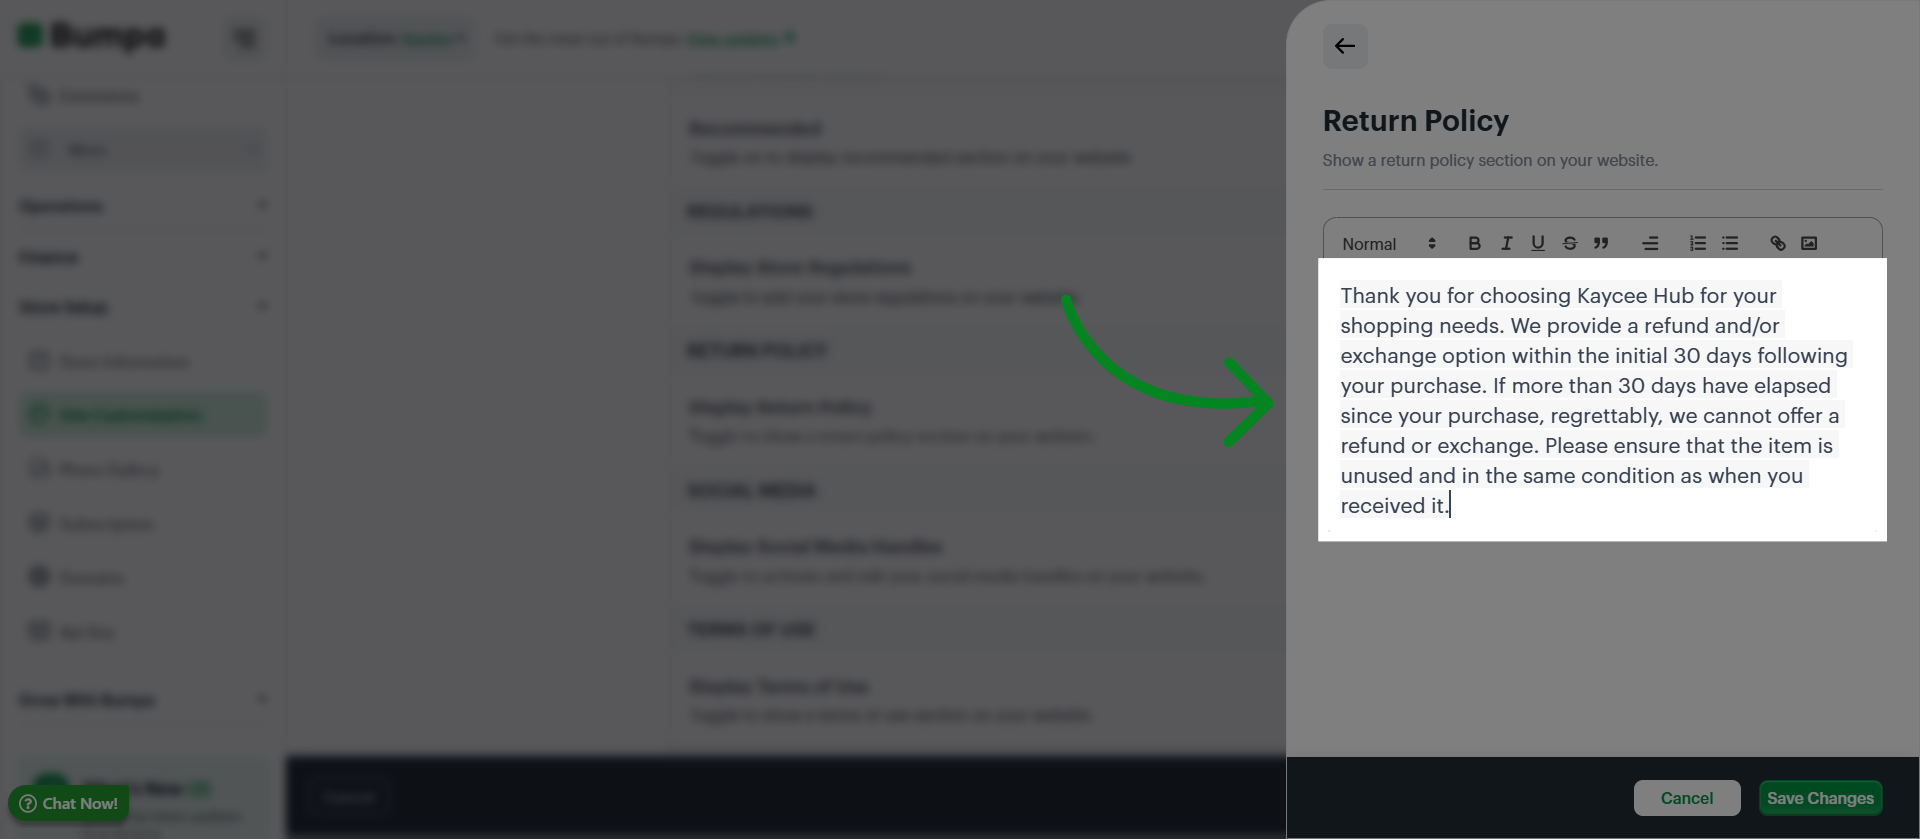
Click Save Changes to apply the return policy to your store settings.
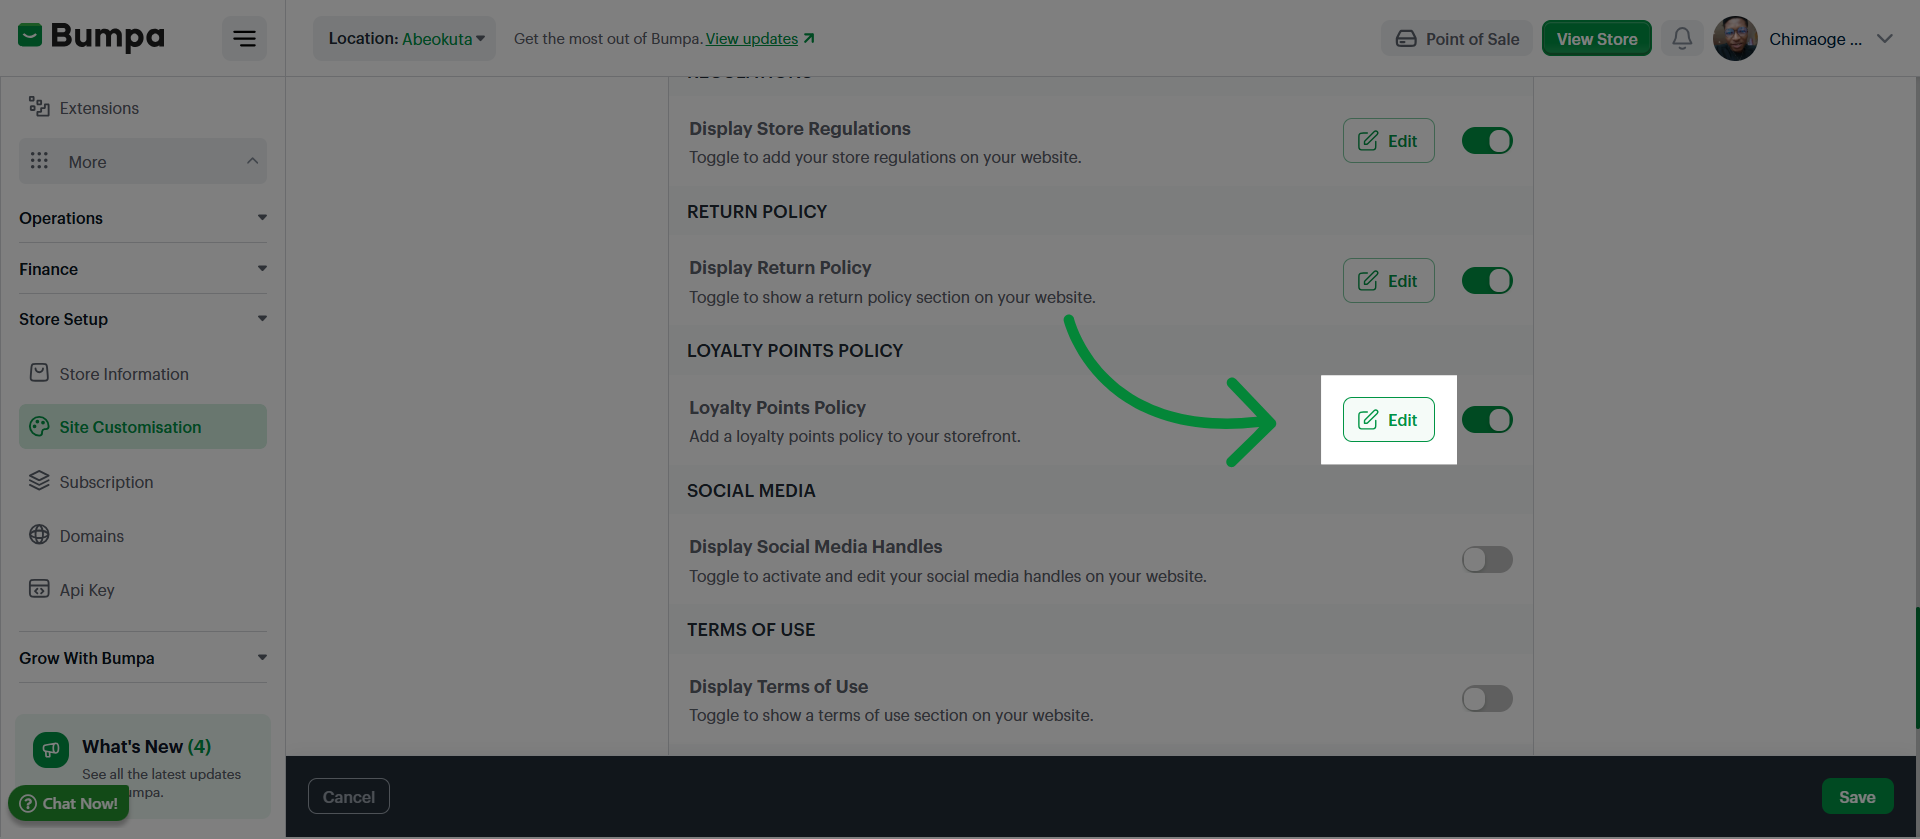
Click Edit to set up Loyalty points policy on your website
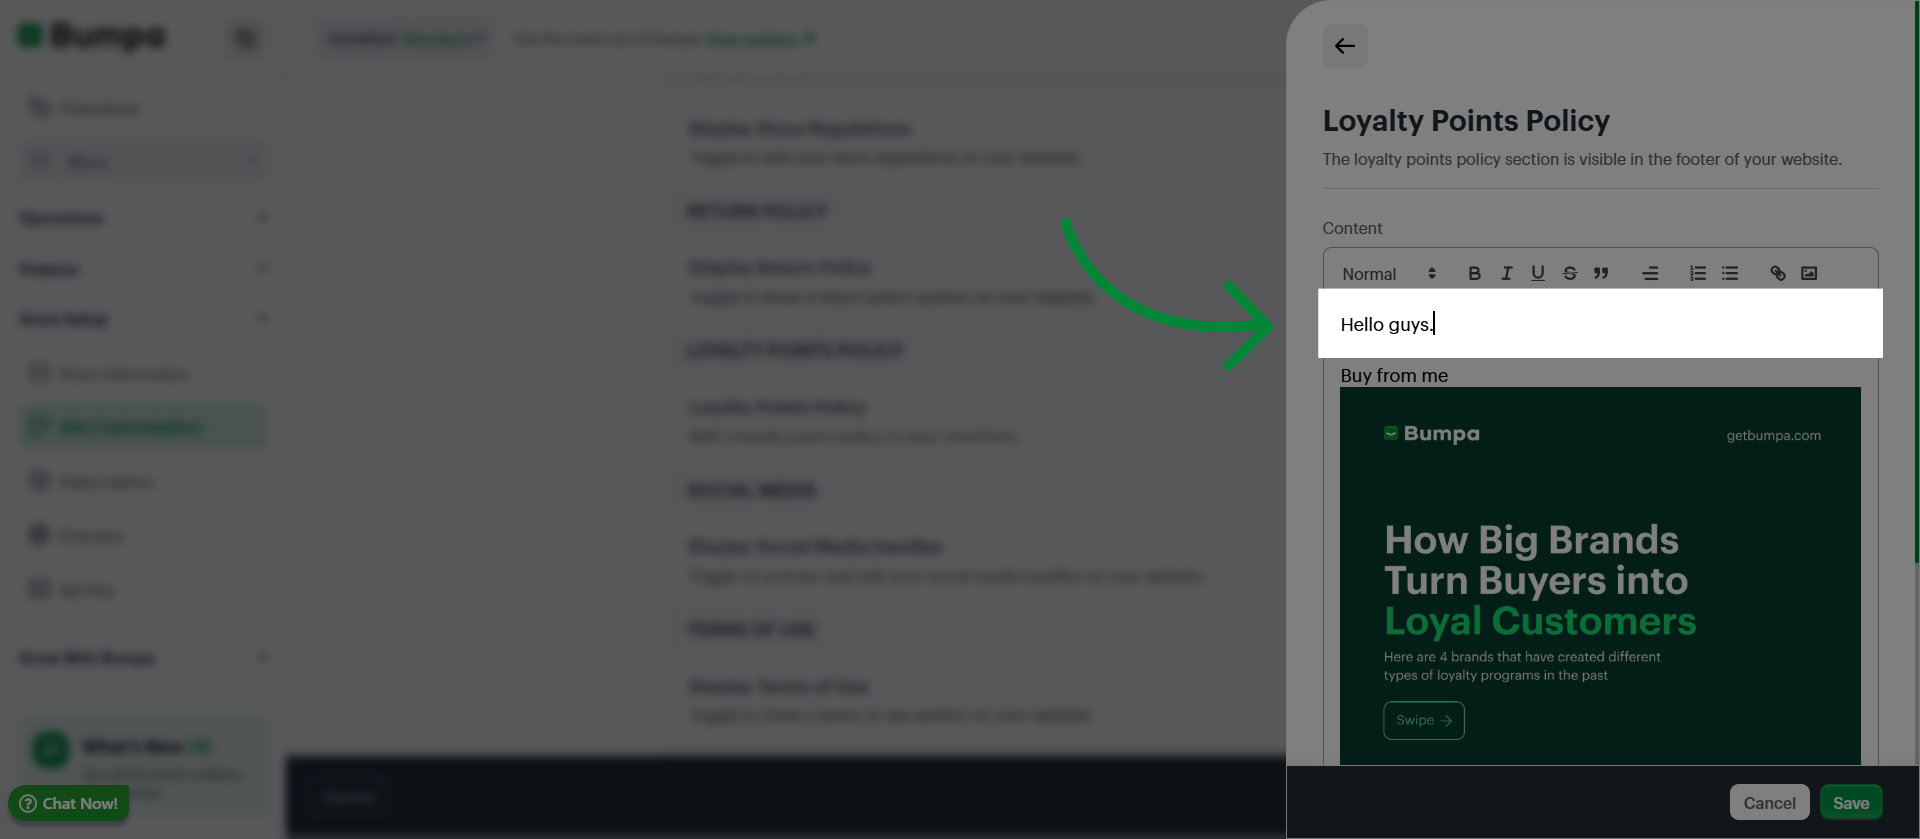
Input the content of your loyalty points policy
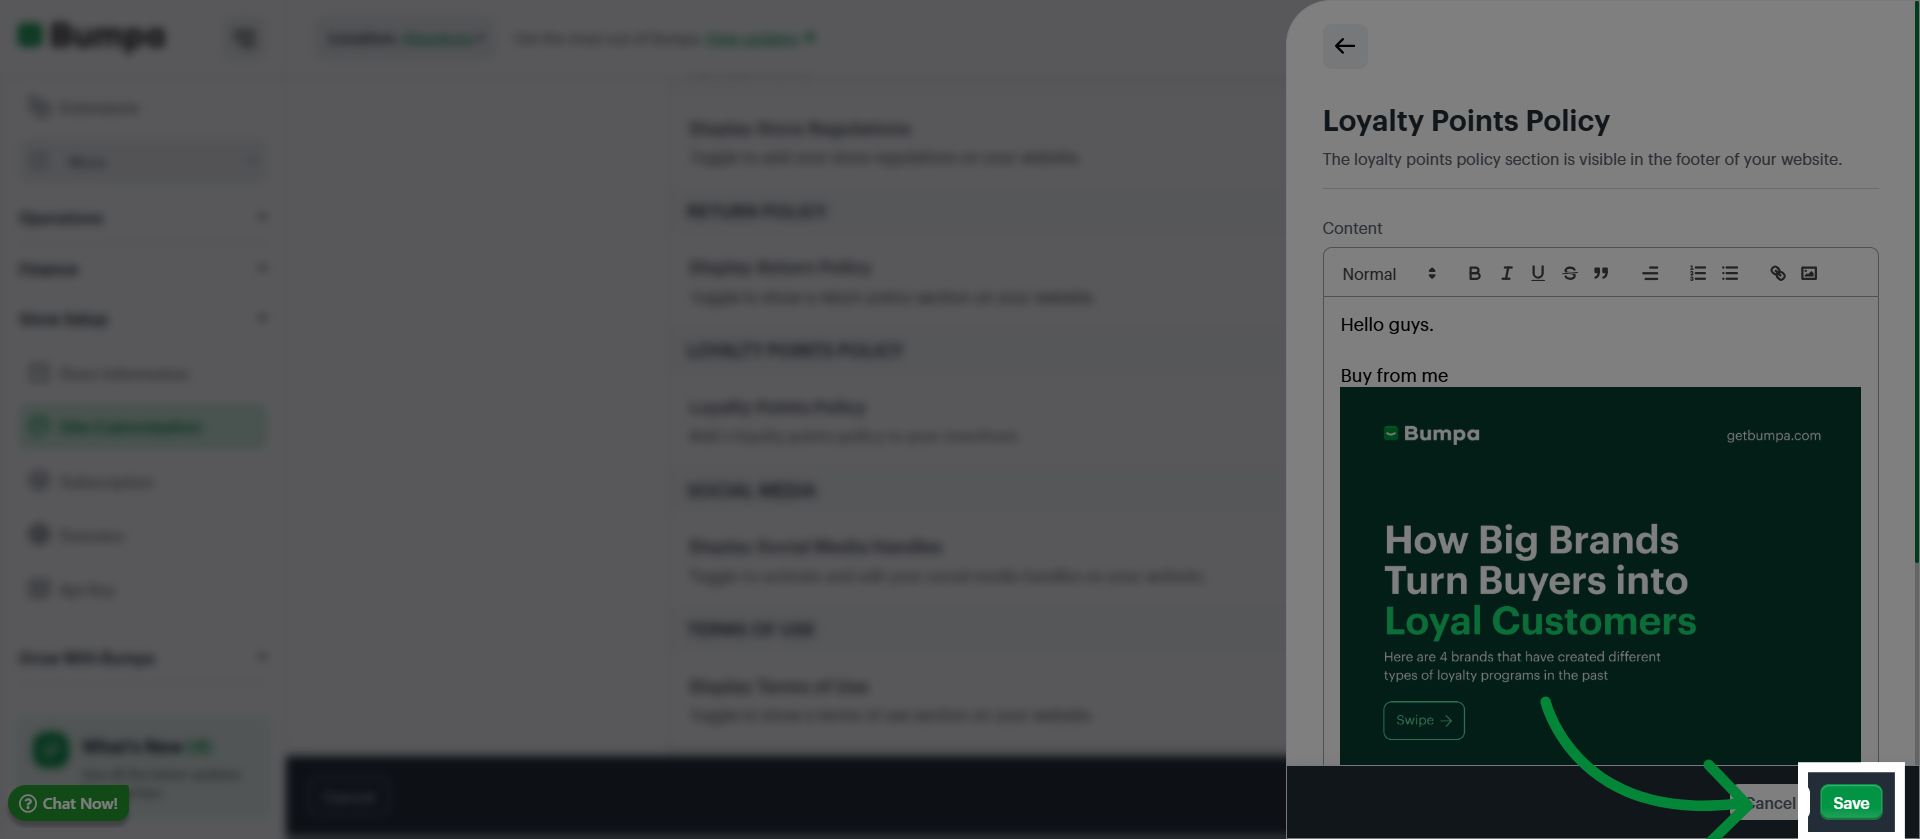
Click Save to apply the loyalty points policy to your website
Click Edit to access the Social Media Setup
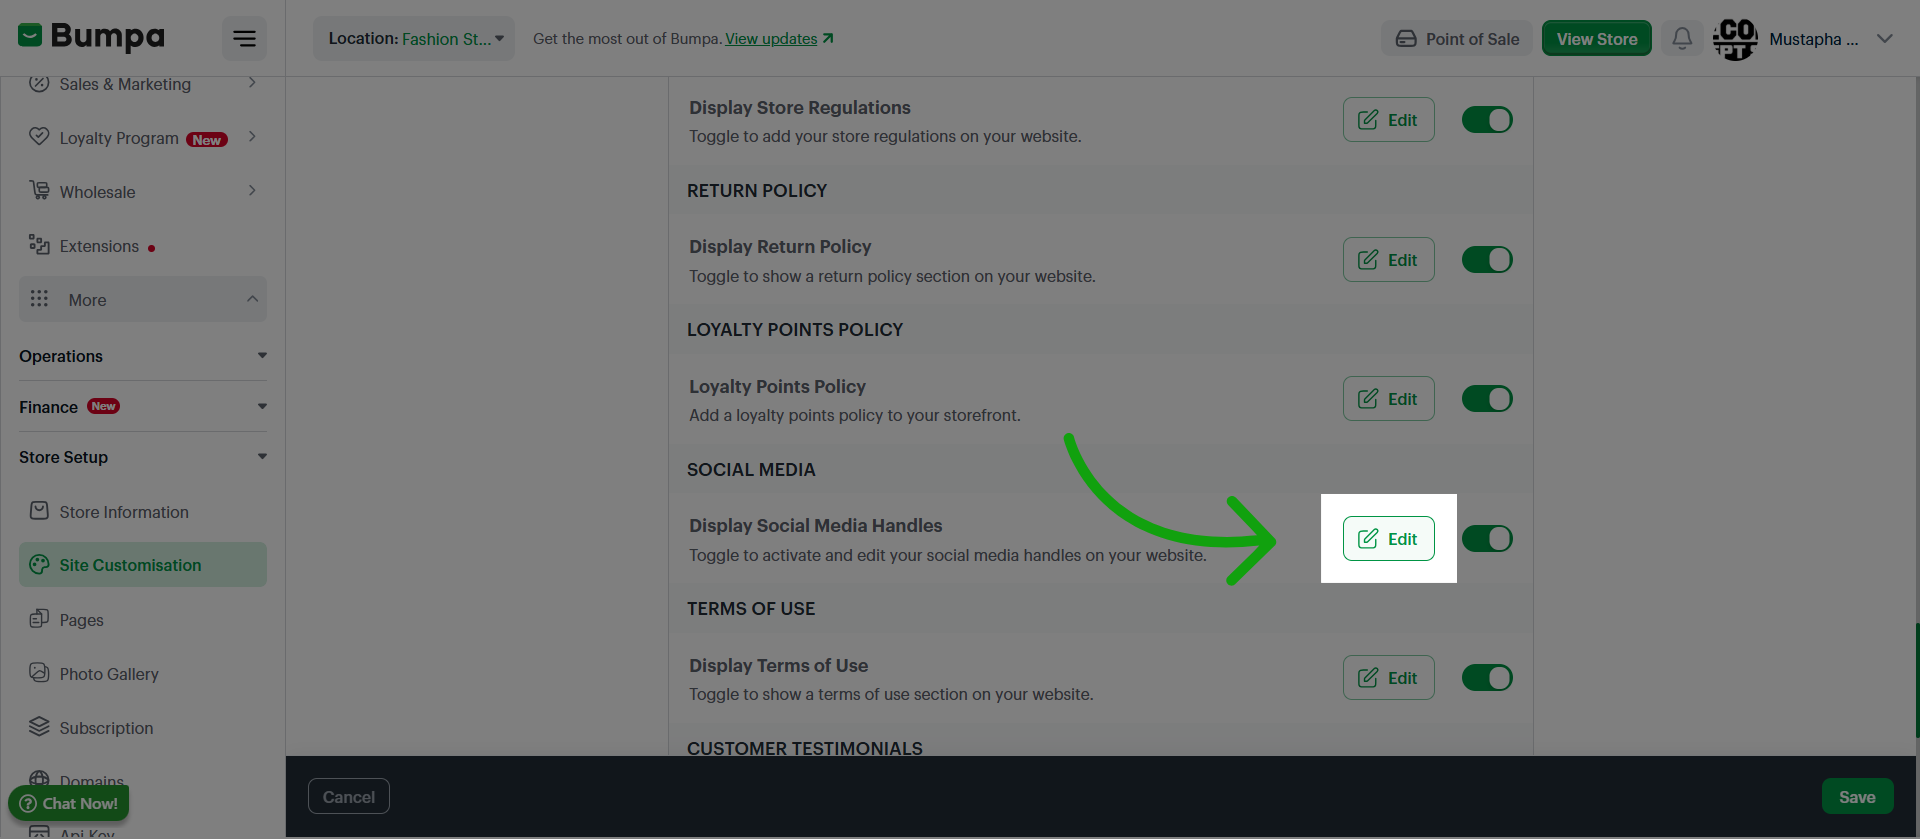
Select the Social media platform, input your handle and click on Add
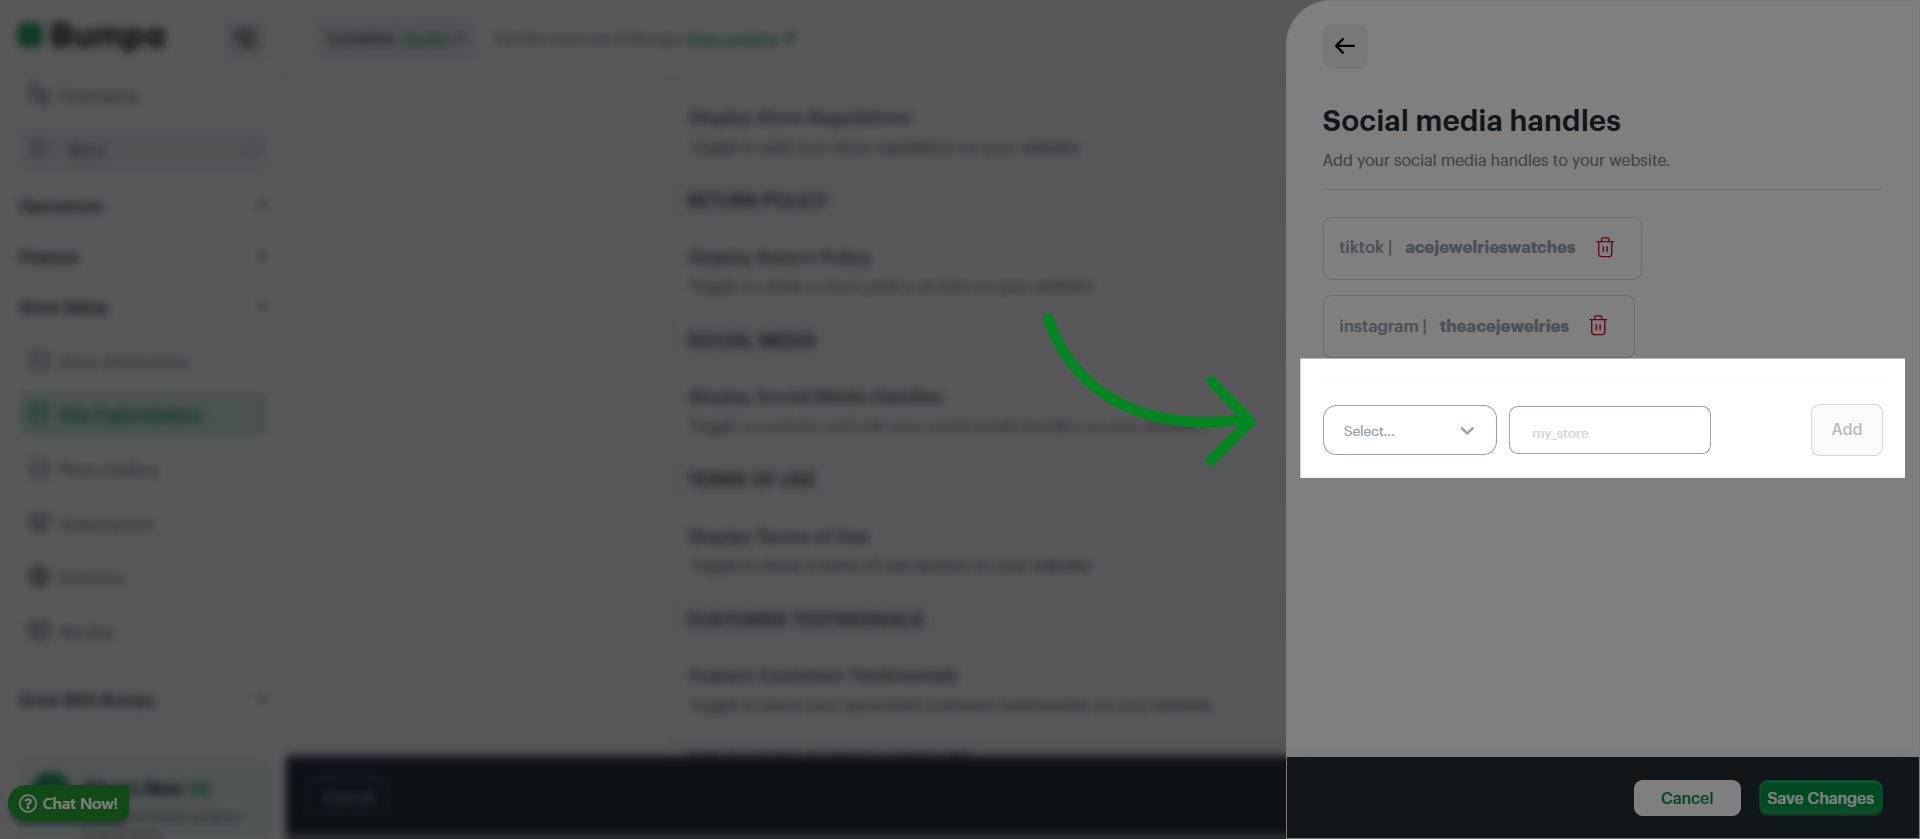
Click Save Changes to apply the social media handles to your website
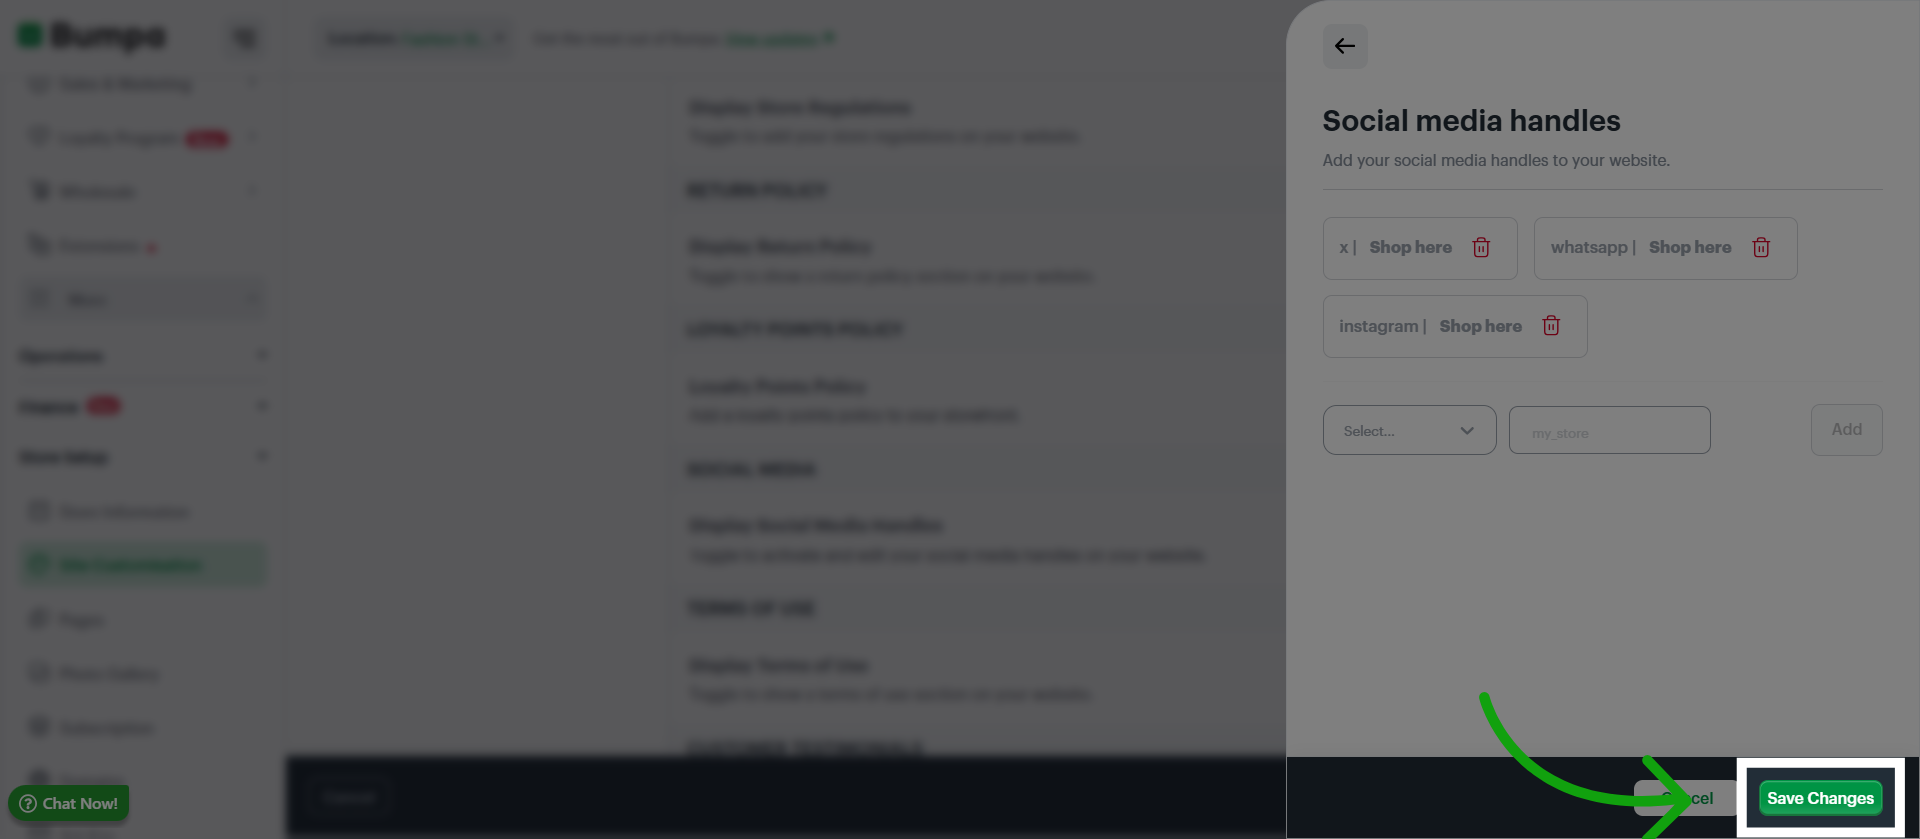
Click Edit to add a Terms of Use Section to your website
Input the content of your Terms of Use
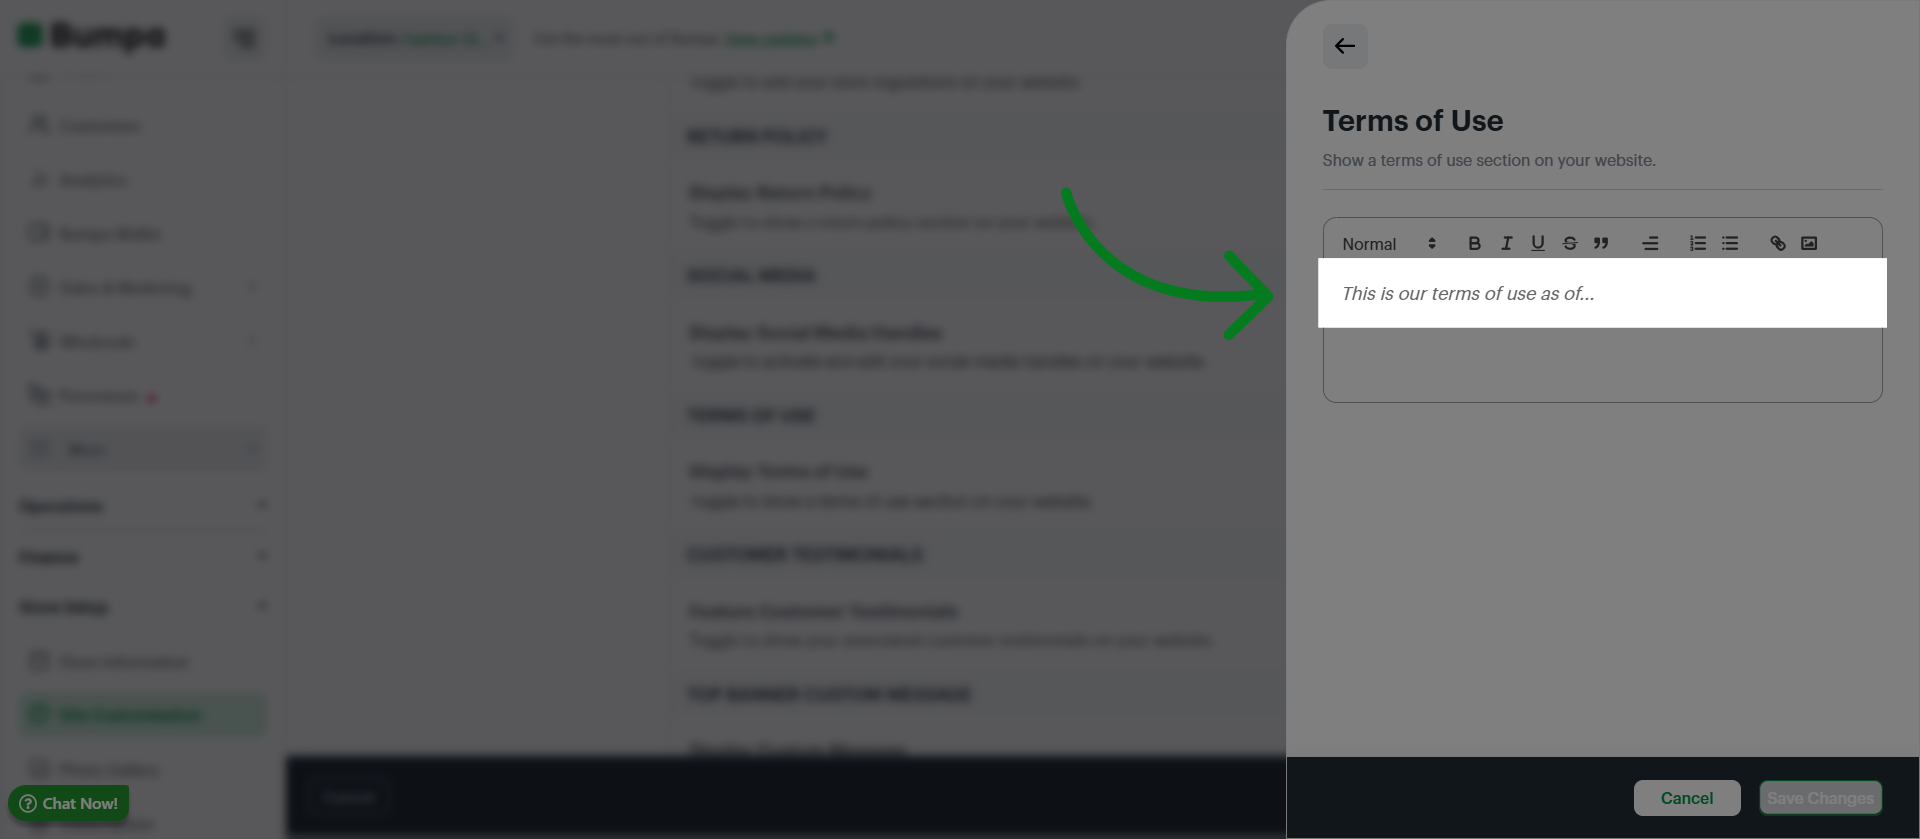
Click Save Changes to confirm and apply the information entered in the Terms of Use to your store configuration.
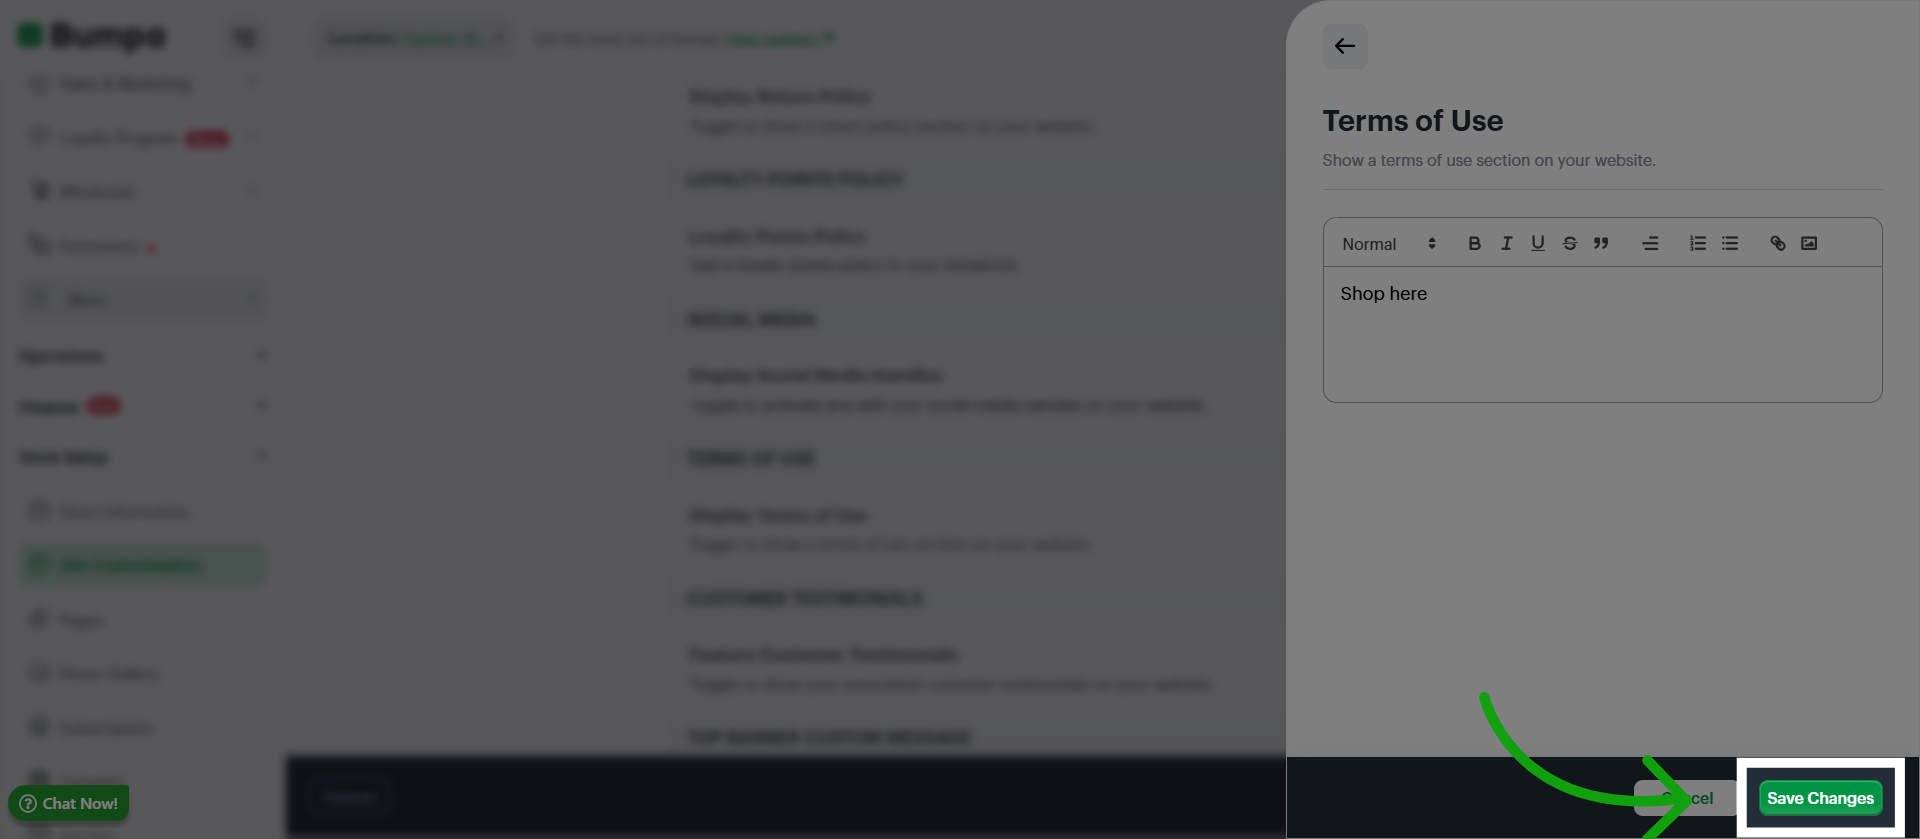
Click the Edit button to feature customer testimonials on your website
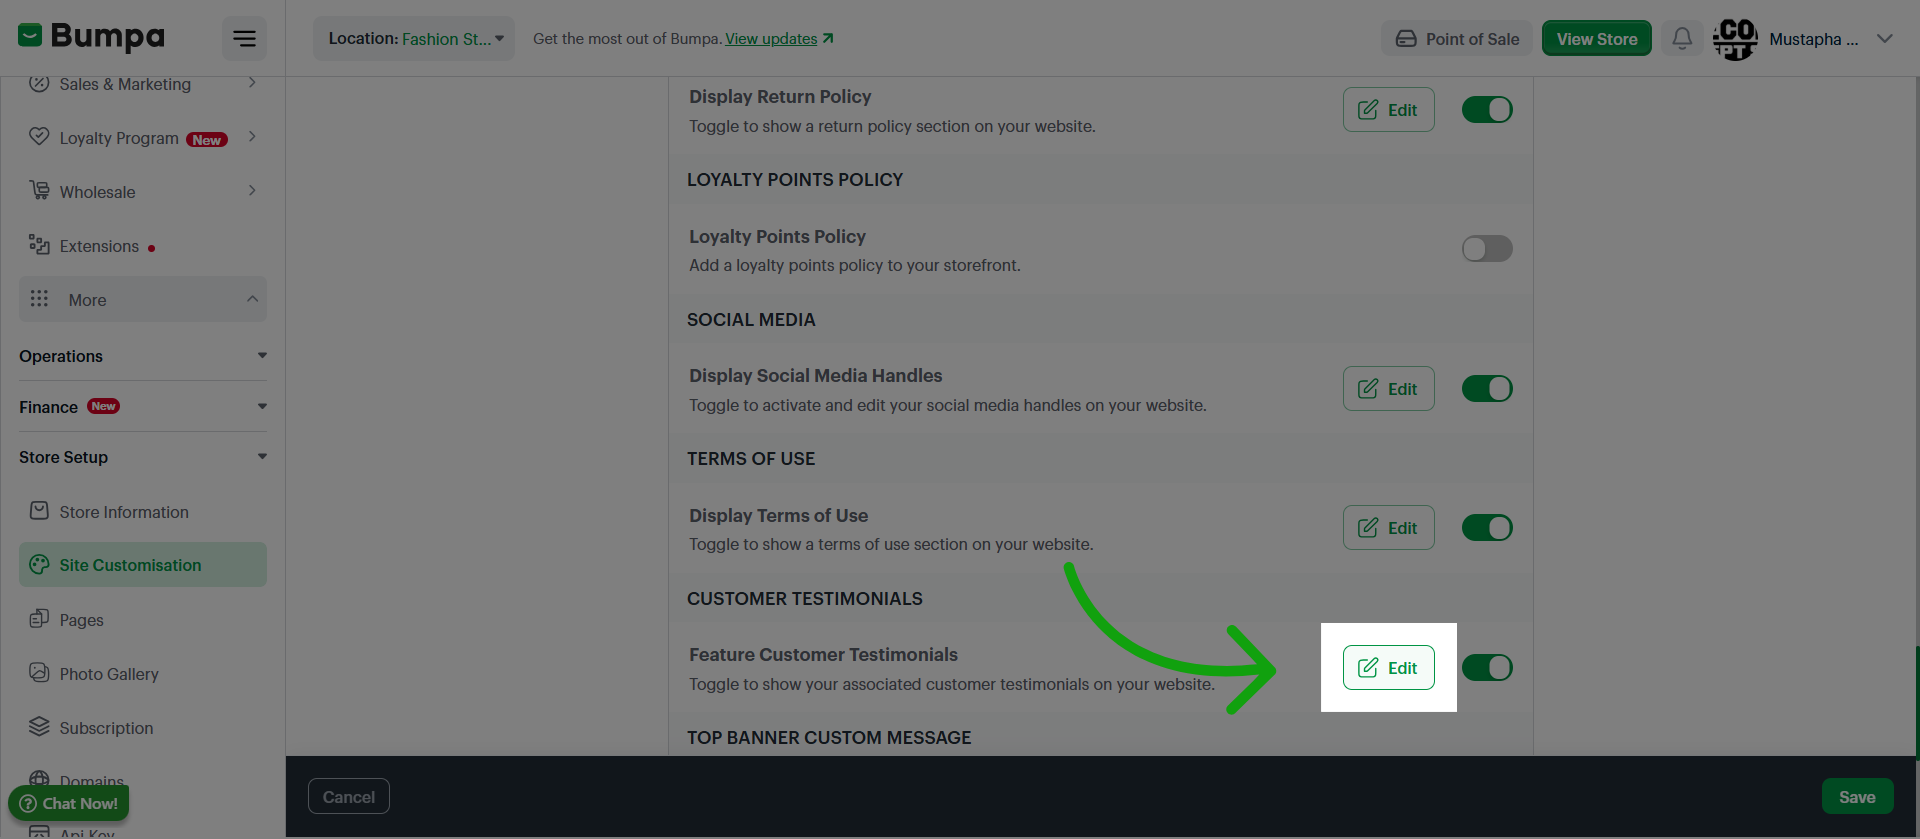
Upload a logo, insert the comment and Click Save Changes to apply
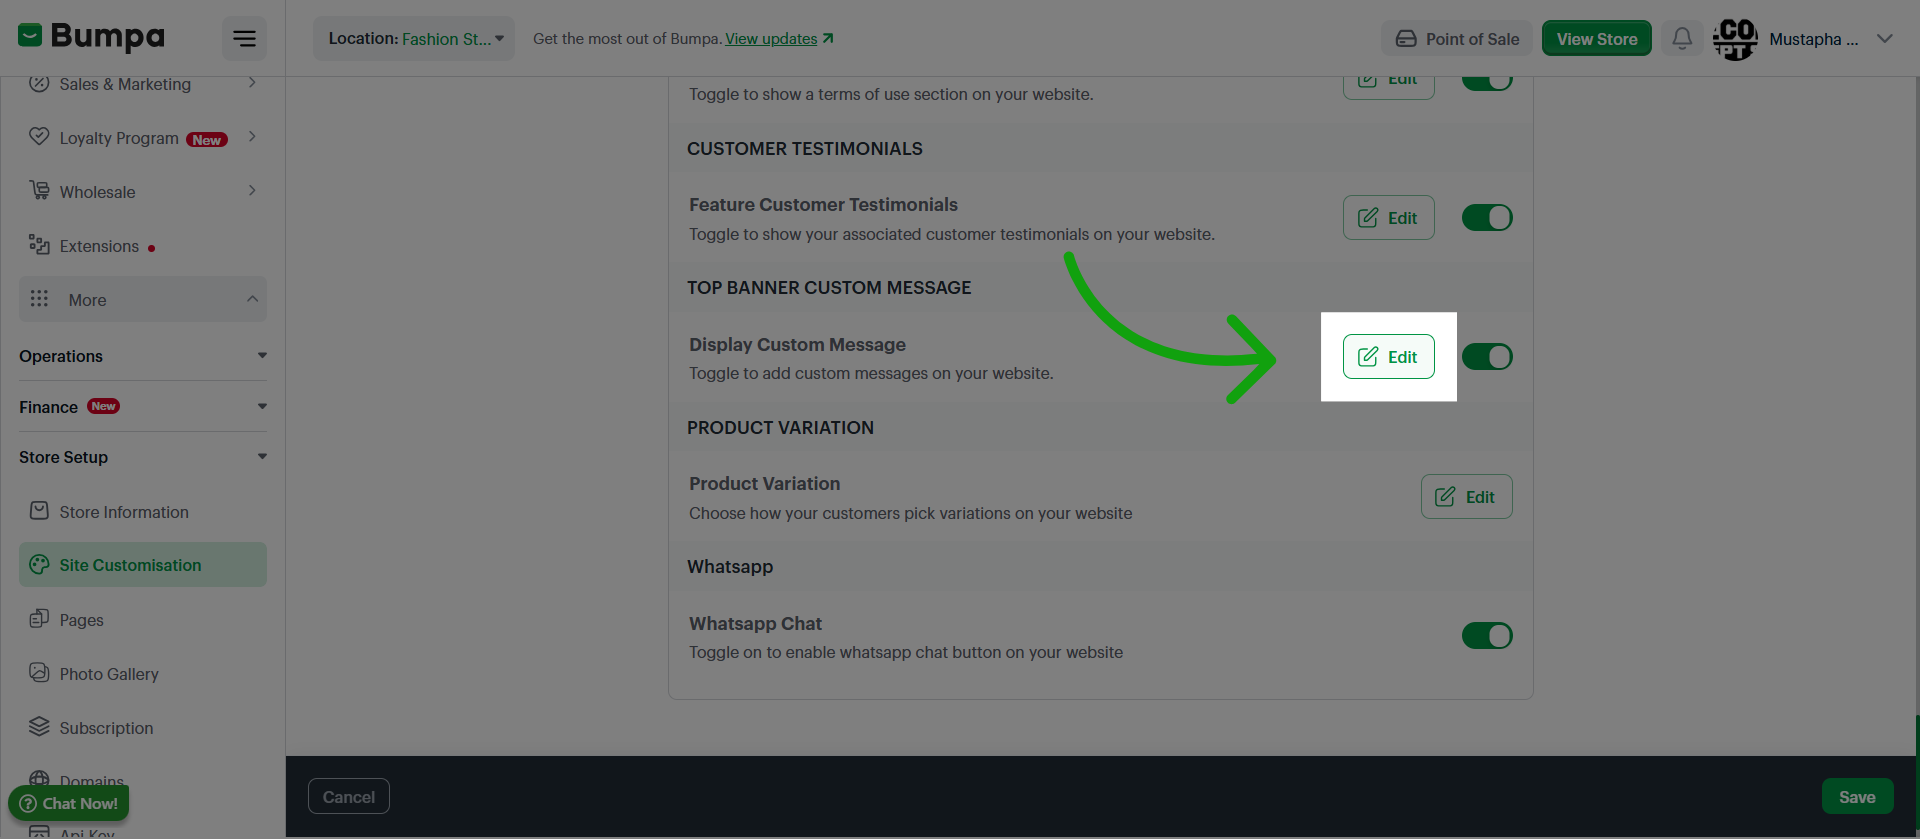
Click the Edit button to set up custom messages on your website
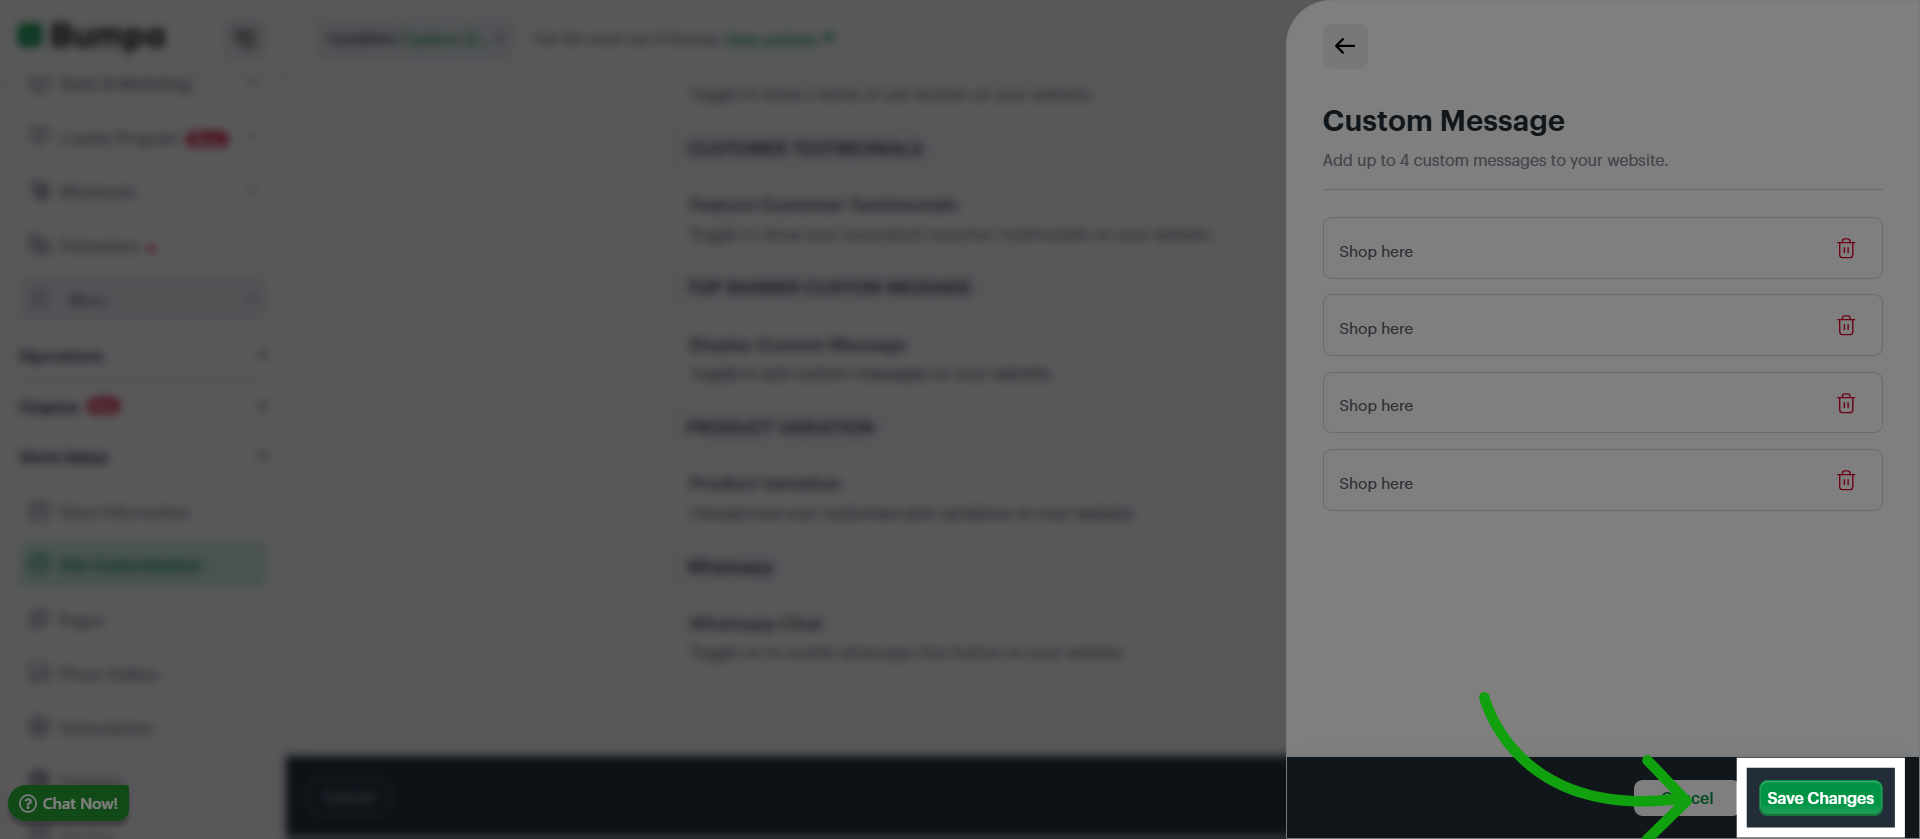
Set up custom messages customers can see on your website and clicl on save changes
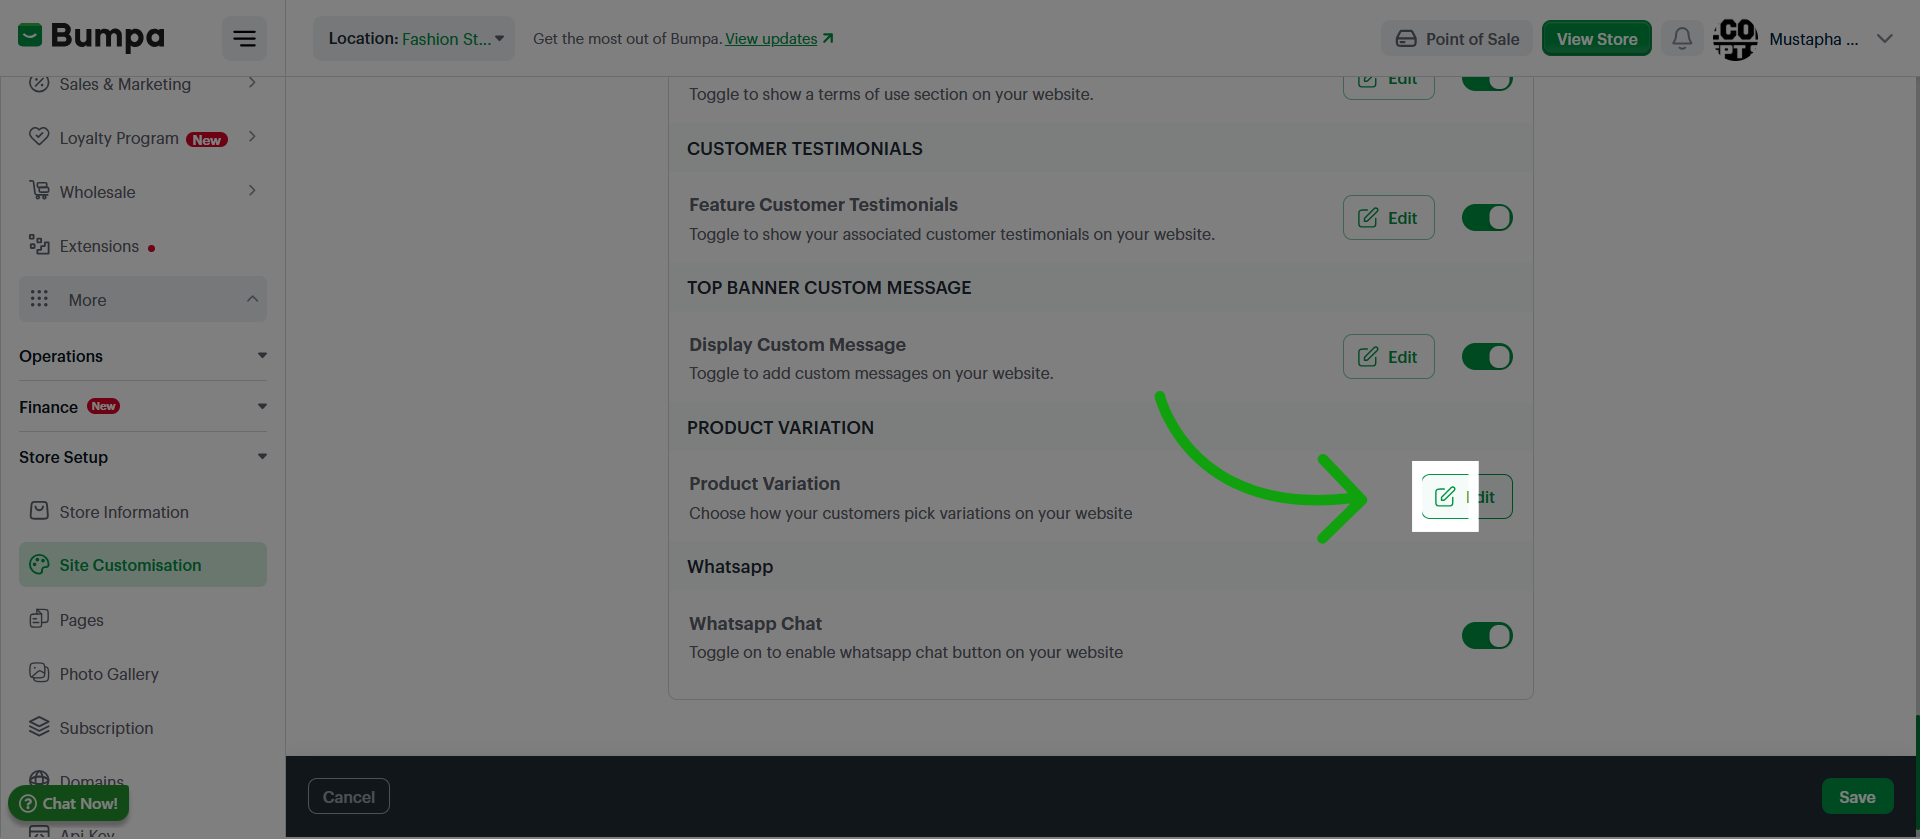
Click Edit to Set up Product Variation options
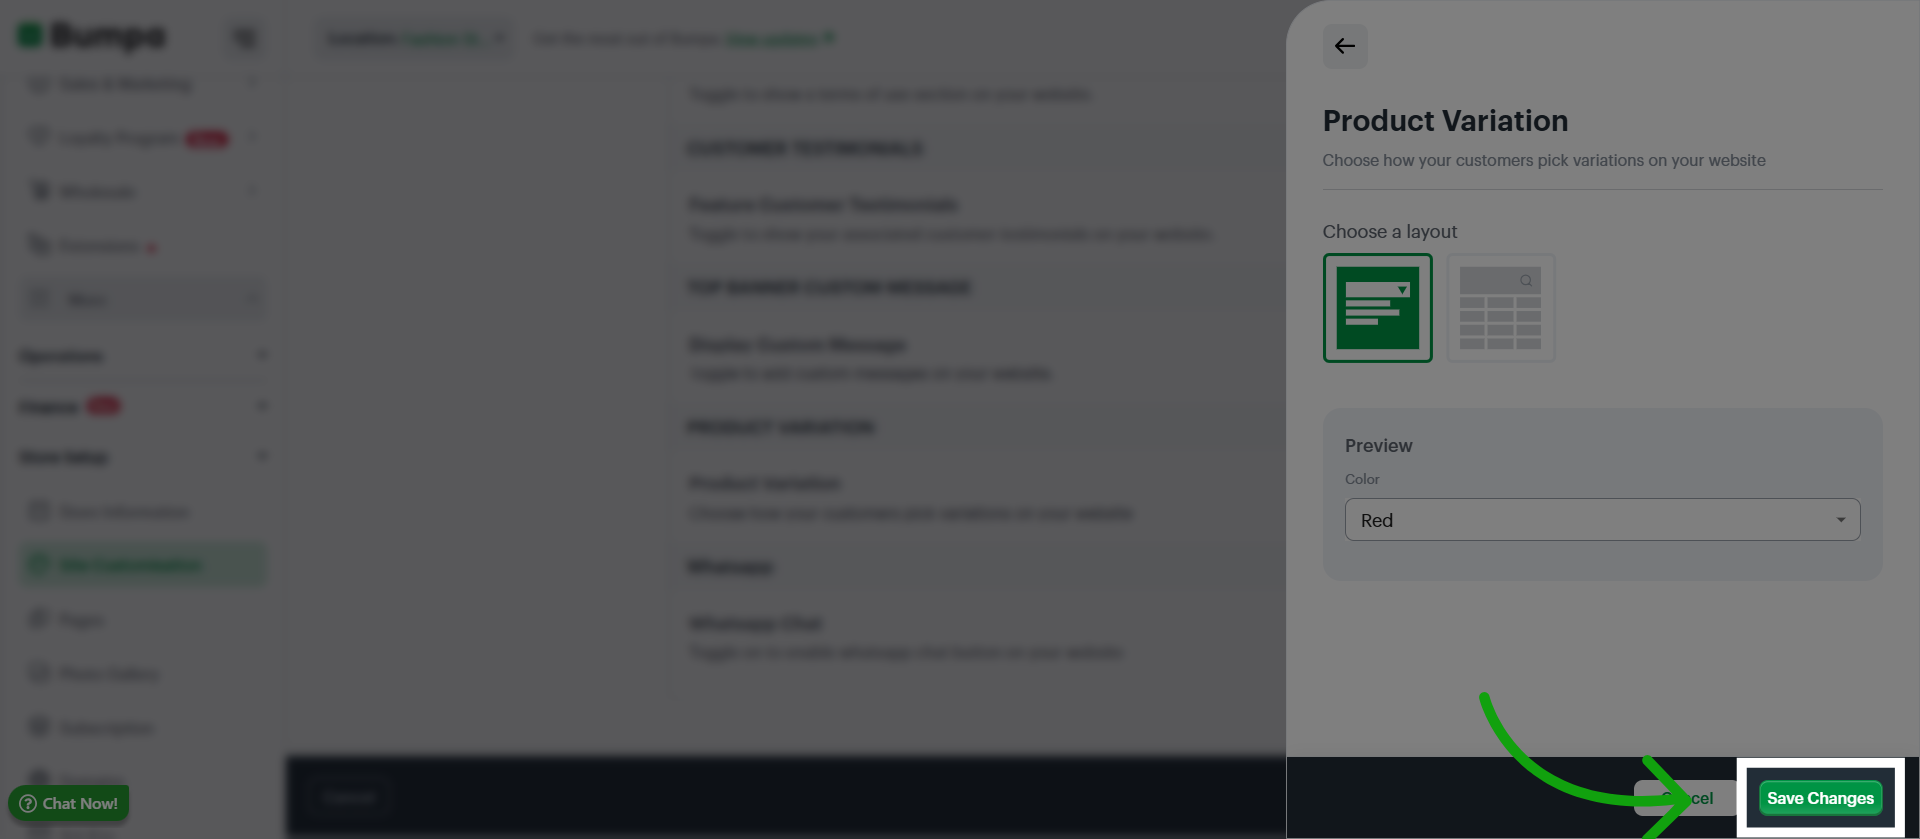
Choose a layout and your preferred color, proceed to Save Changes
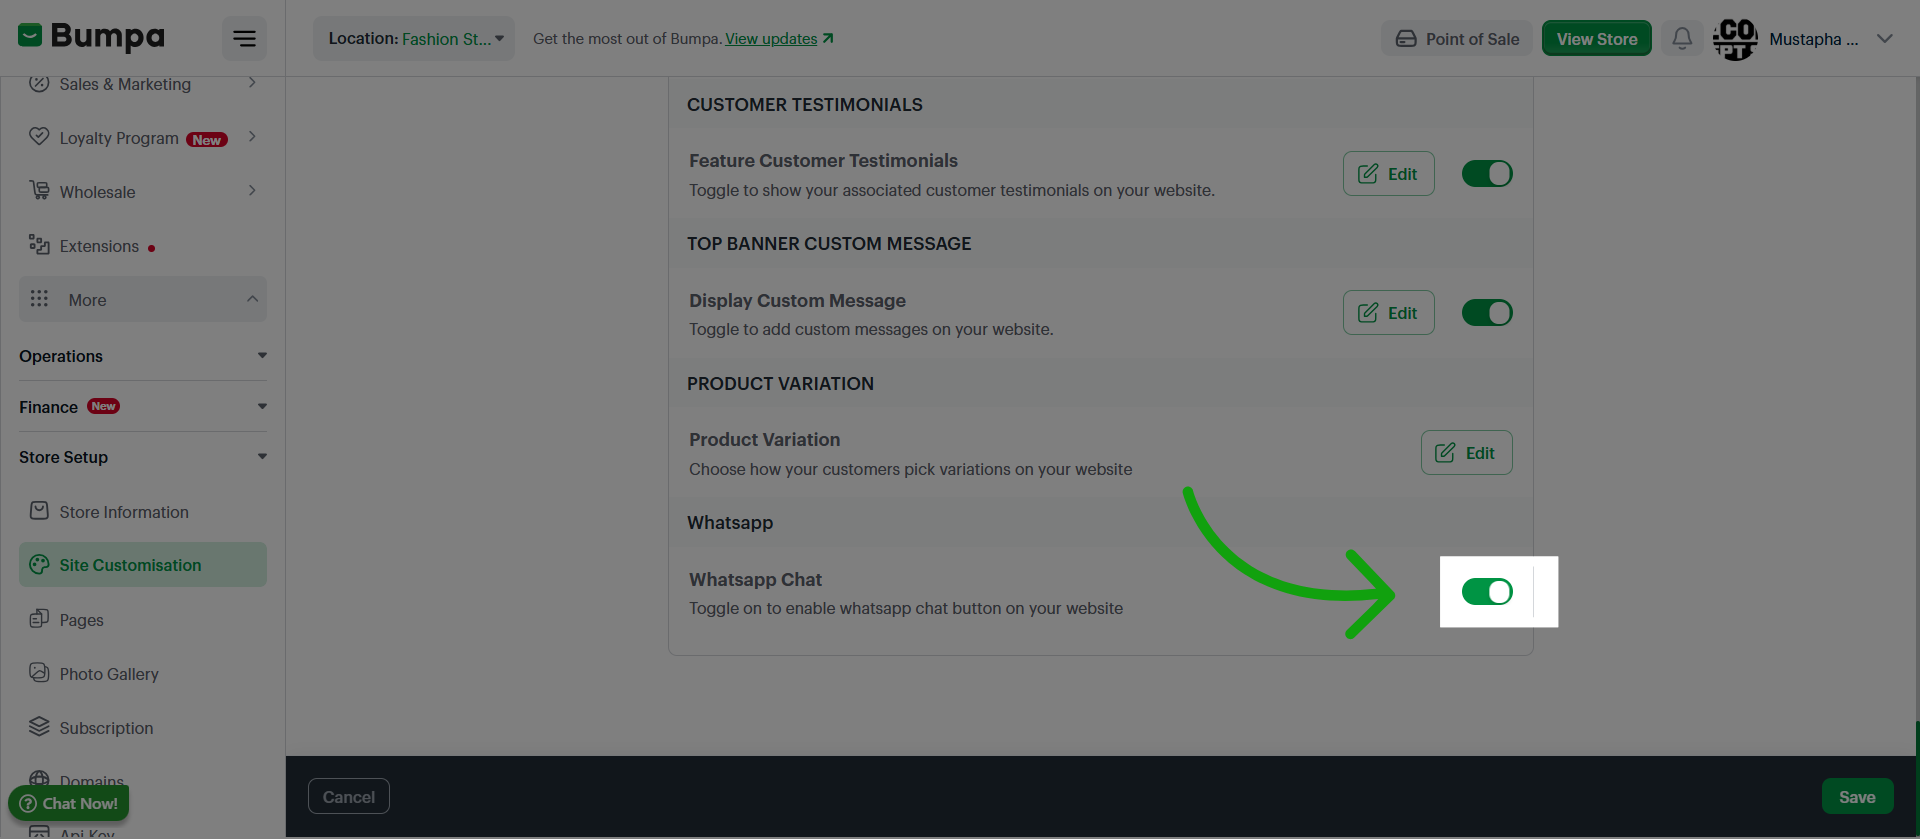
Toggle on to enable the WhatsApp chat button on your website
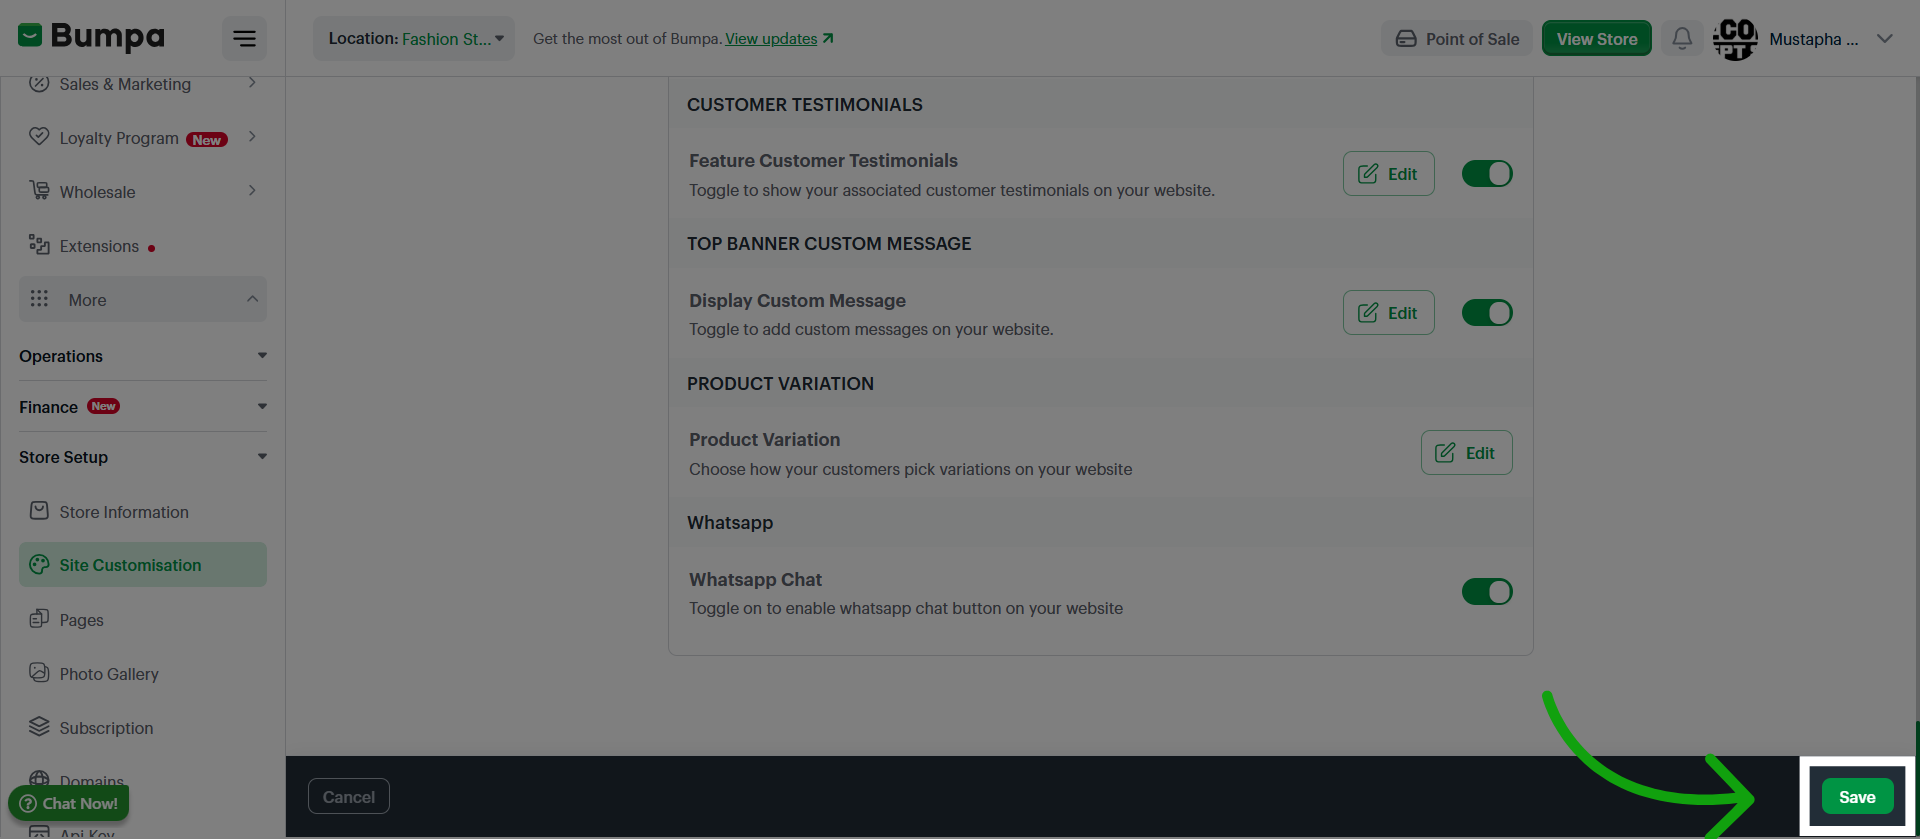
Click Save to apply and save the enabled option in your customization settings.
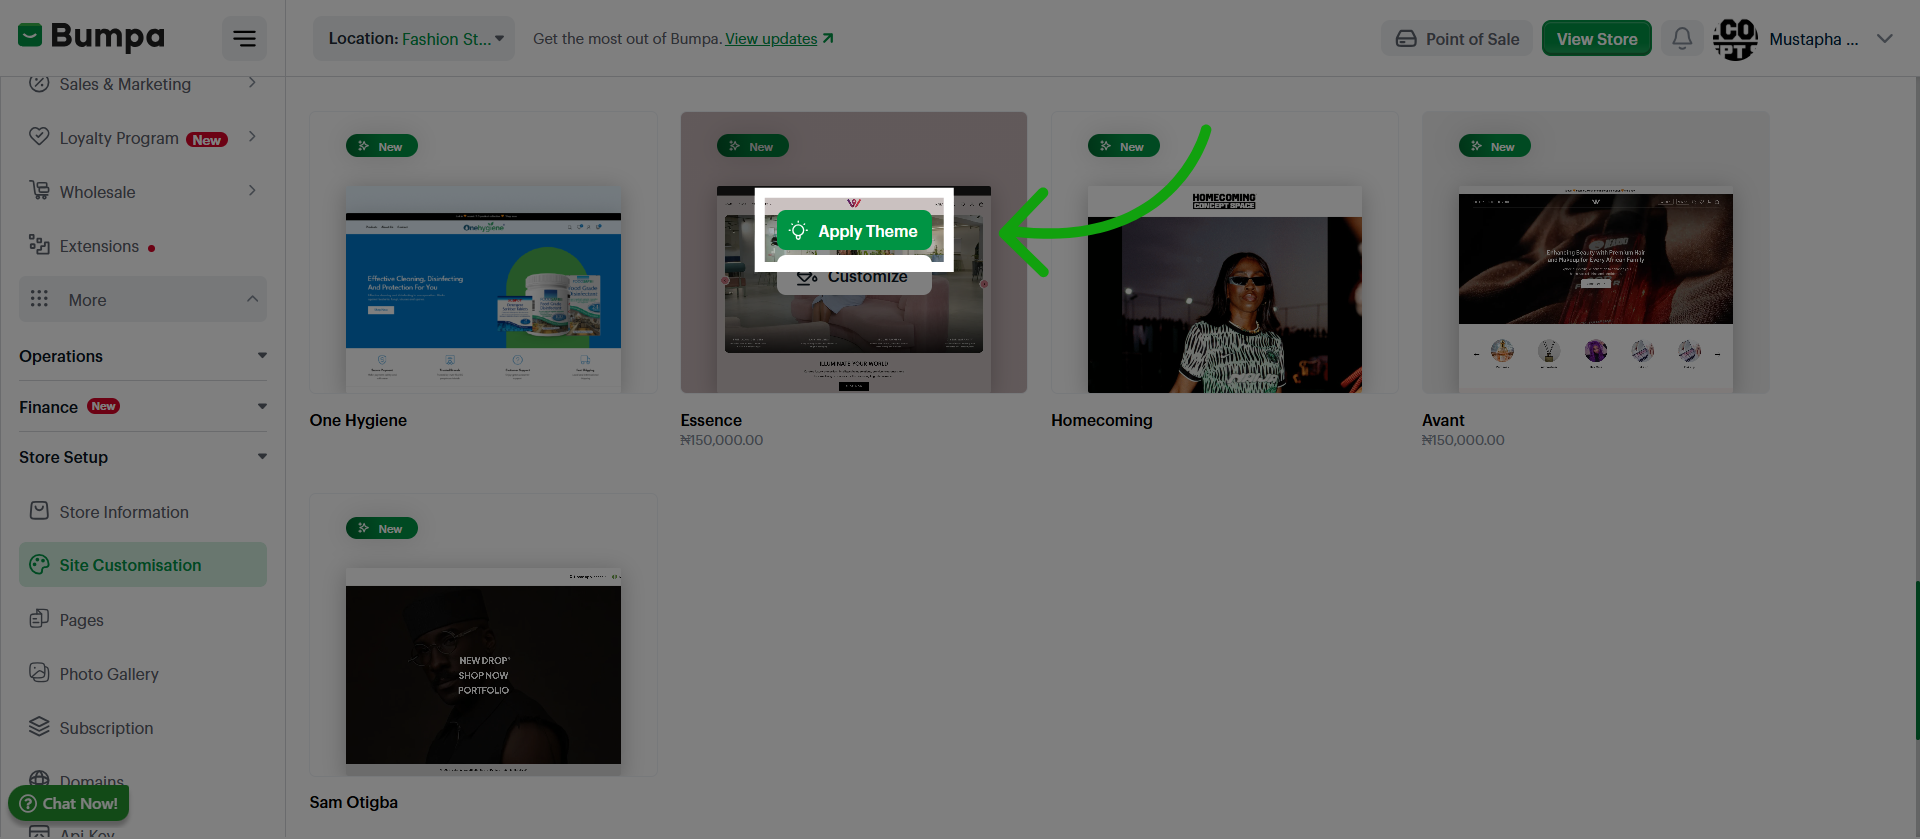
Click Apply Theme to apply the selected theme to your store's appearance.
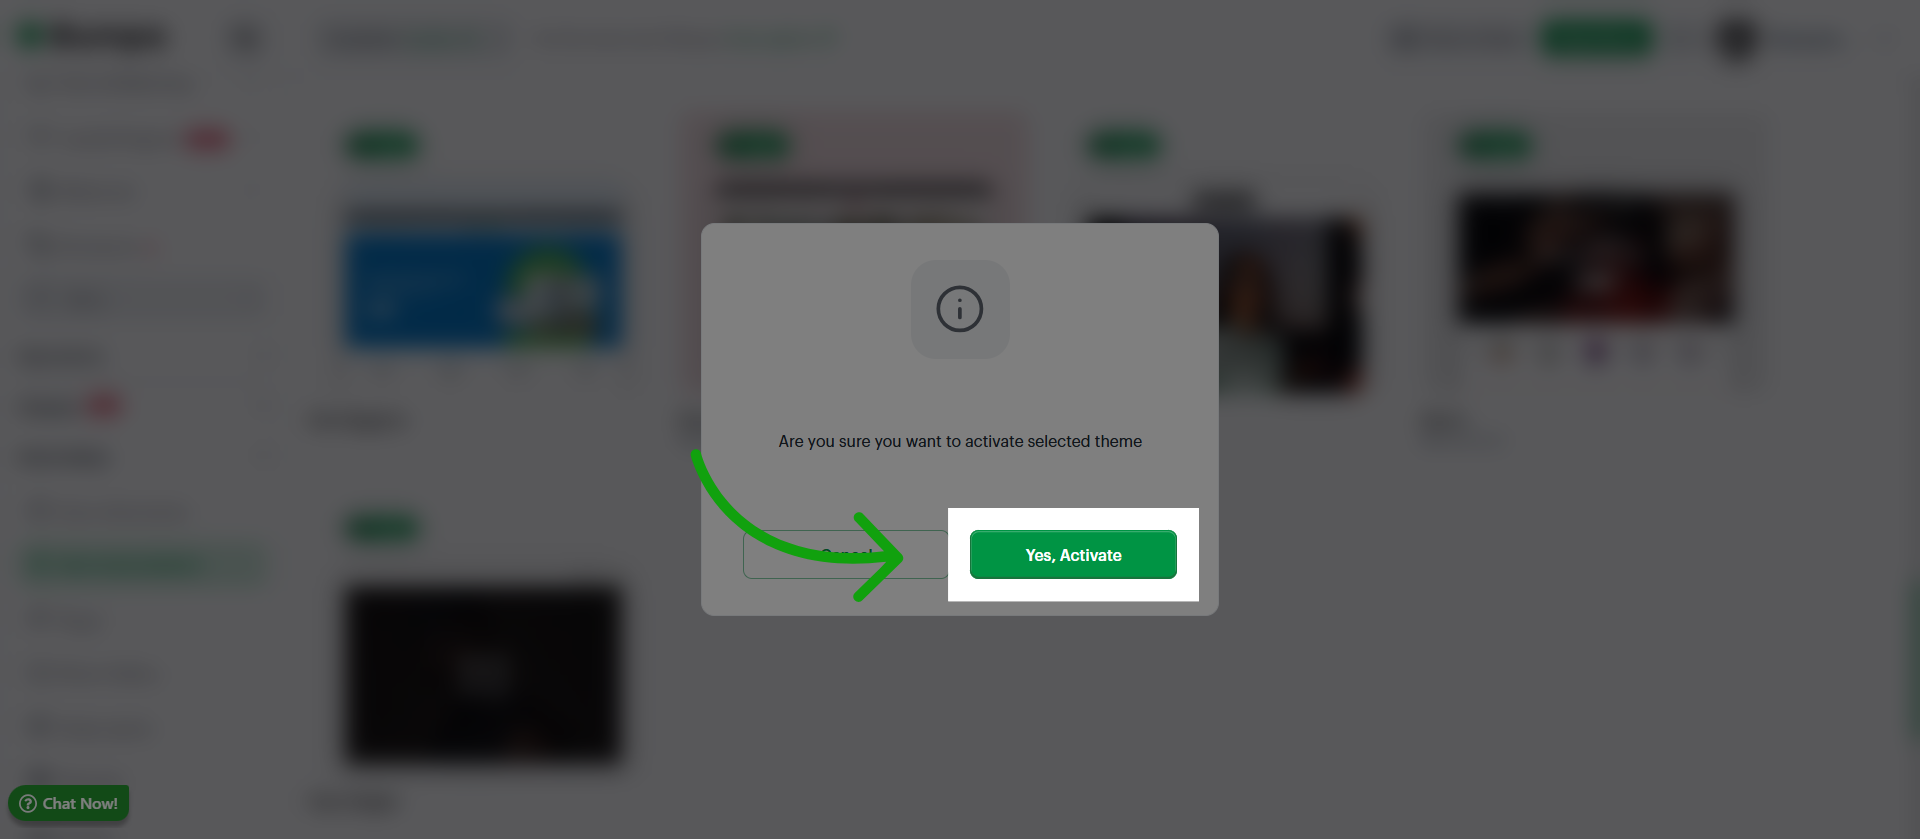
Click Yes, activate to confirm and activate the new theme for your store.
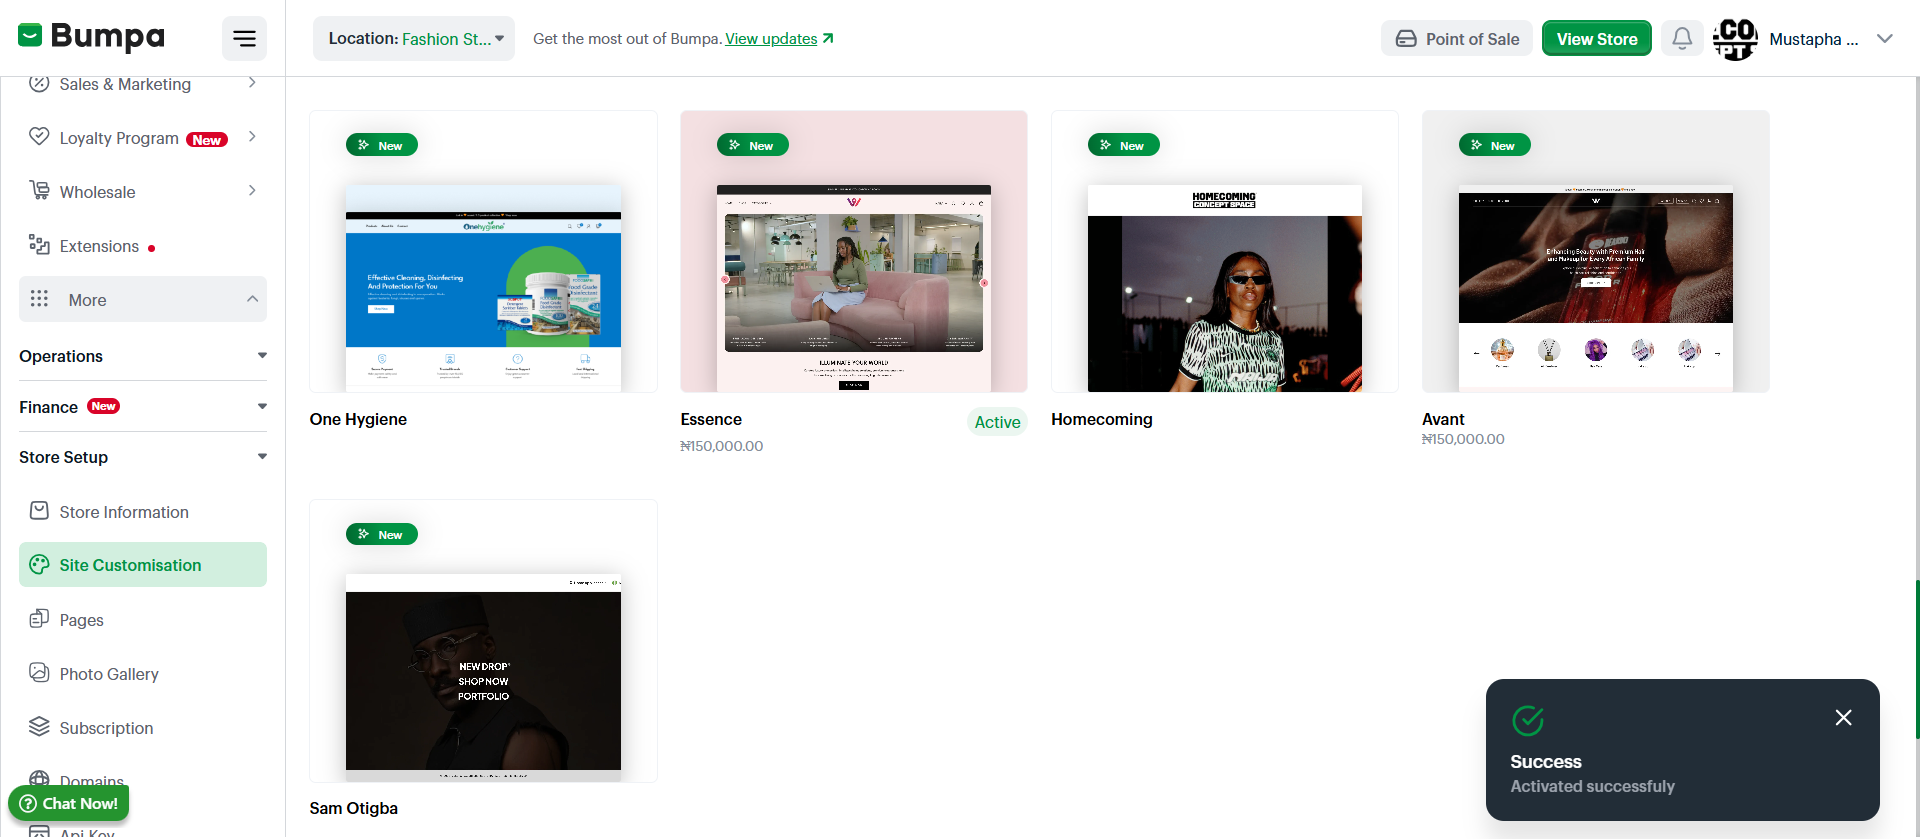
A success confirmation pops up to verify that the theme has been activated successfully.
Related Articles:
Customizing The Universal Theme
Was this article helpful?
That’s Great!
Thank you for your feedback
Sorry! We couldn't be helpful
Thank you for your feedback
Feedback sent
We appreciate your effort and will try to fix the article