Adding products to your Bumpa store is the essential first step to showcasing your inventory and driving sales. In this guide, we will walk you through the simple, step-by-step process of uploading new products directly from the Bumpa Web App. Whether you are listing a single item or creating complex product variations, this article provides everything you need to get your storefront fully stocked and ready for customers.
You can add a product on Bumpa using either the mobile app or web app.
On Bumpa WebApp go visit: app.getbumpa.com
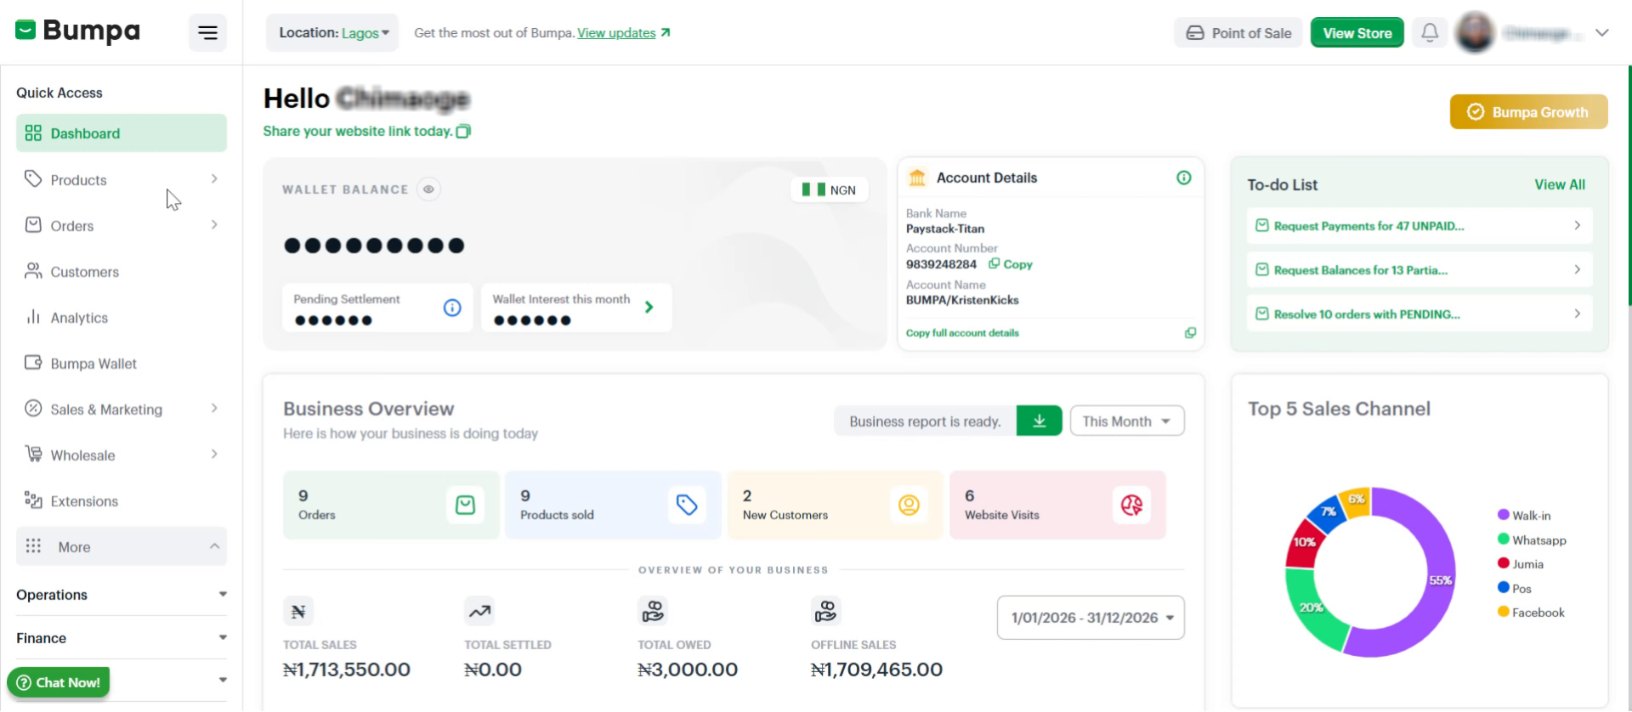
Navigate to Products Tab
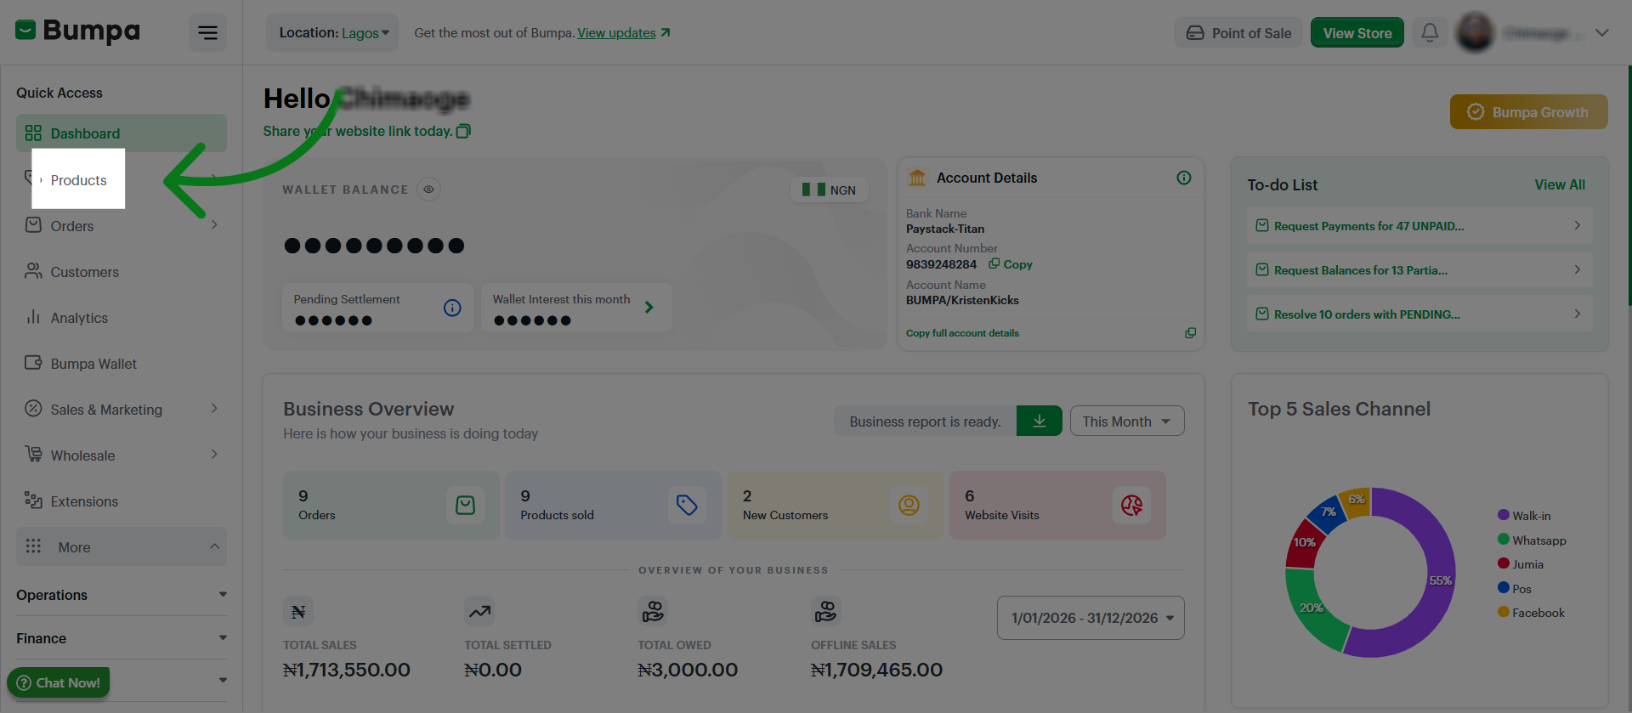
Click the Add new product button to start creating a new product entry in your inventory.
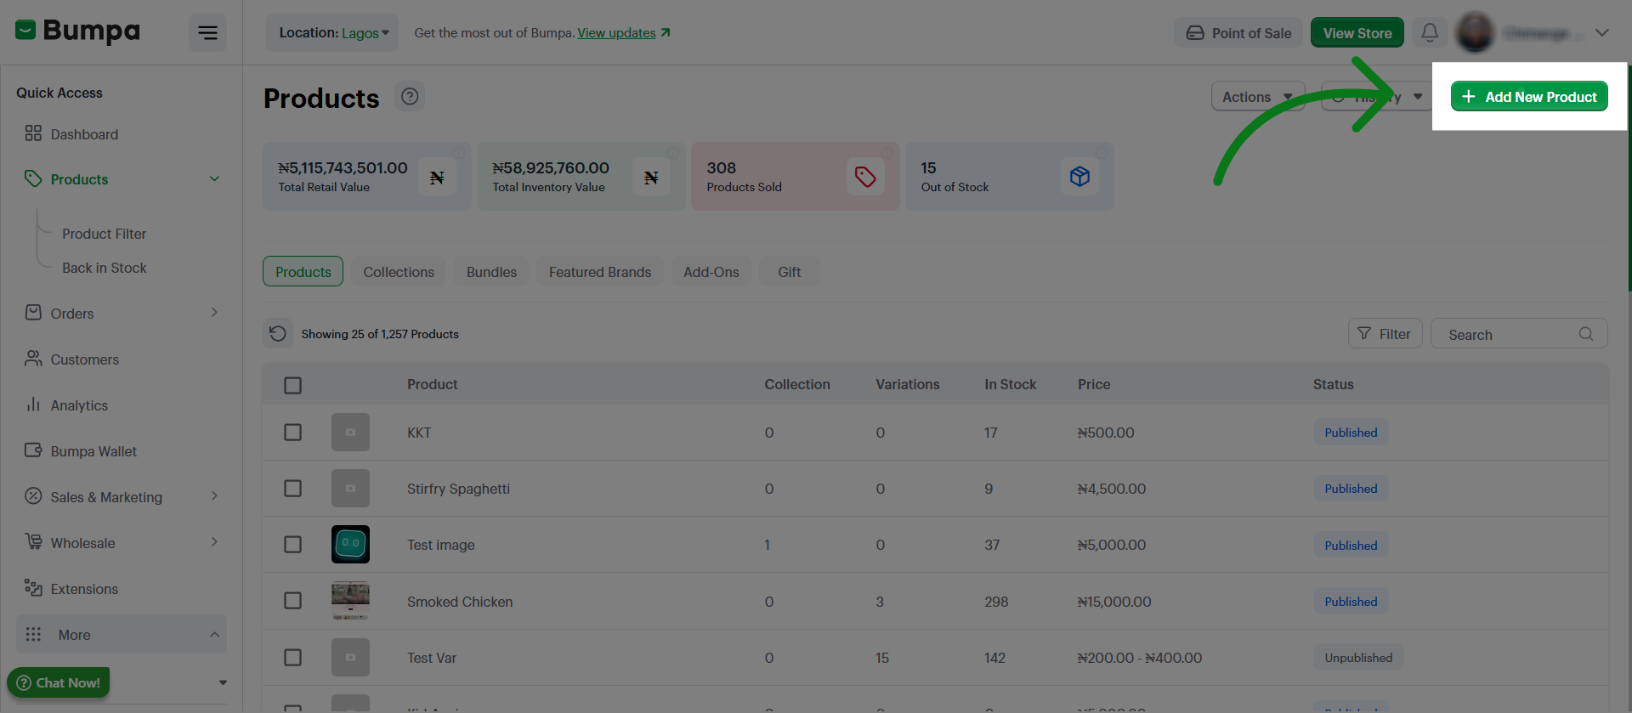
Enter the Product Name
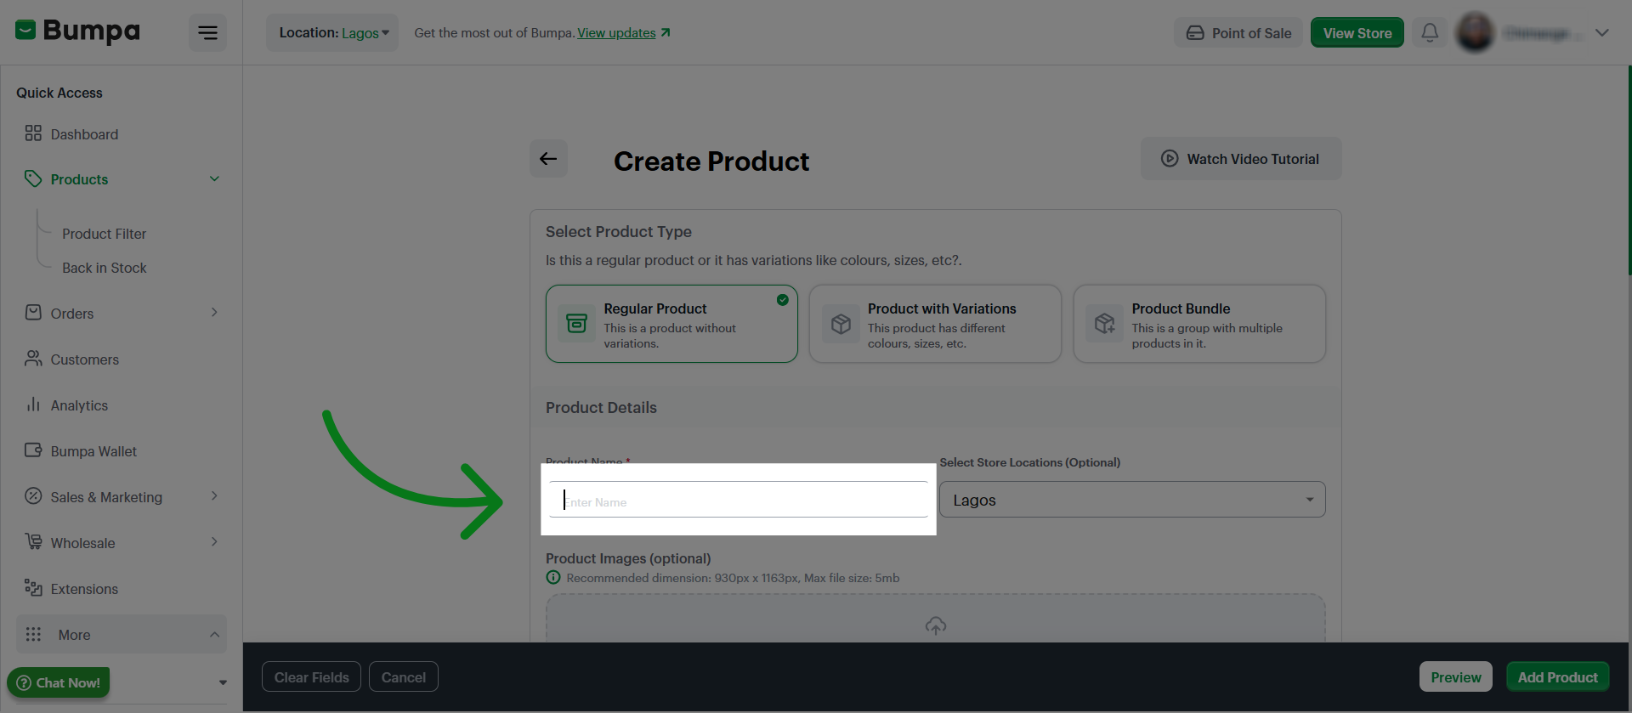
Click the location option to specify where this product will be available (For stores with multi-location)
This allows you to easily upload products across locations, without needing to upload products under each individual locations. You can select one or more locations to add the product to. Headquarters is already selected by default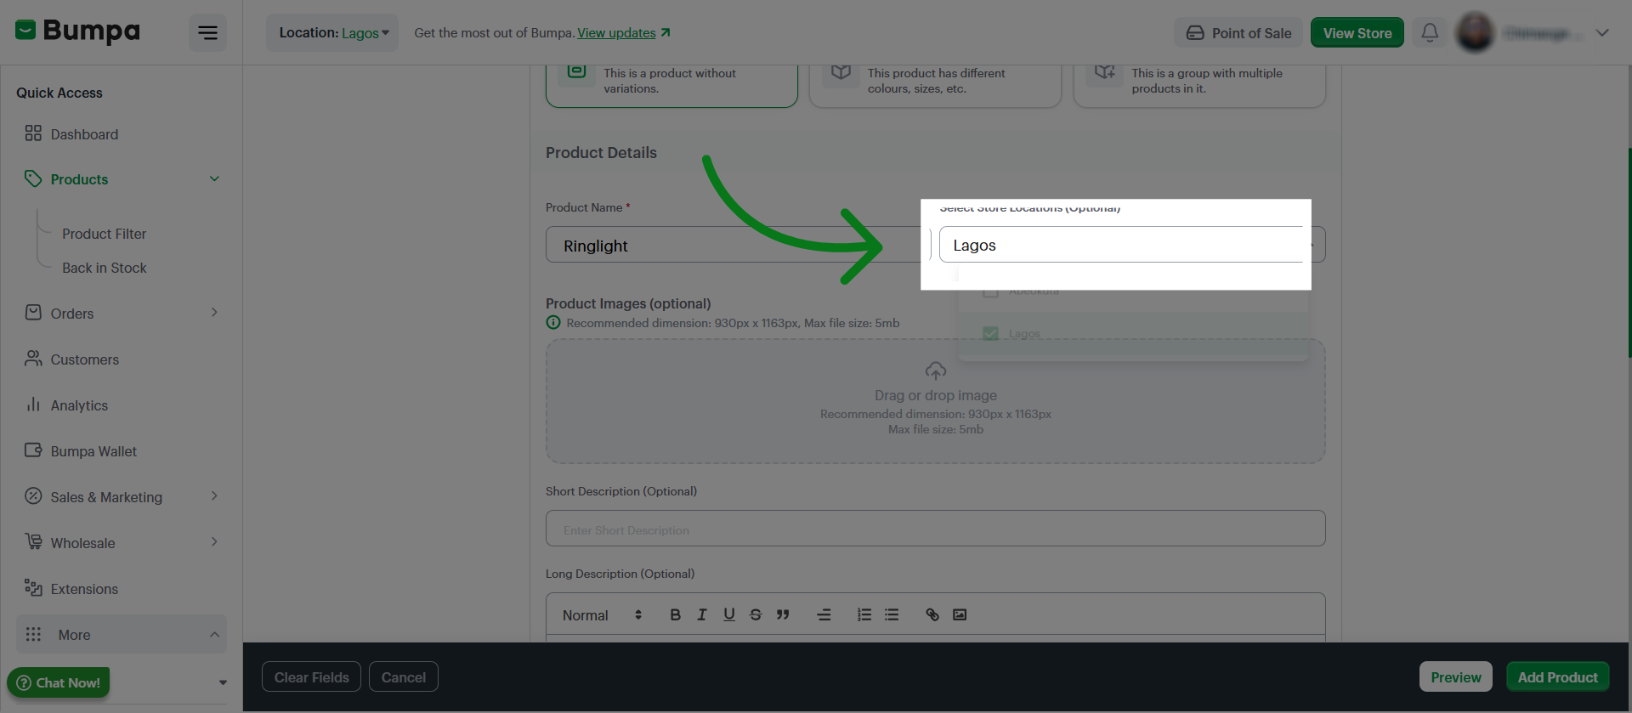
Upload Product Image
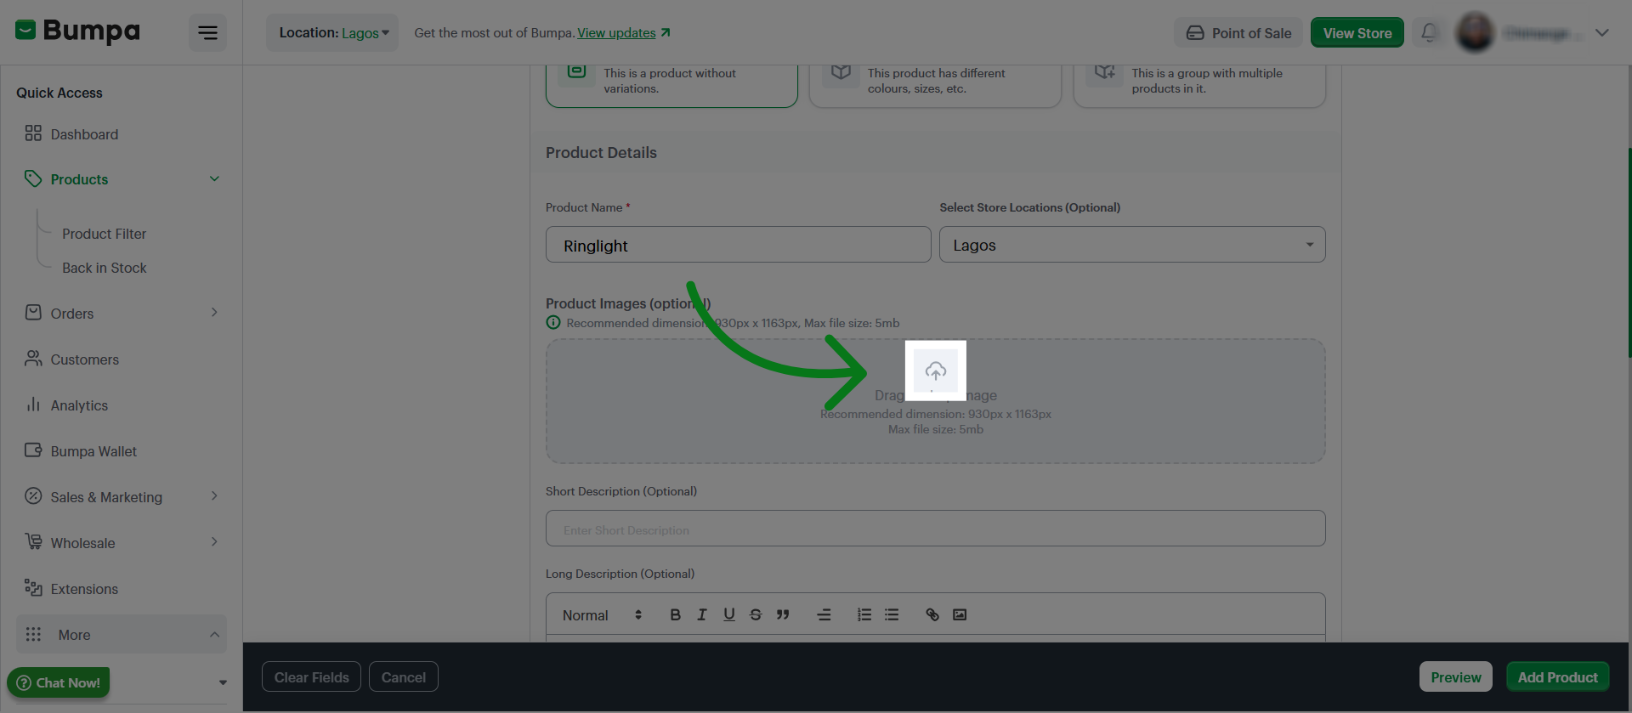
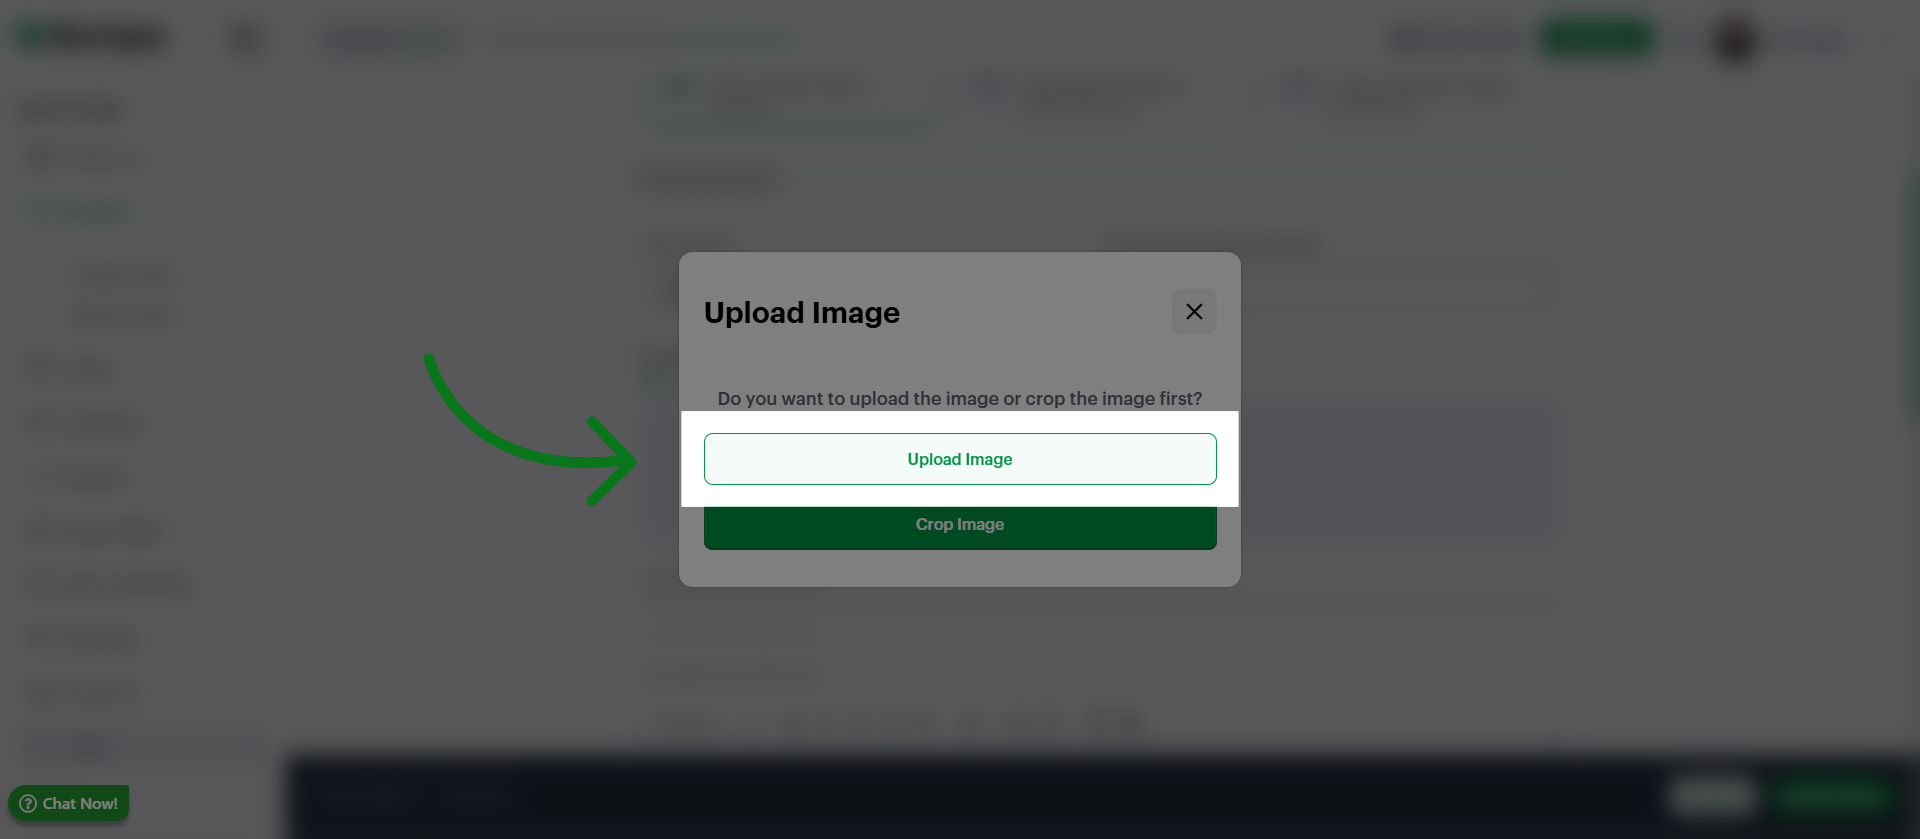
Confirm Image Upload
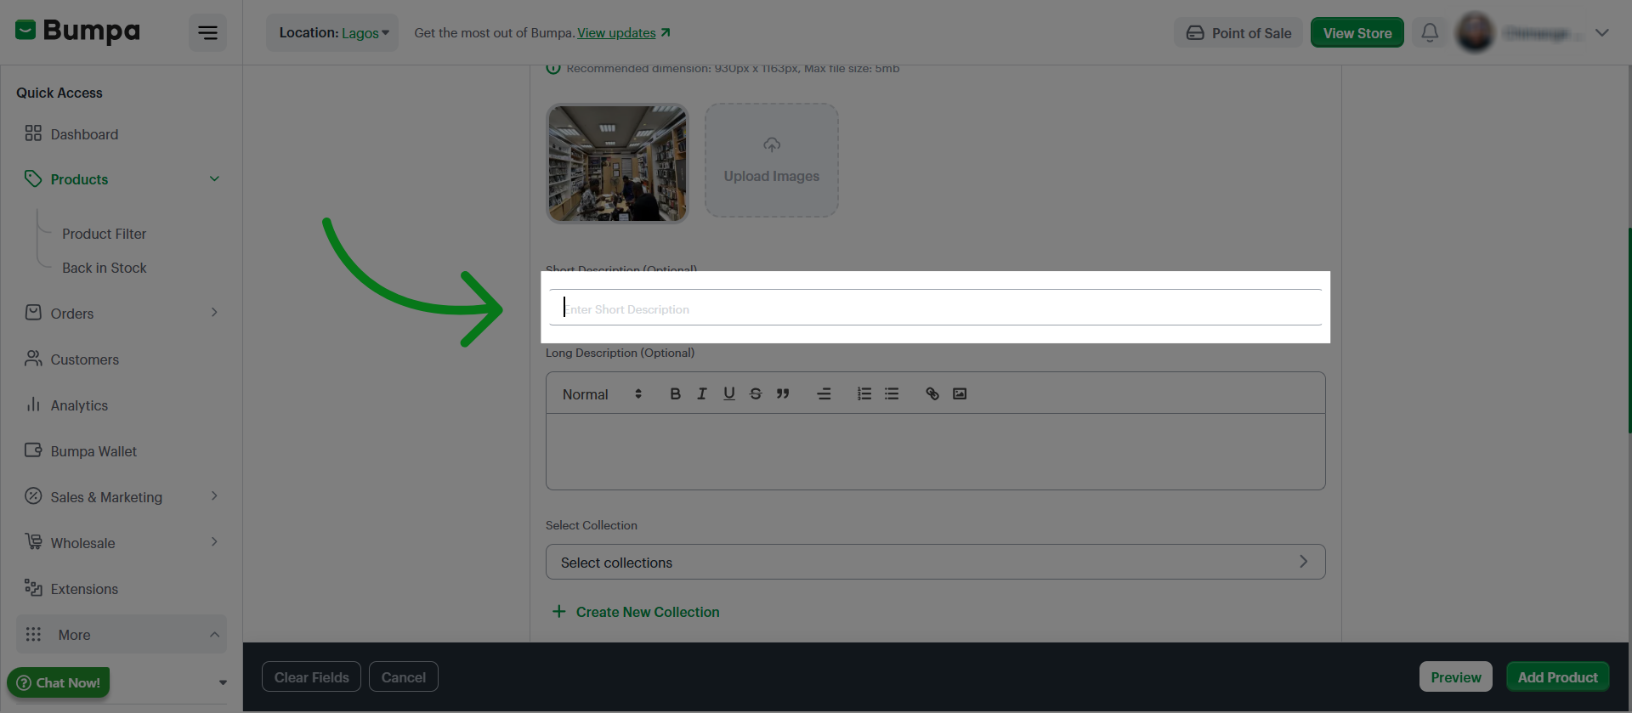
Click the Short Description field to add a brief summary or highlight for the product.
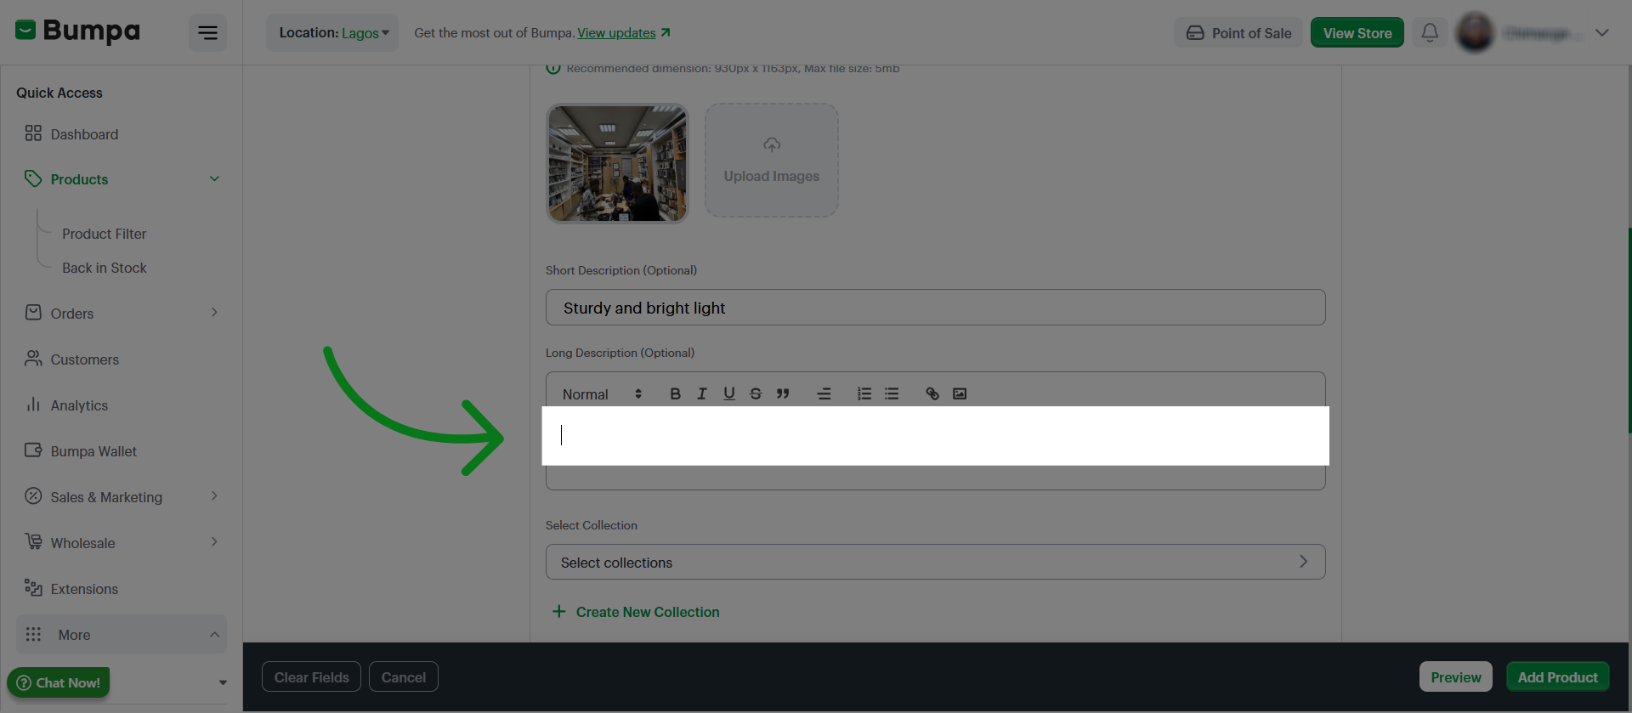
You can also add a long description with additional details about the product
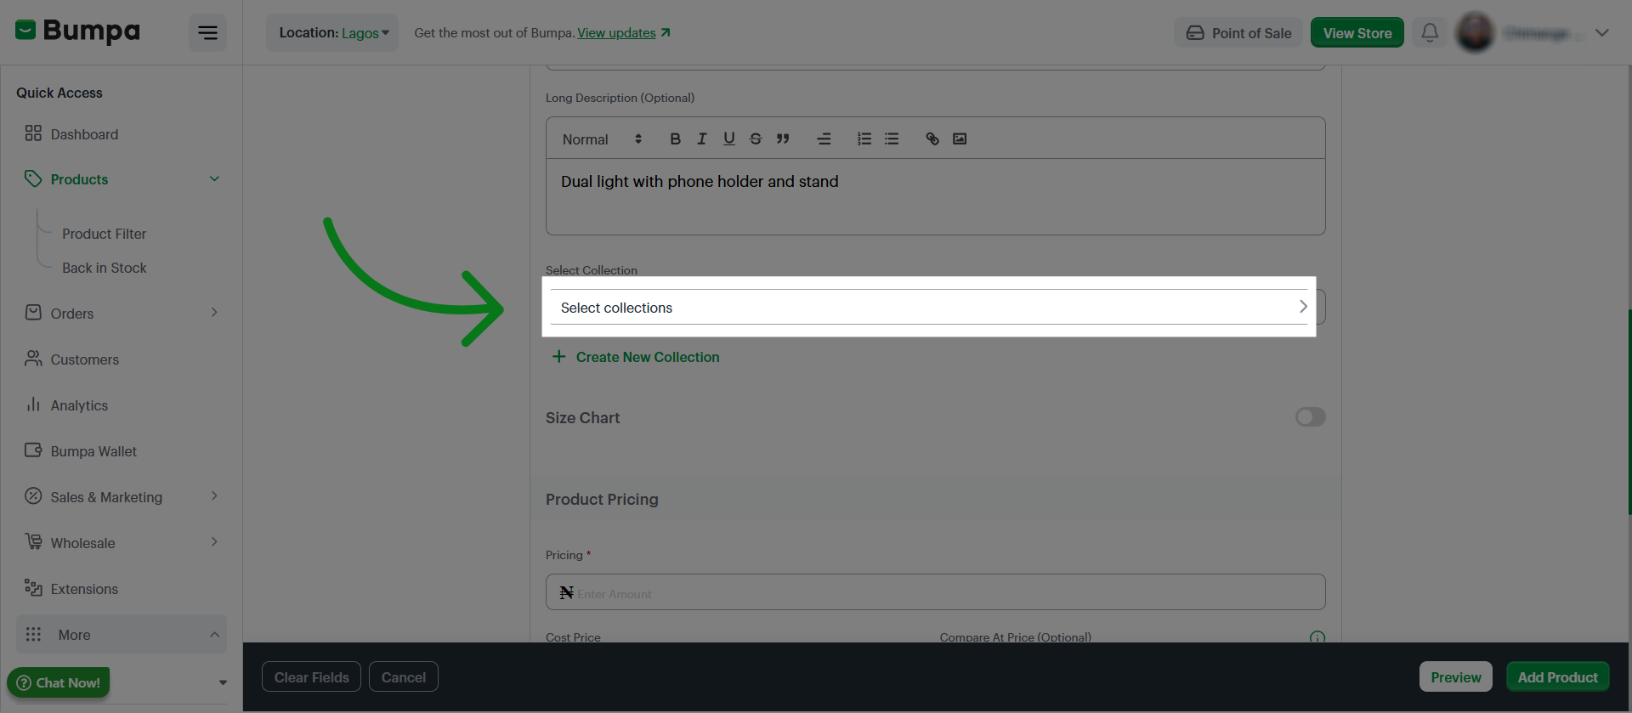
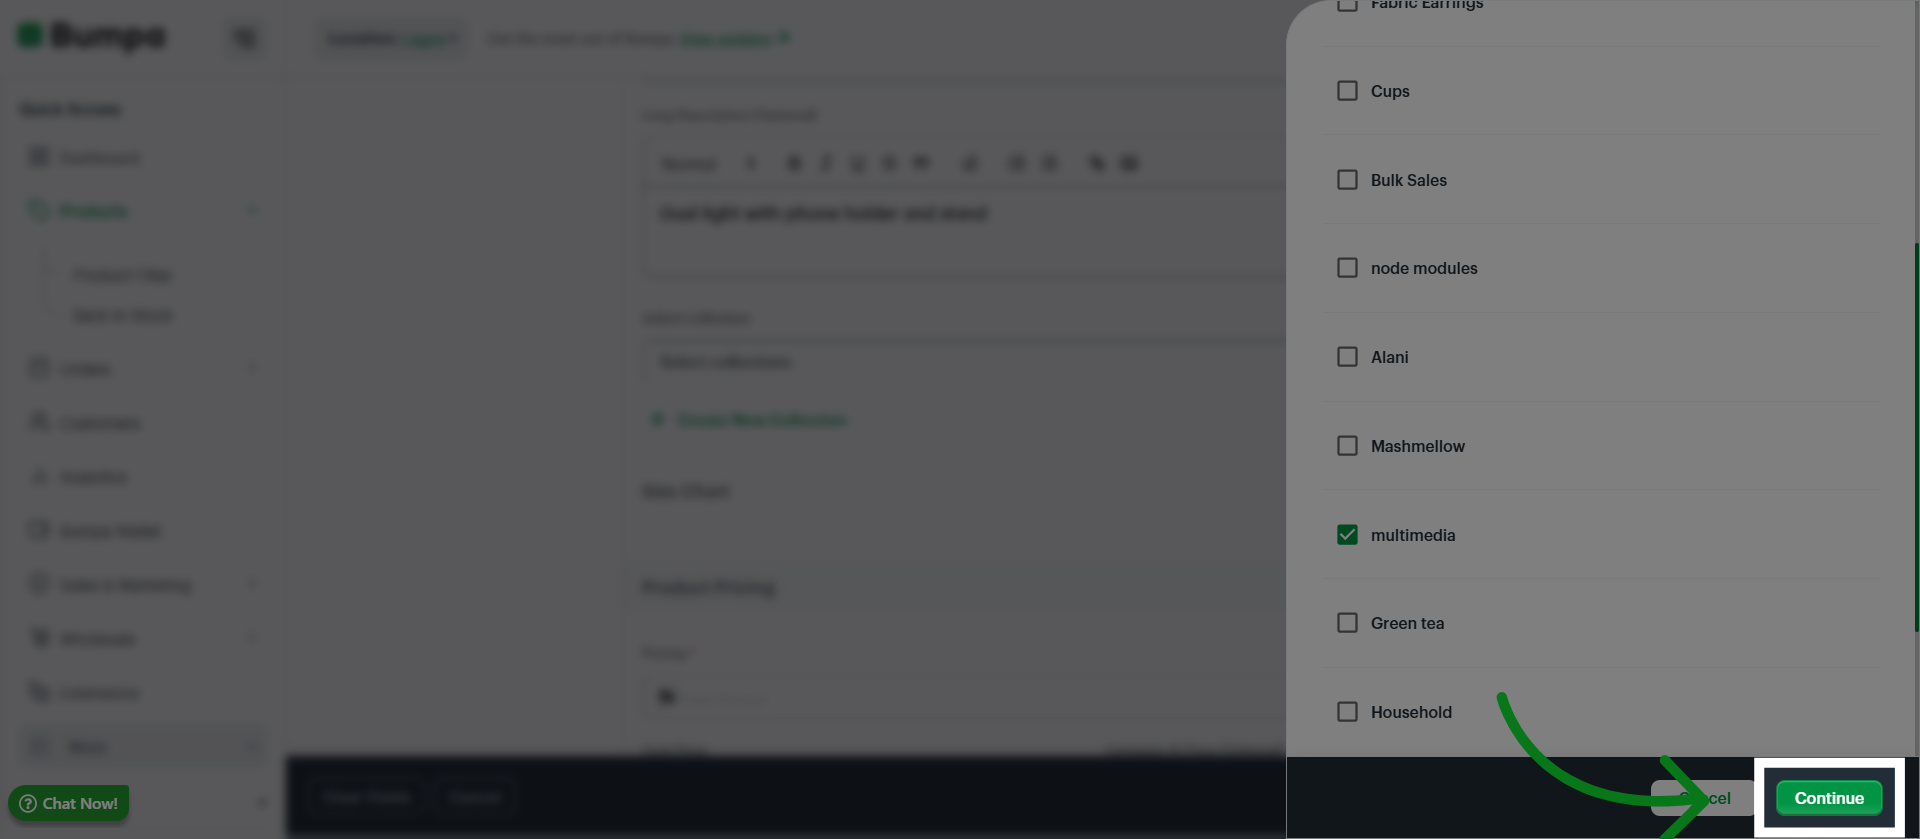
Click Select collections to categorize your product within existing or new collections.
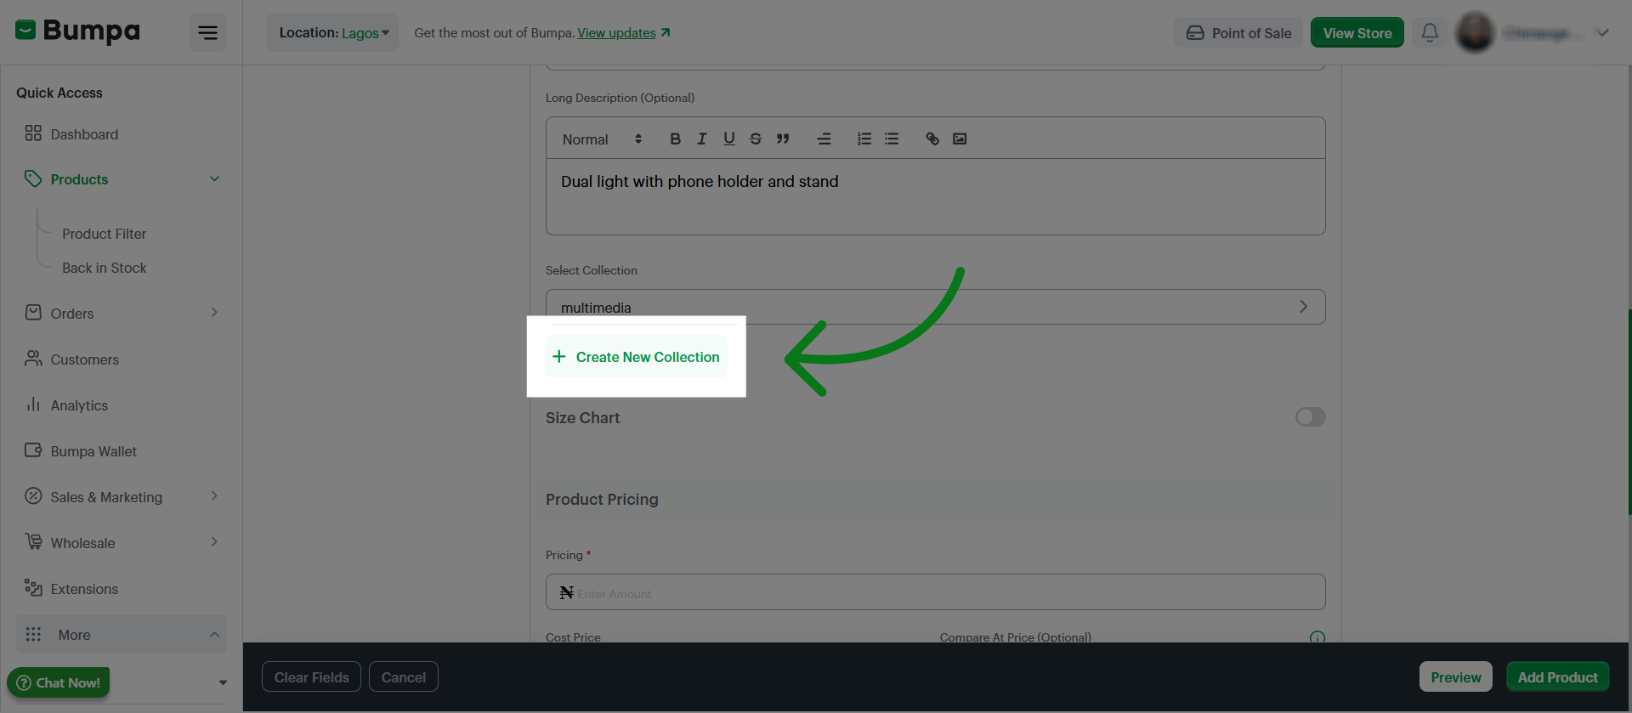
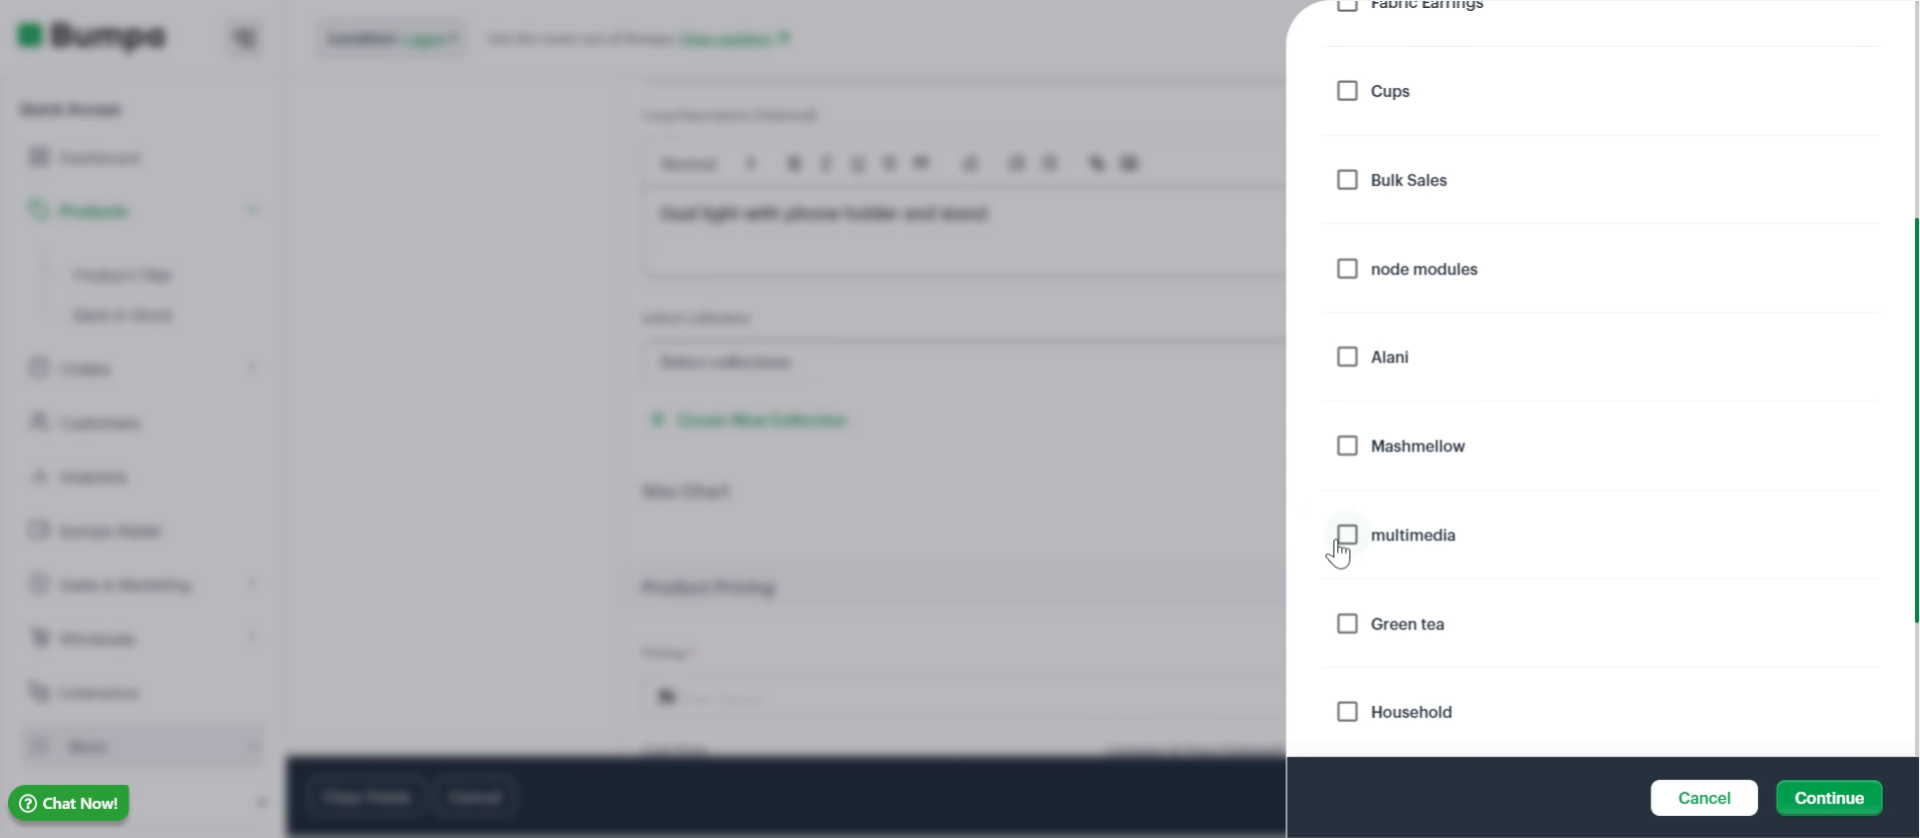
Click Continue to move forward with the collection
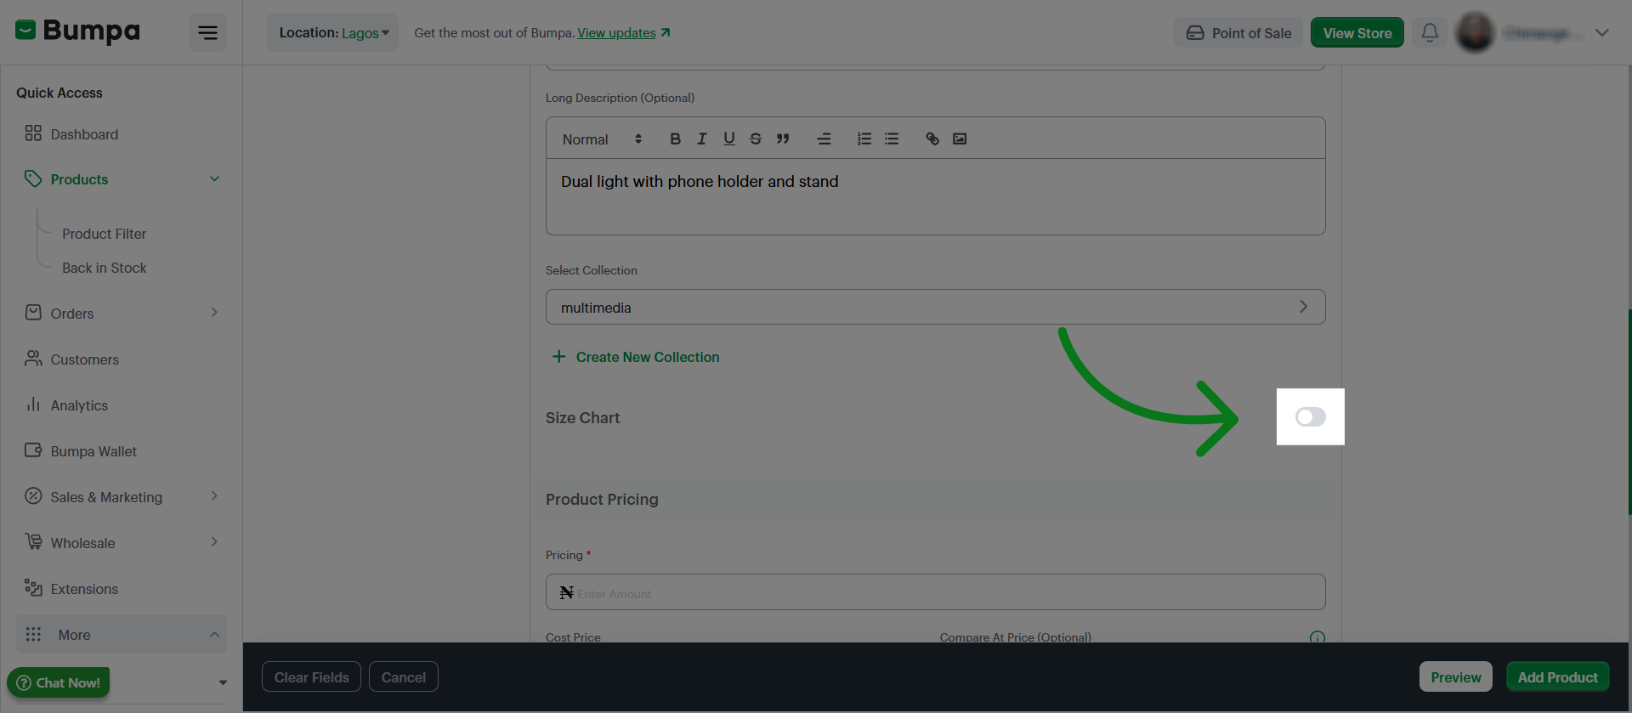
Toggle the size chart button to add a size chat to your product (if applicable)
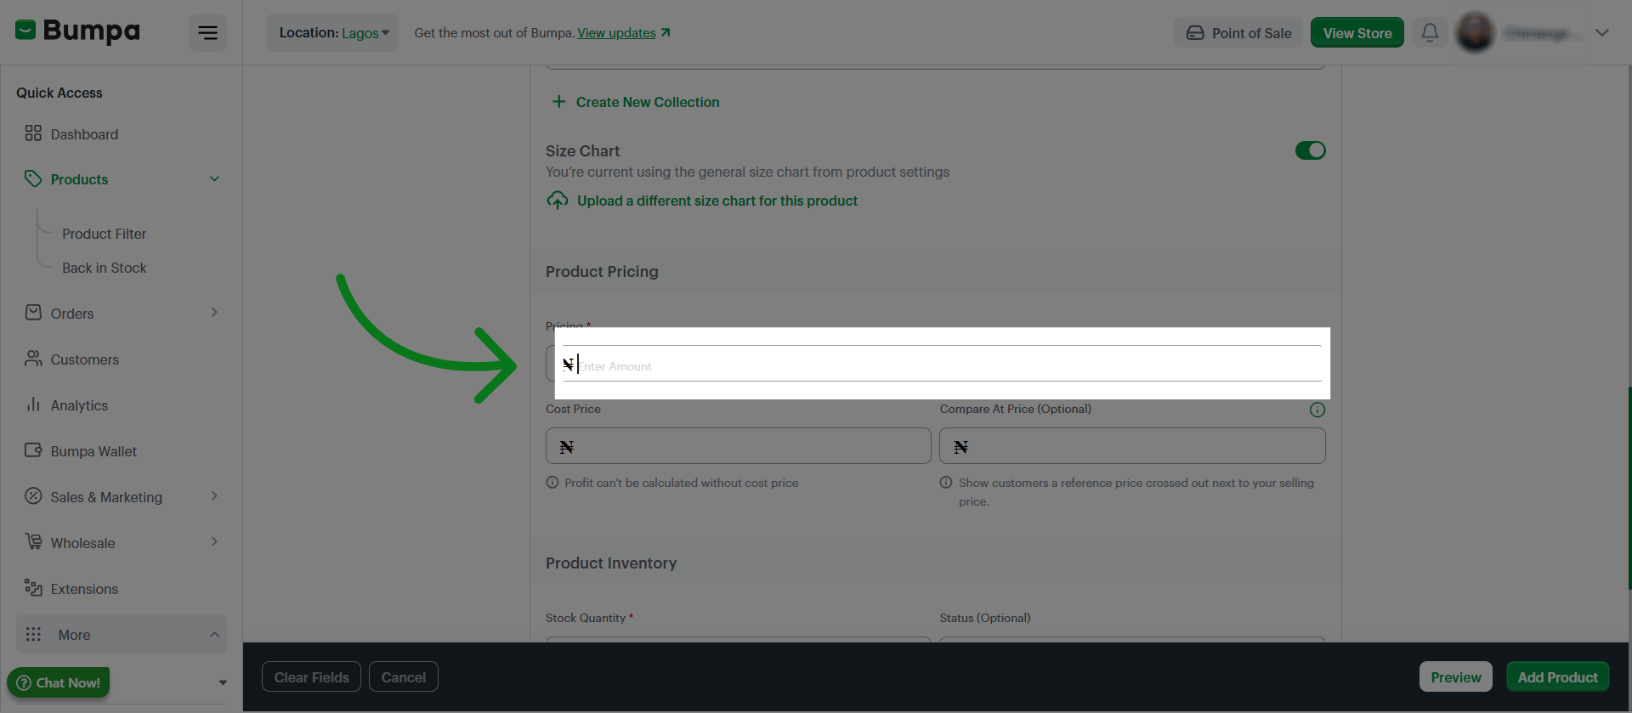
Click the Pricing field to enter the product's selling price.
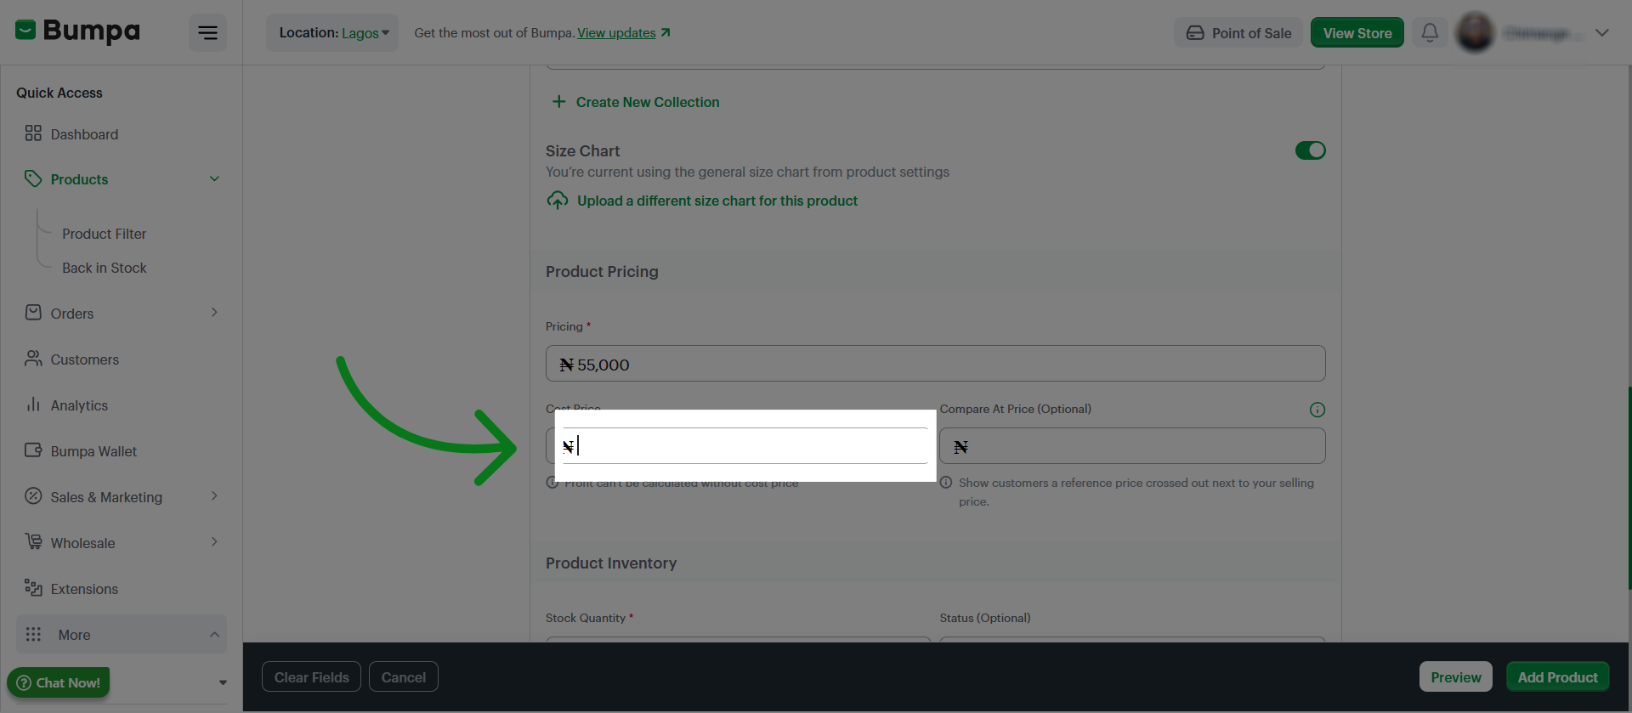
Click the Cost Price field to input the product's purchase cost.
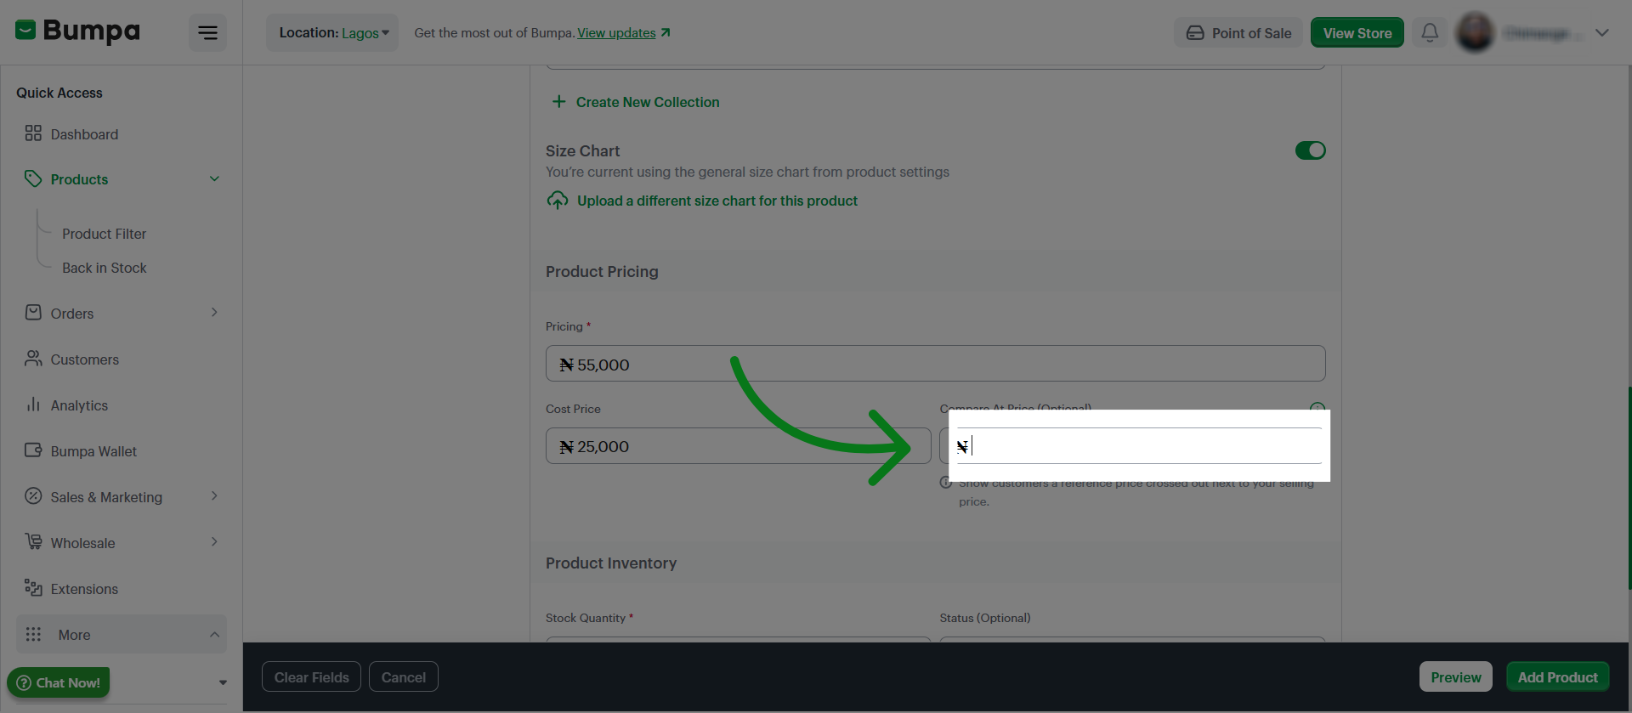
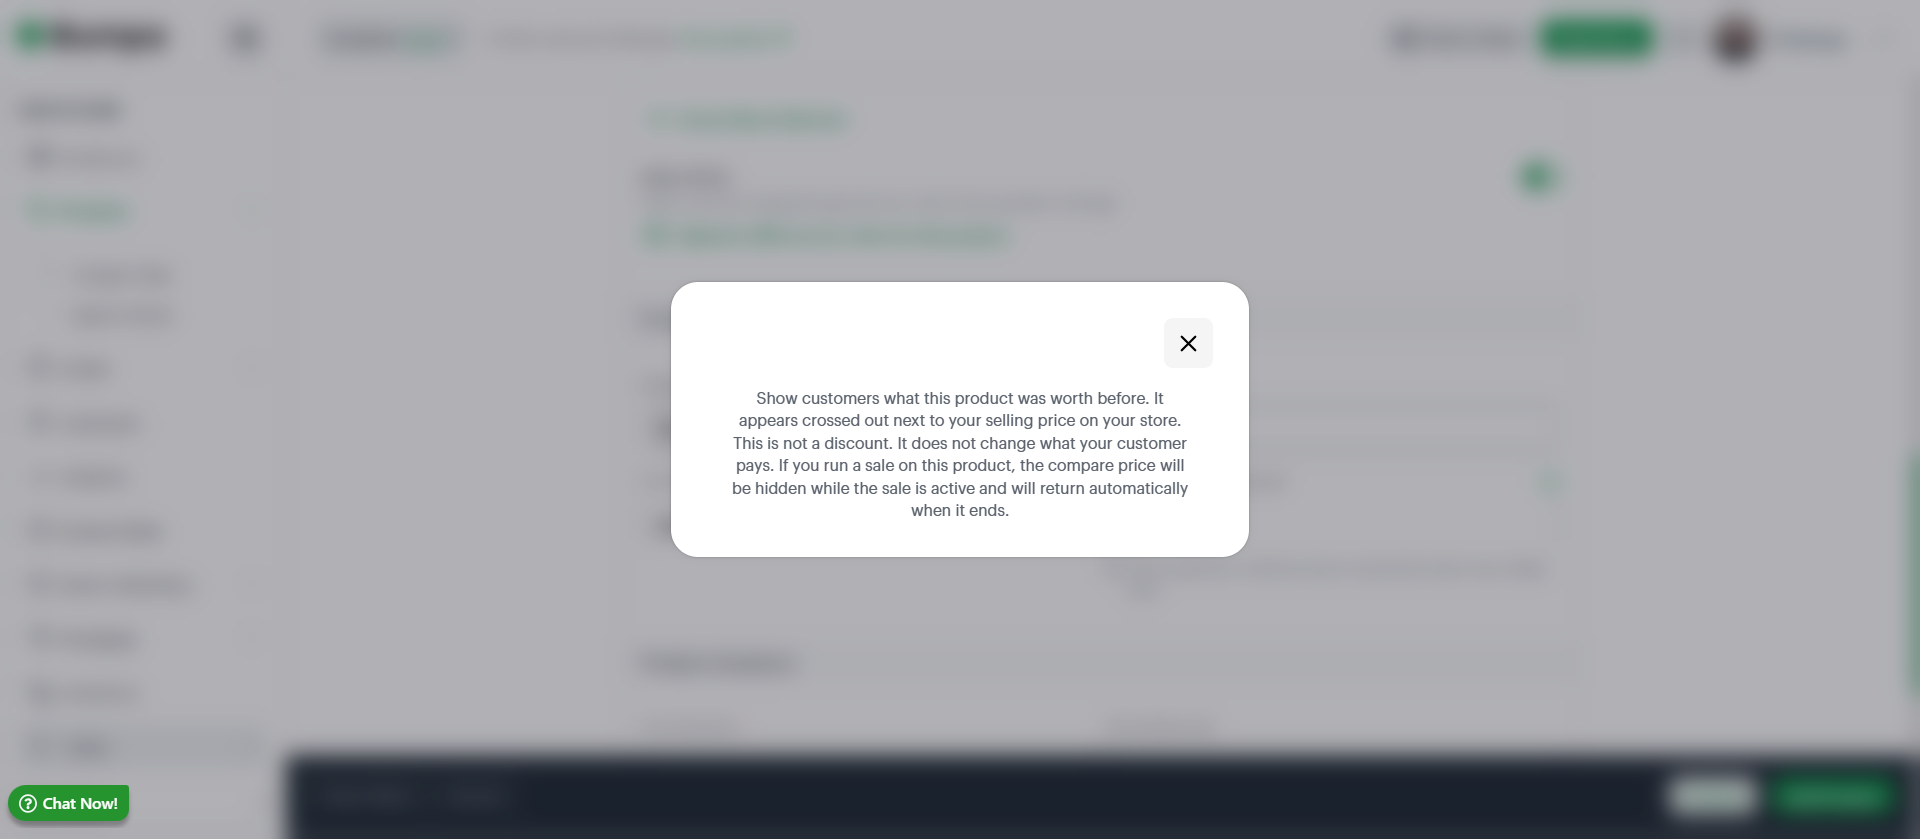
Fill in the Compare At Price field to finalize the pricing comparison details.
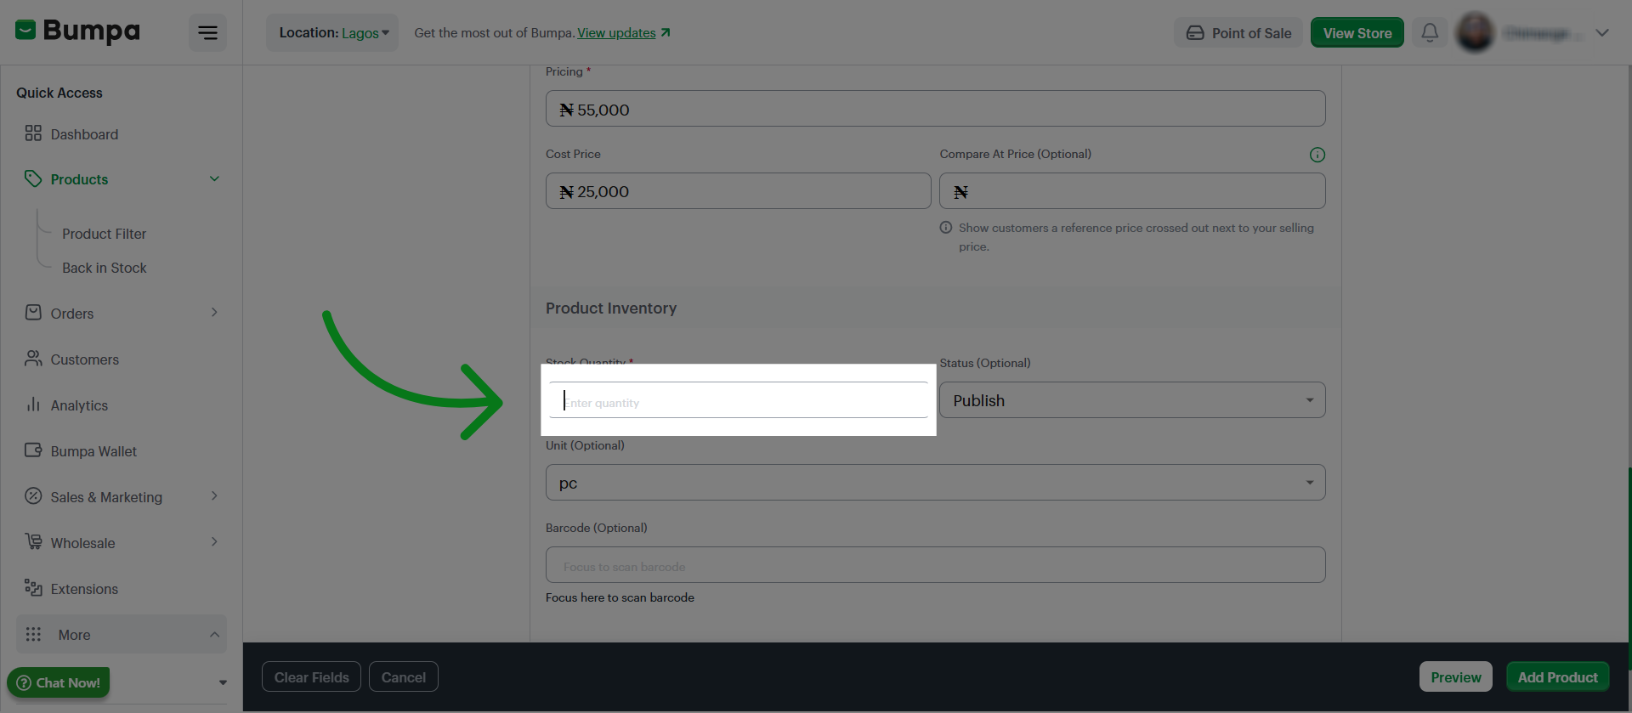
Click the Stock Quantity field to enter the available inventory count.
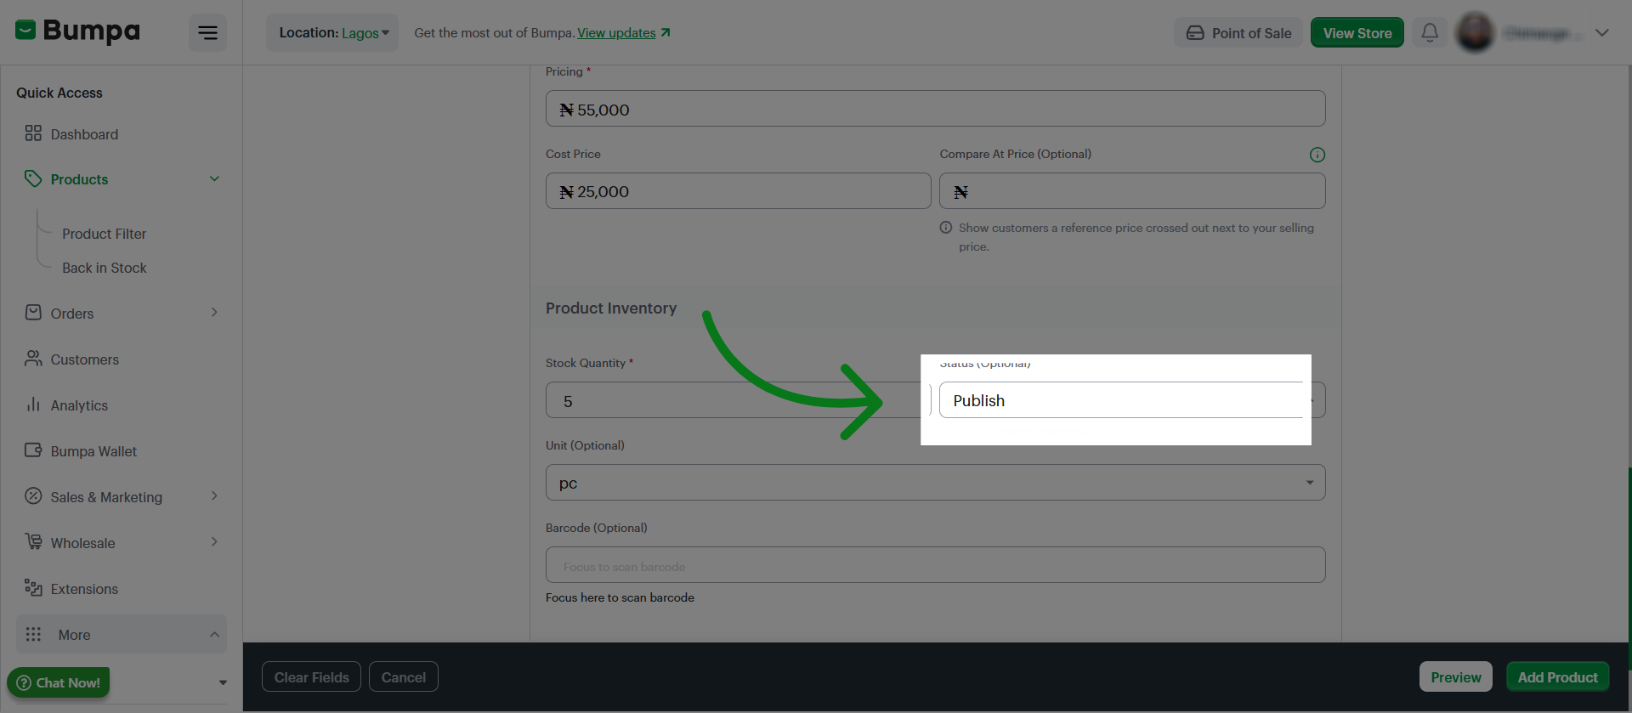
You can Click the Publish button to make the product available for sale on your website or unpublish it
Select the Unit Type or measurement for the product.
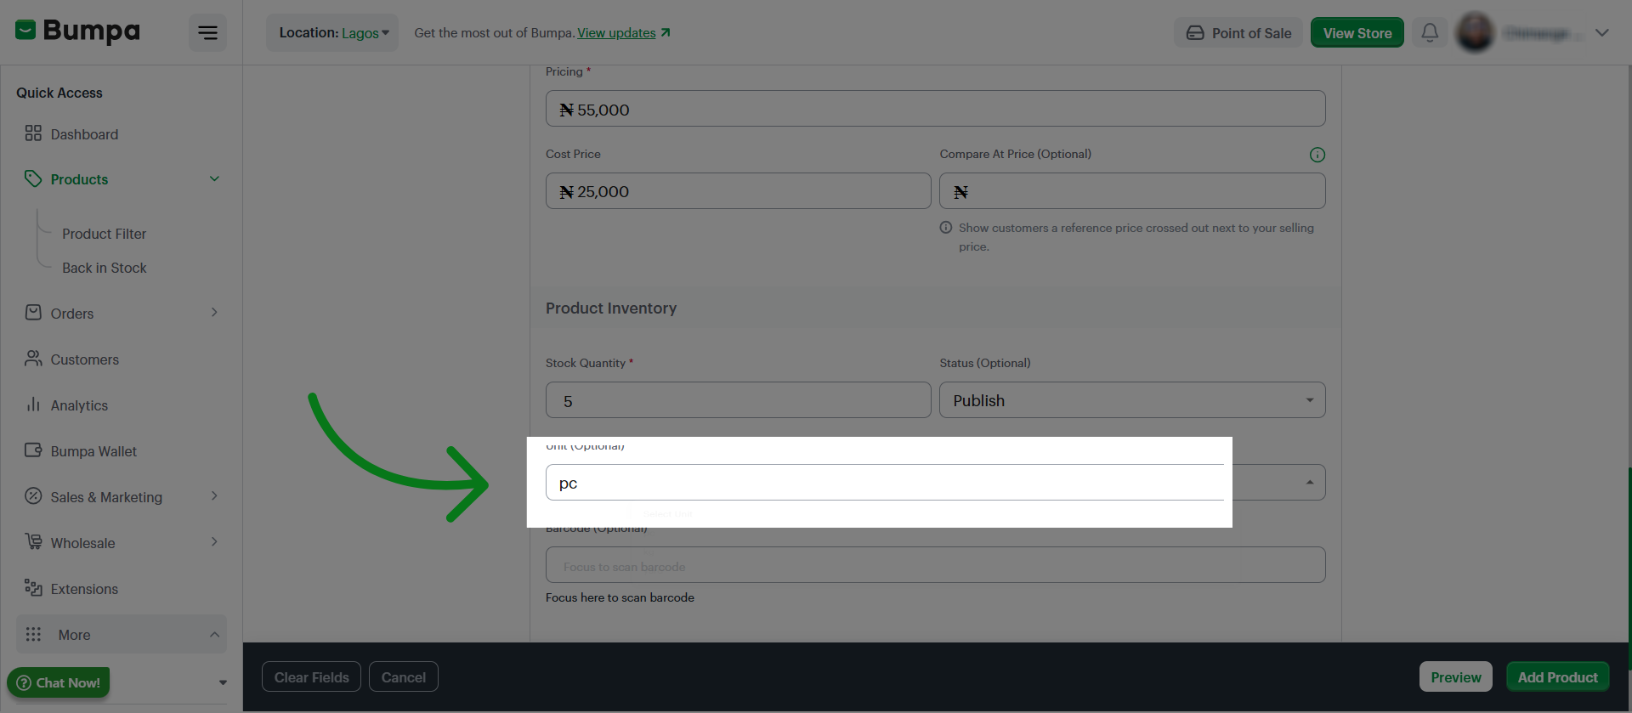
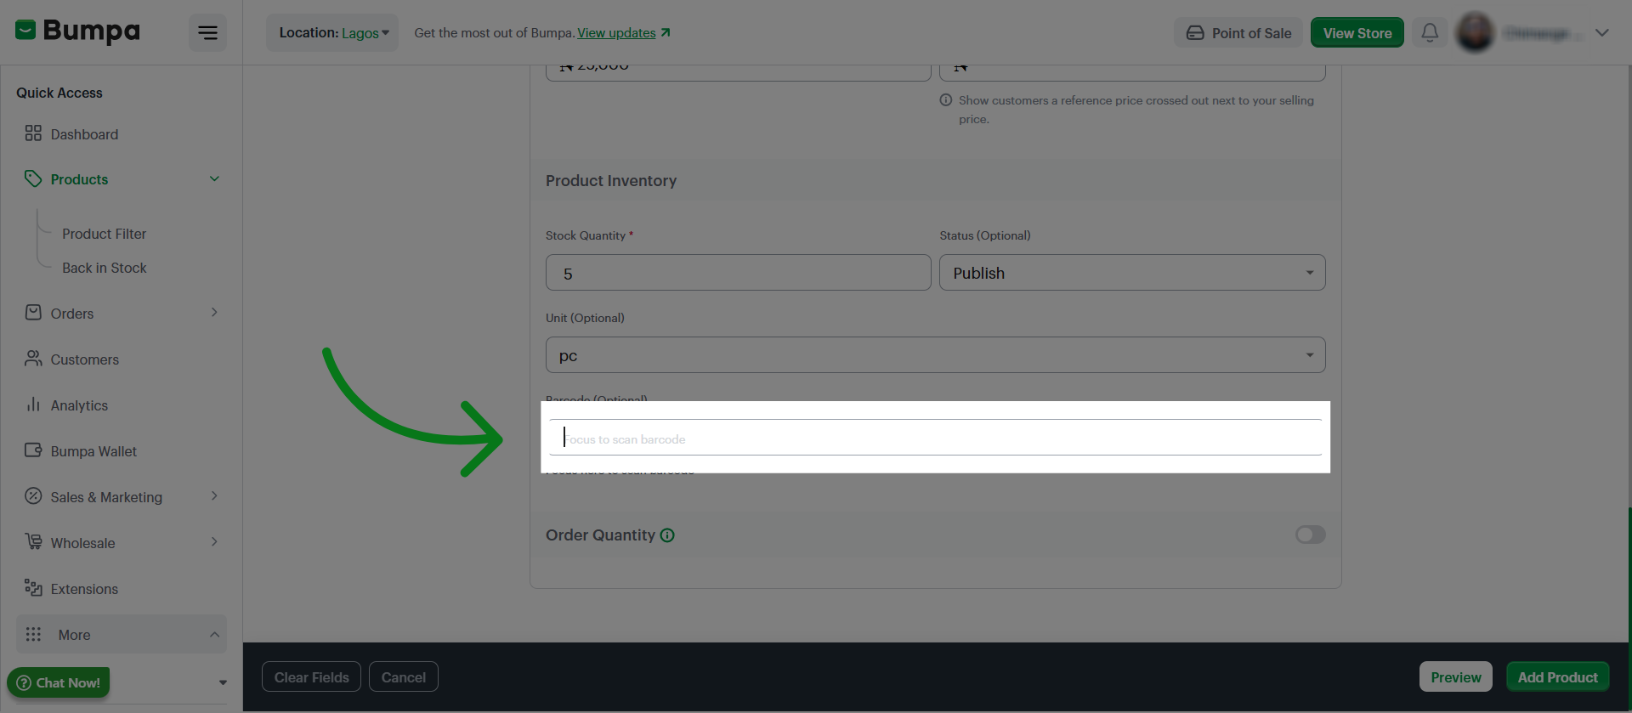
Click Barcode (Optional) to add or edit the product's barcode information. (For Growth plan Subscribers)
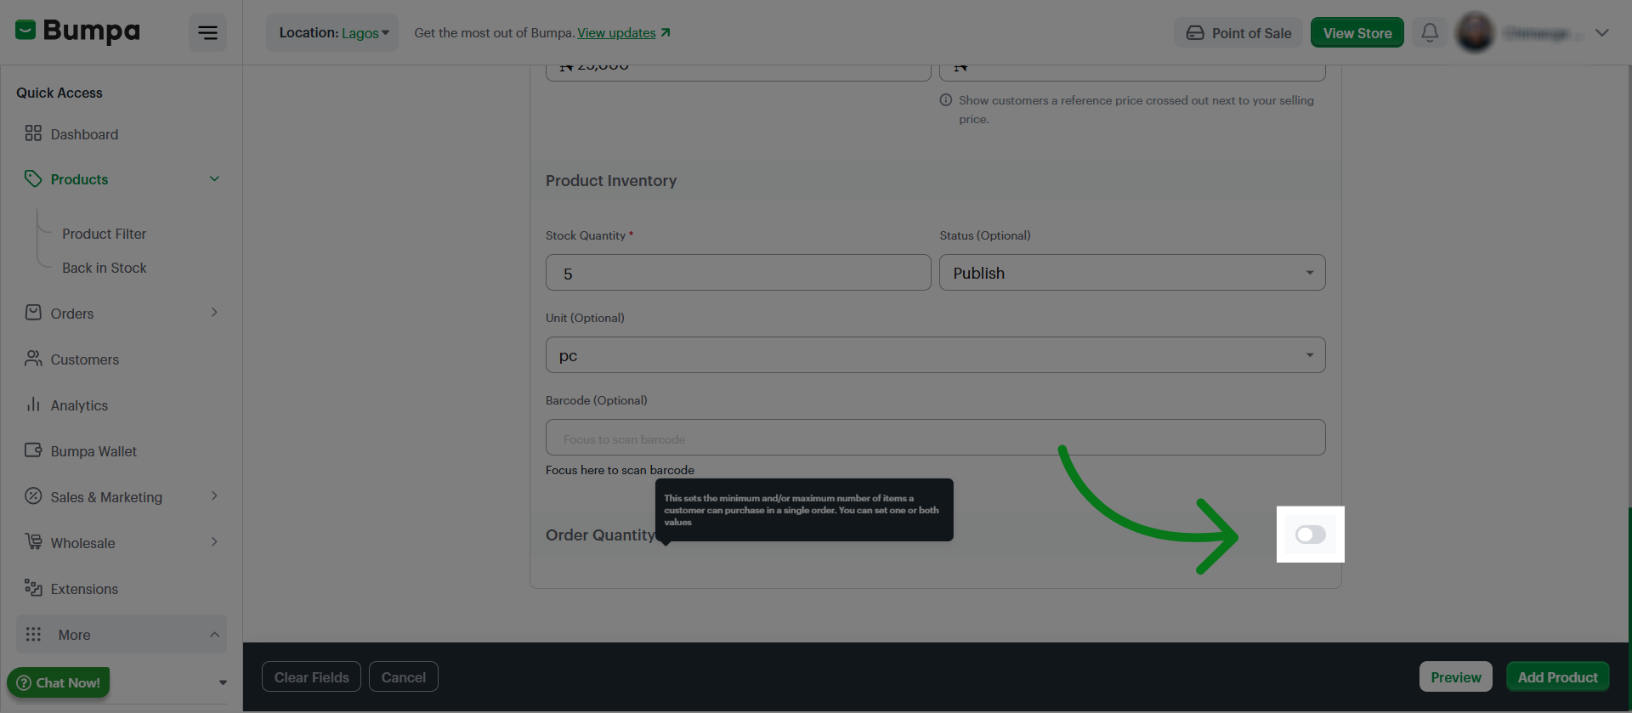
If you would like to create maximum or minimum order quantities for wholesalers or retails, toggle the order quantity button and input
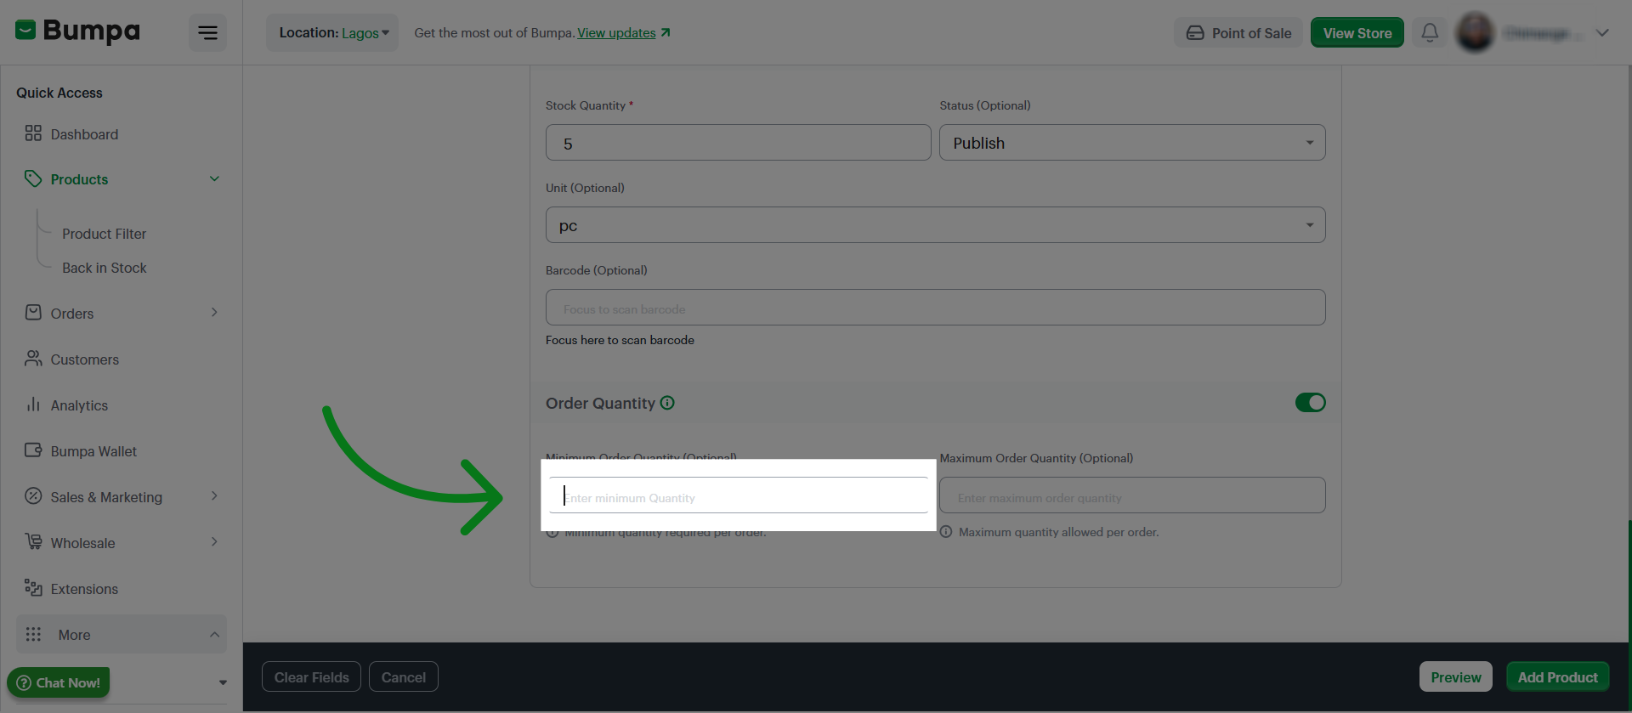
Click Minimum Order Quantity (Optional) to set the smallest order size allowed.
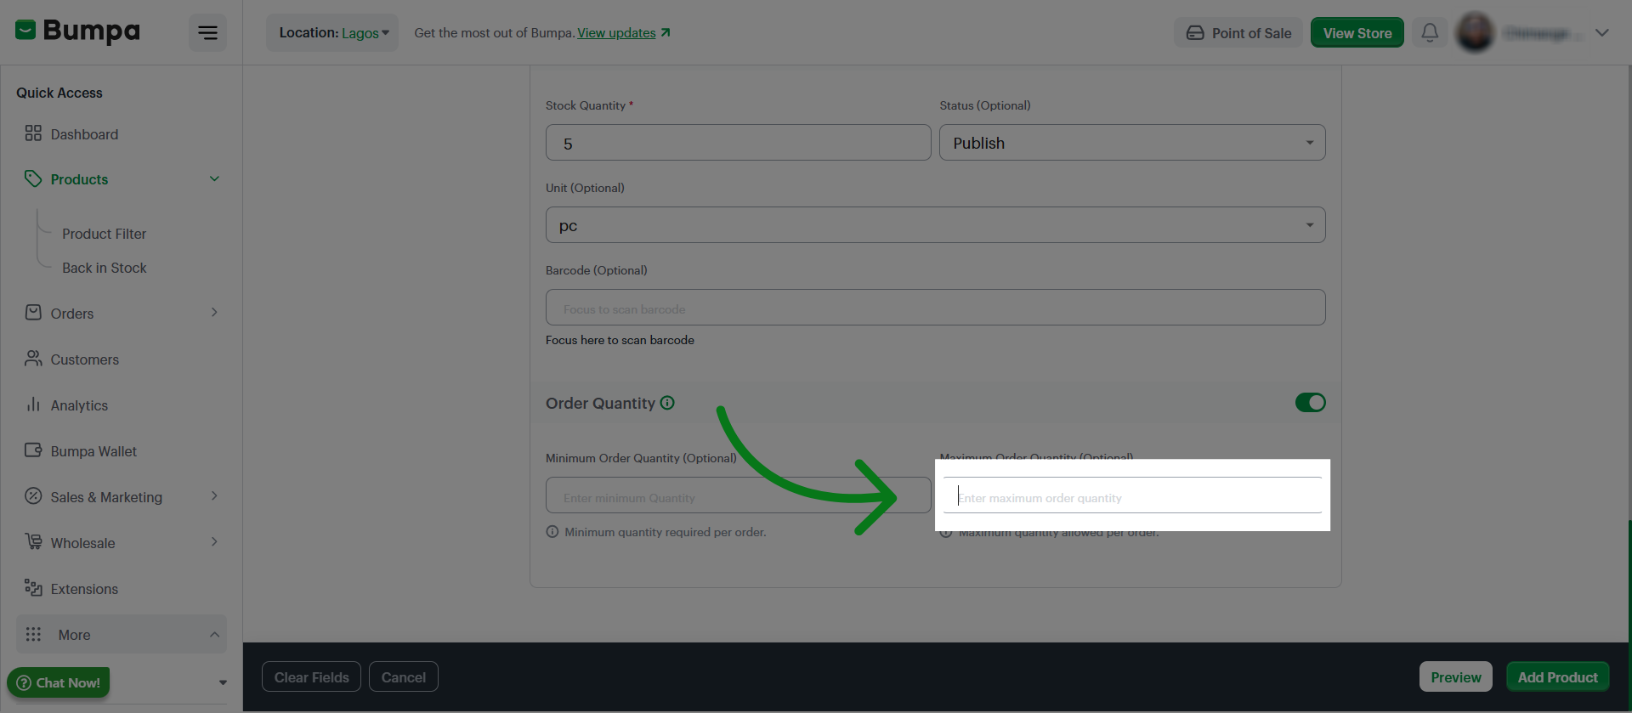
Click Maximum Order Quantity (Optional) to define the largest order size permitted.
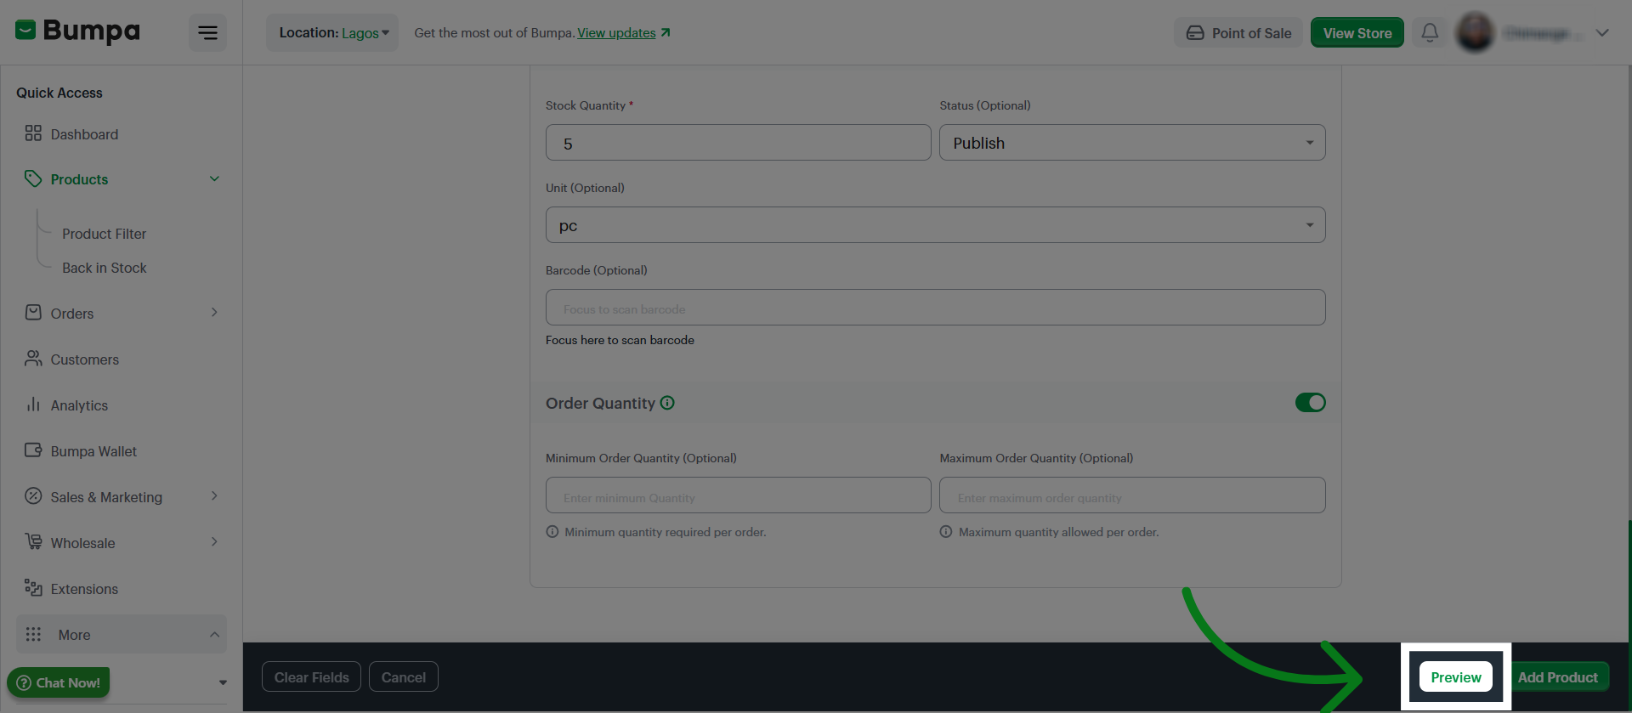
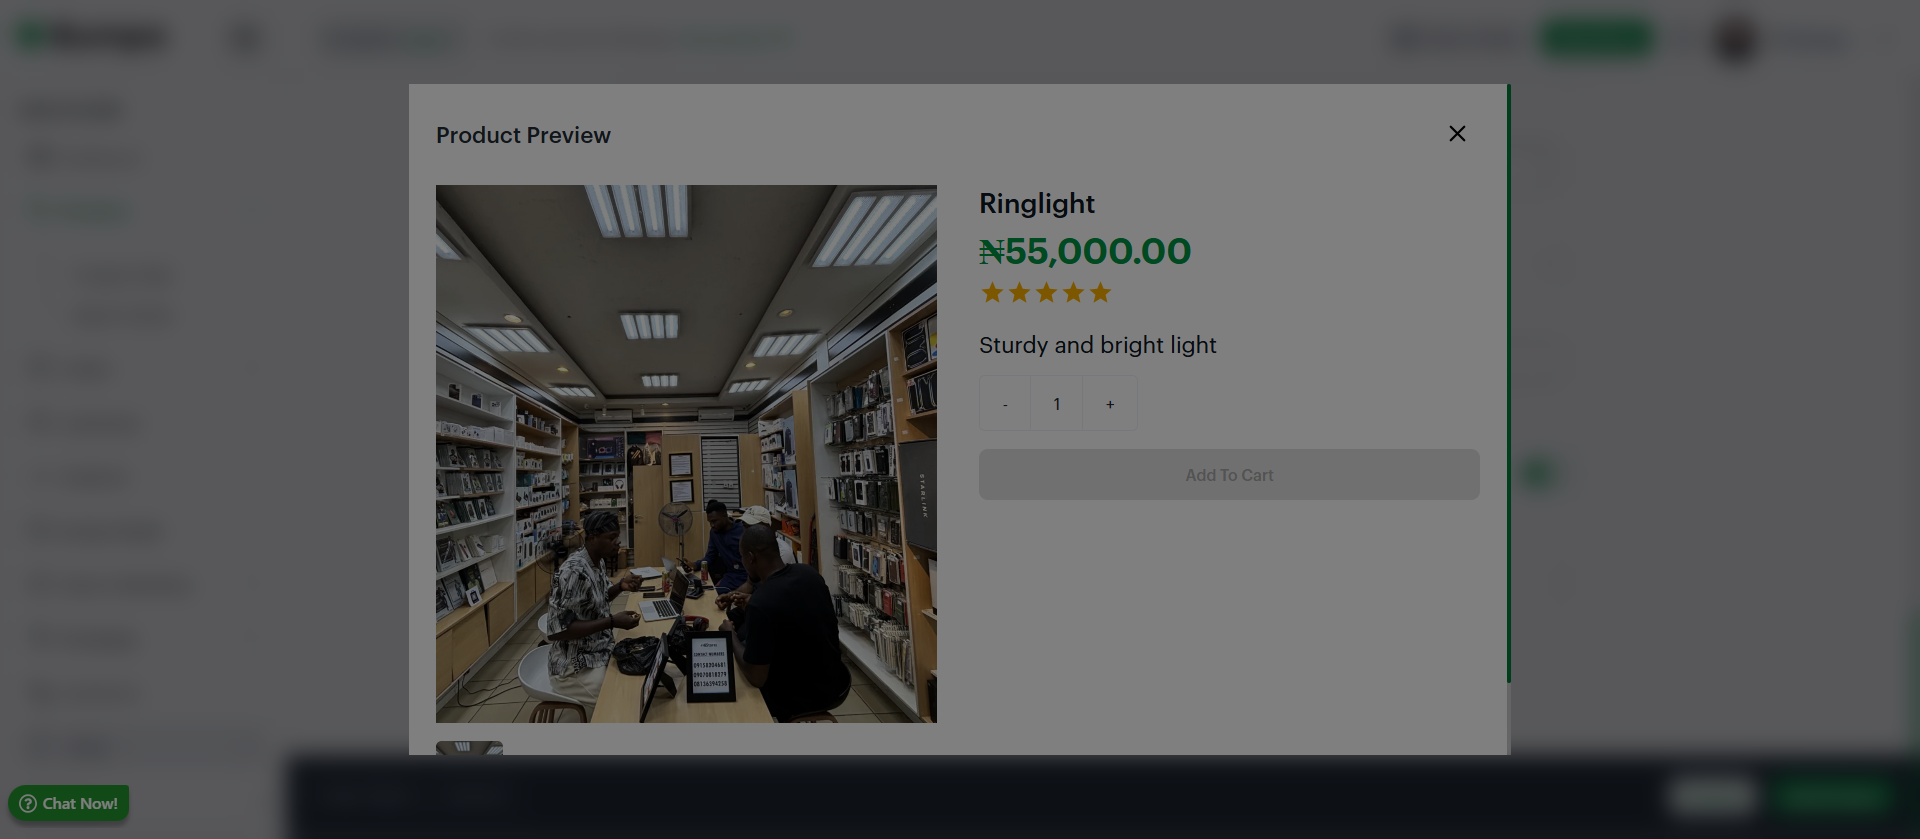
Click the Preview button to review the product details before finalizing.
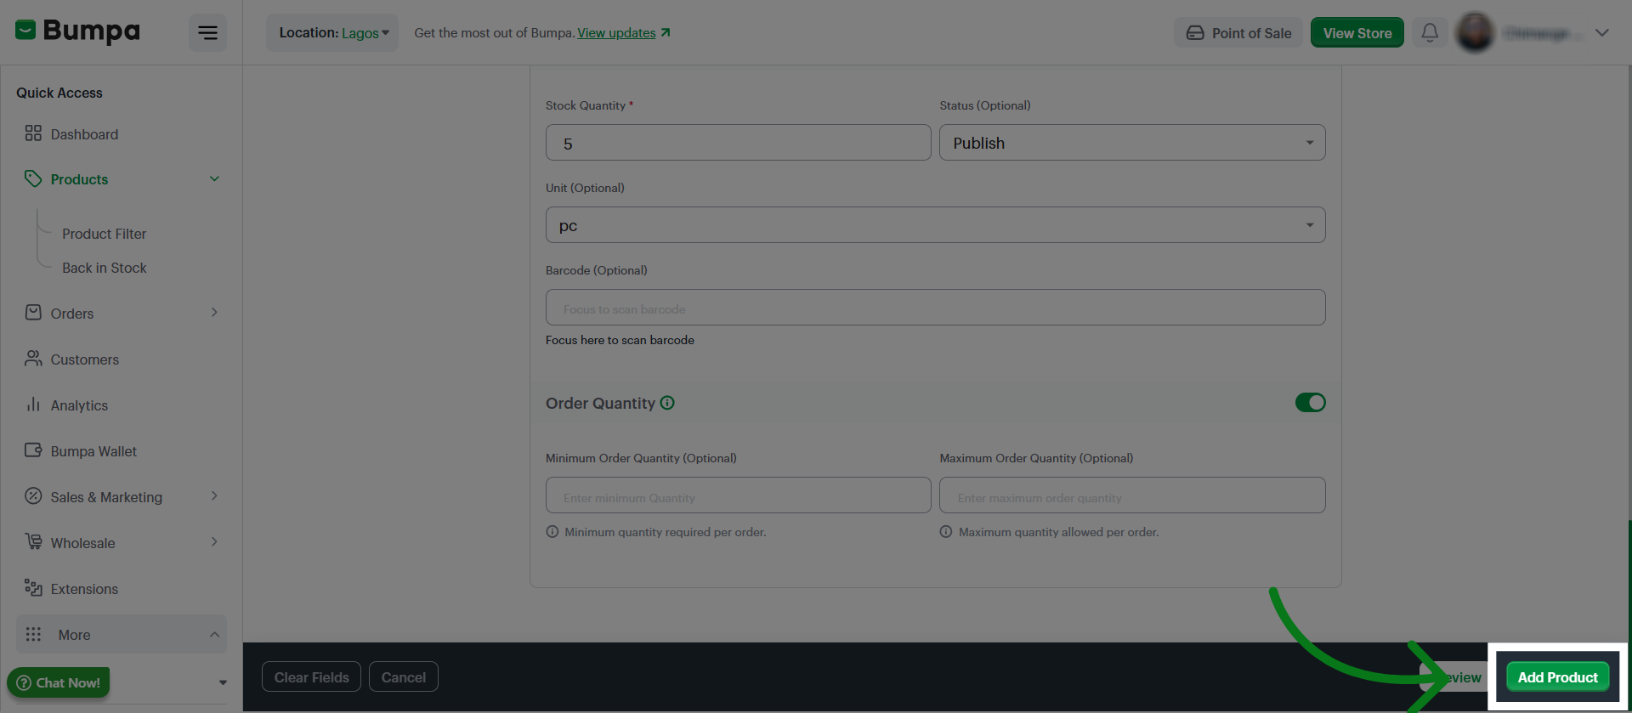
Click Add product to save the new product and include it in your inventory list.
You have successfully added a product to your inventory!!!
Looking to add products with variation (options)? Click here
Related Articles
Setting up Minimum and Maximum Order Quantity (MOQ)
Product Variation (Product Options)
Was this article helpful?
That’s Great!
Thank you for your feedback
Sorry! We couldn't be helpful
Thank you for your feedback
Feedback sent
We appreciate your effort and will try to fix the article