Product Variations allow you to add different options to the same product, such as size, colour, material, or style. Customers can choose the option they want, while you can manage all the options under one product listing.
For example, if you sell a T-shirt in Small, Medium, and Large, and in Black and White, each combination is a different variation. A Small Black T-shirt is one variation, while a Large White T-shirt is another.
You can set the price and stock quantity for each variation. This helps you keep track of what is available and makes it easier for customers to choose the product option they want.
How to Create a Product Variation
You can create product variations on Bumpa using either the mobile app or WebApp
Visit the Bumpa WebApp: app.getbumpa.com
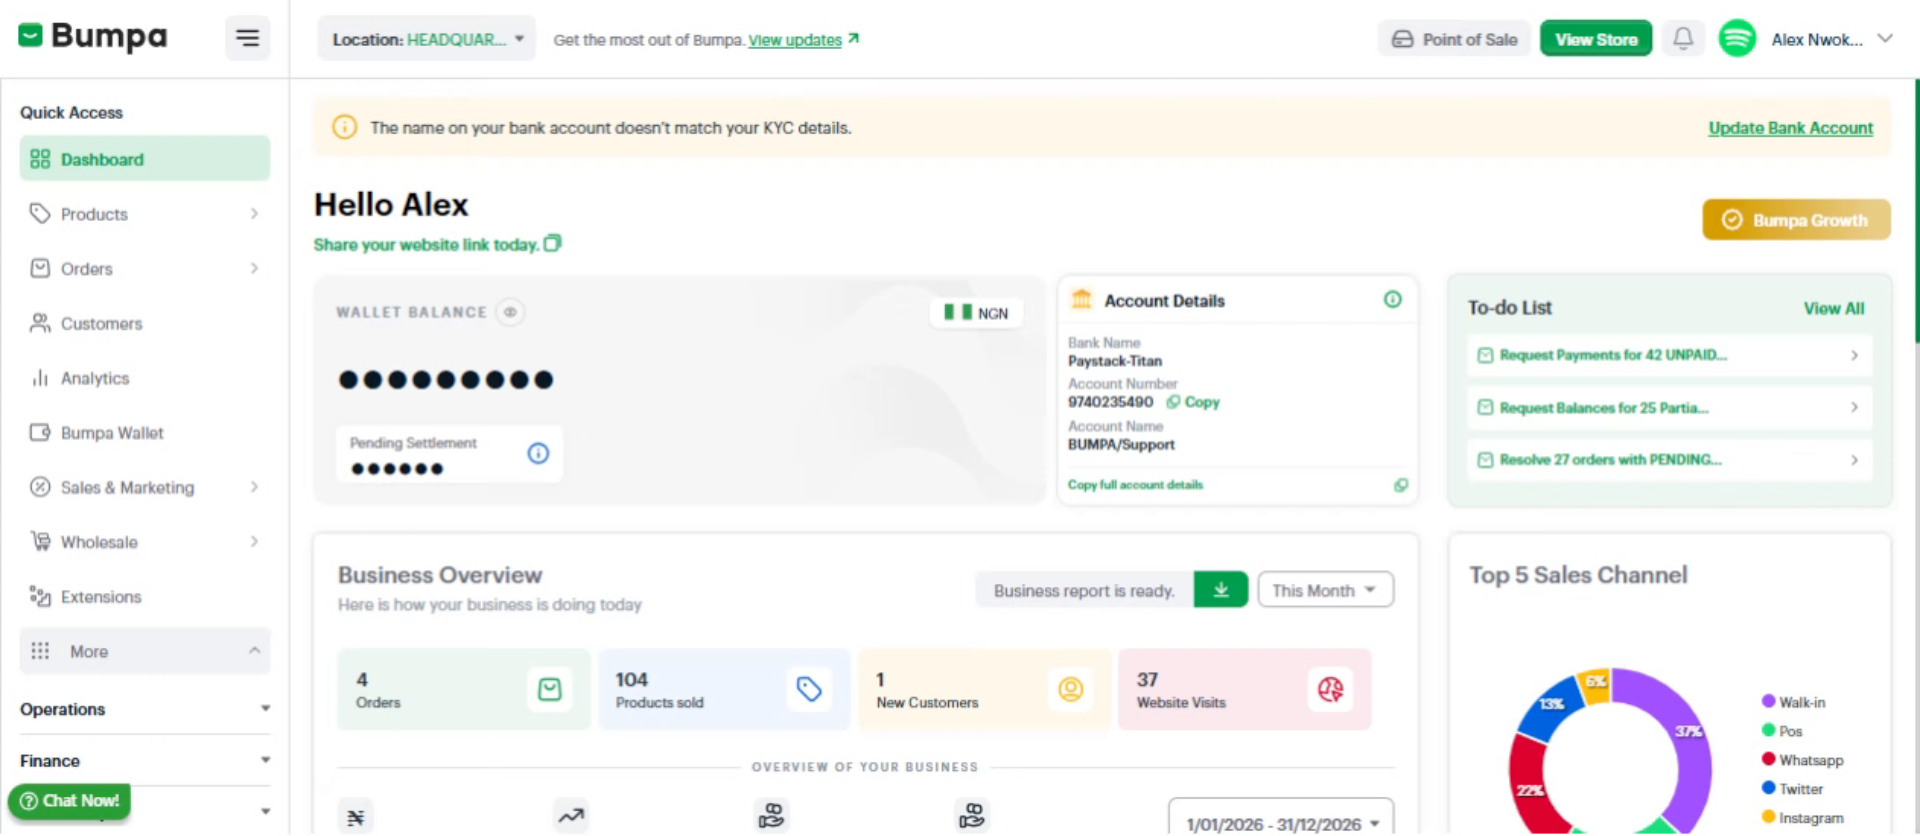
Navigate to the Products Tab
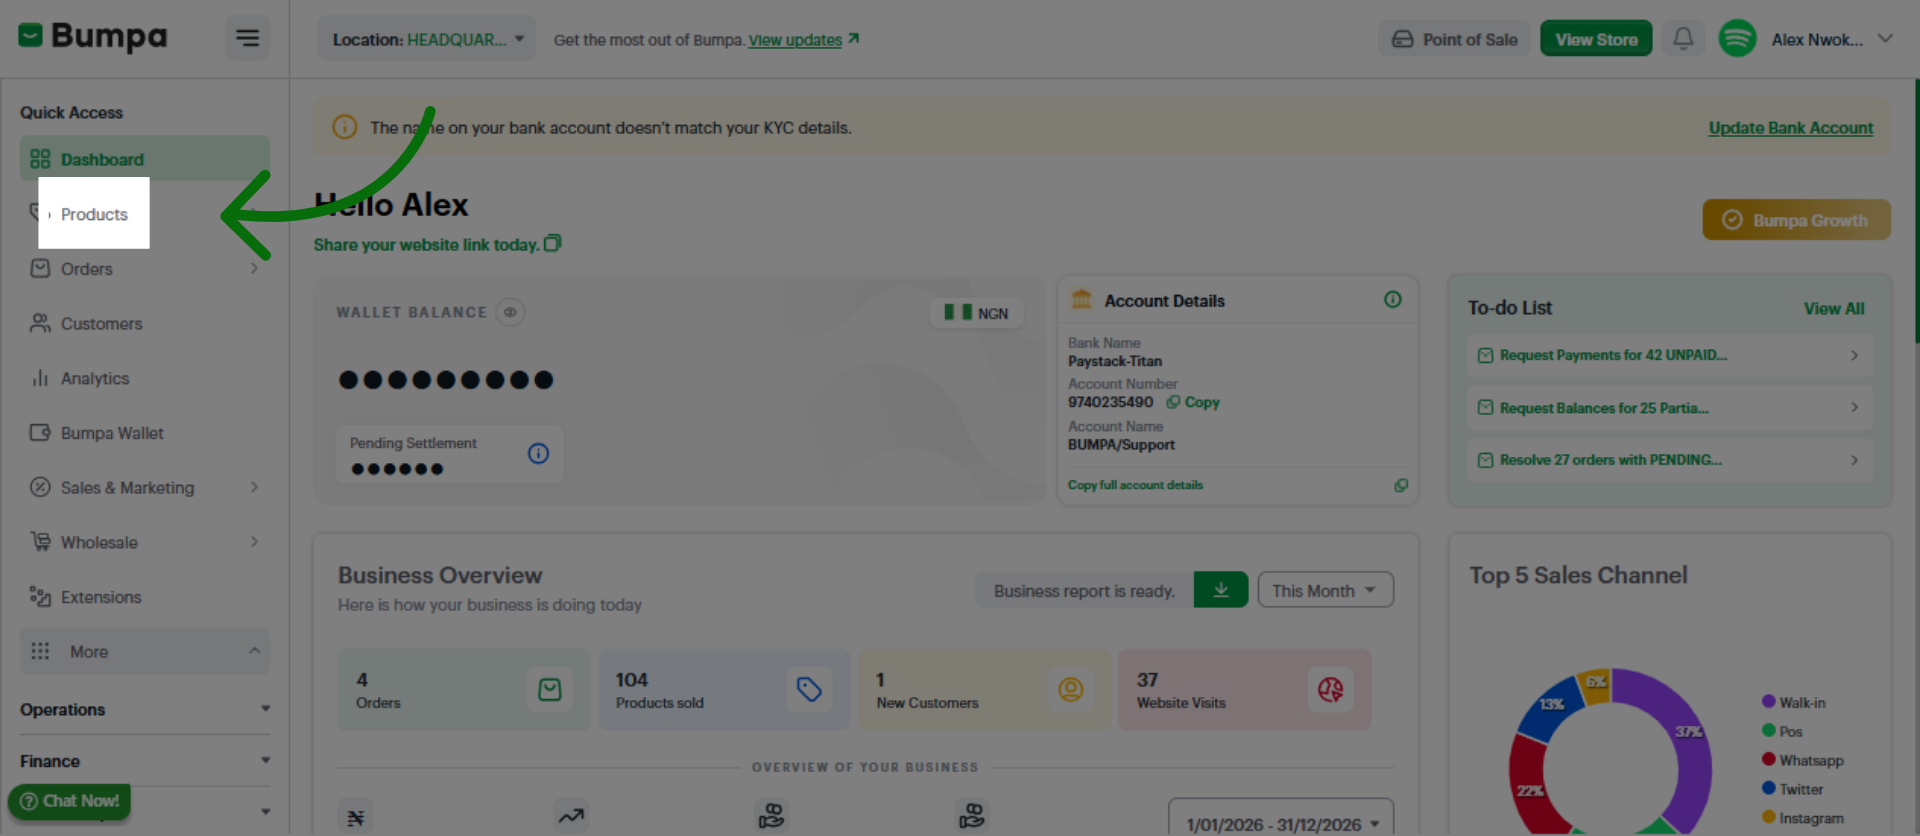
Click add New Product to start creating a new product entry in your inventory.
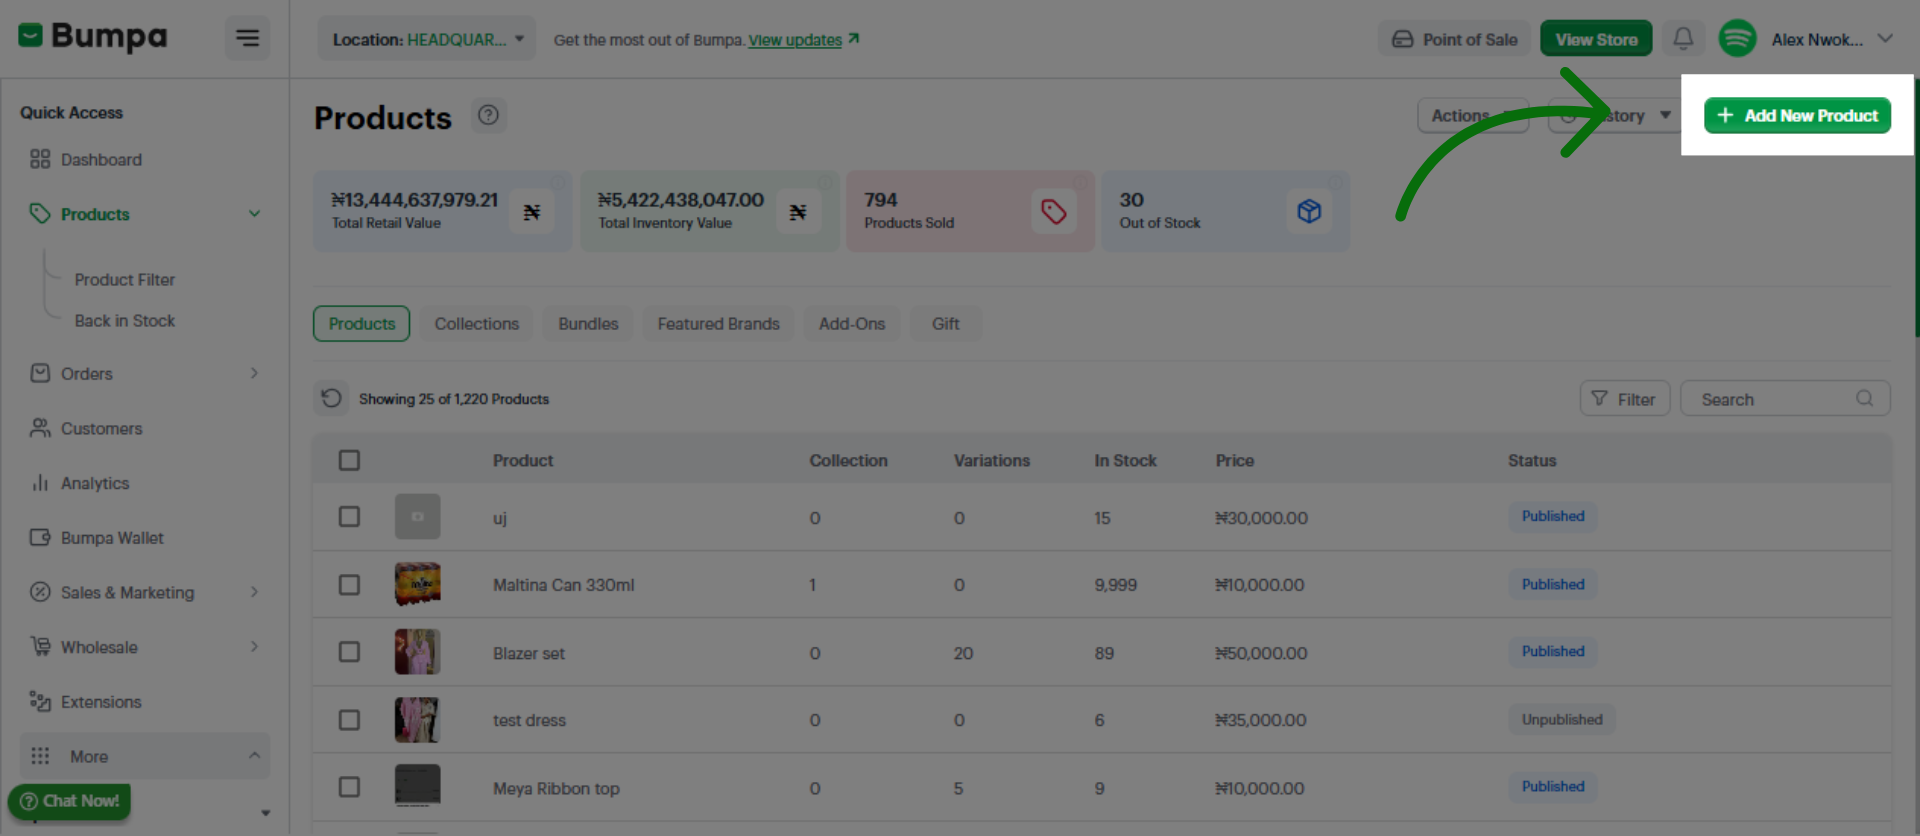
Select Product Variations
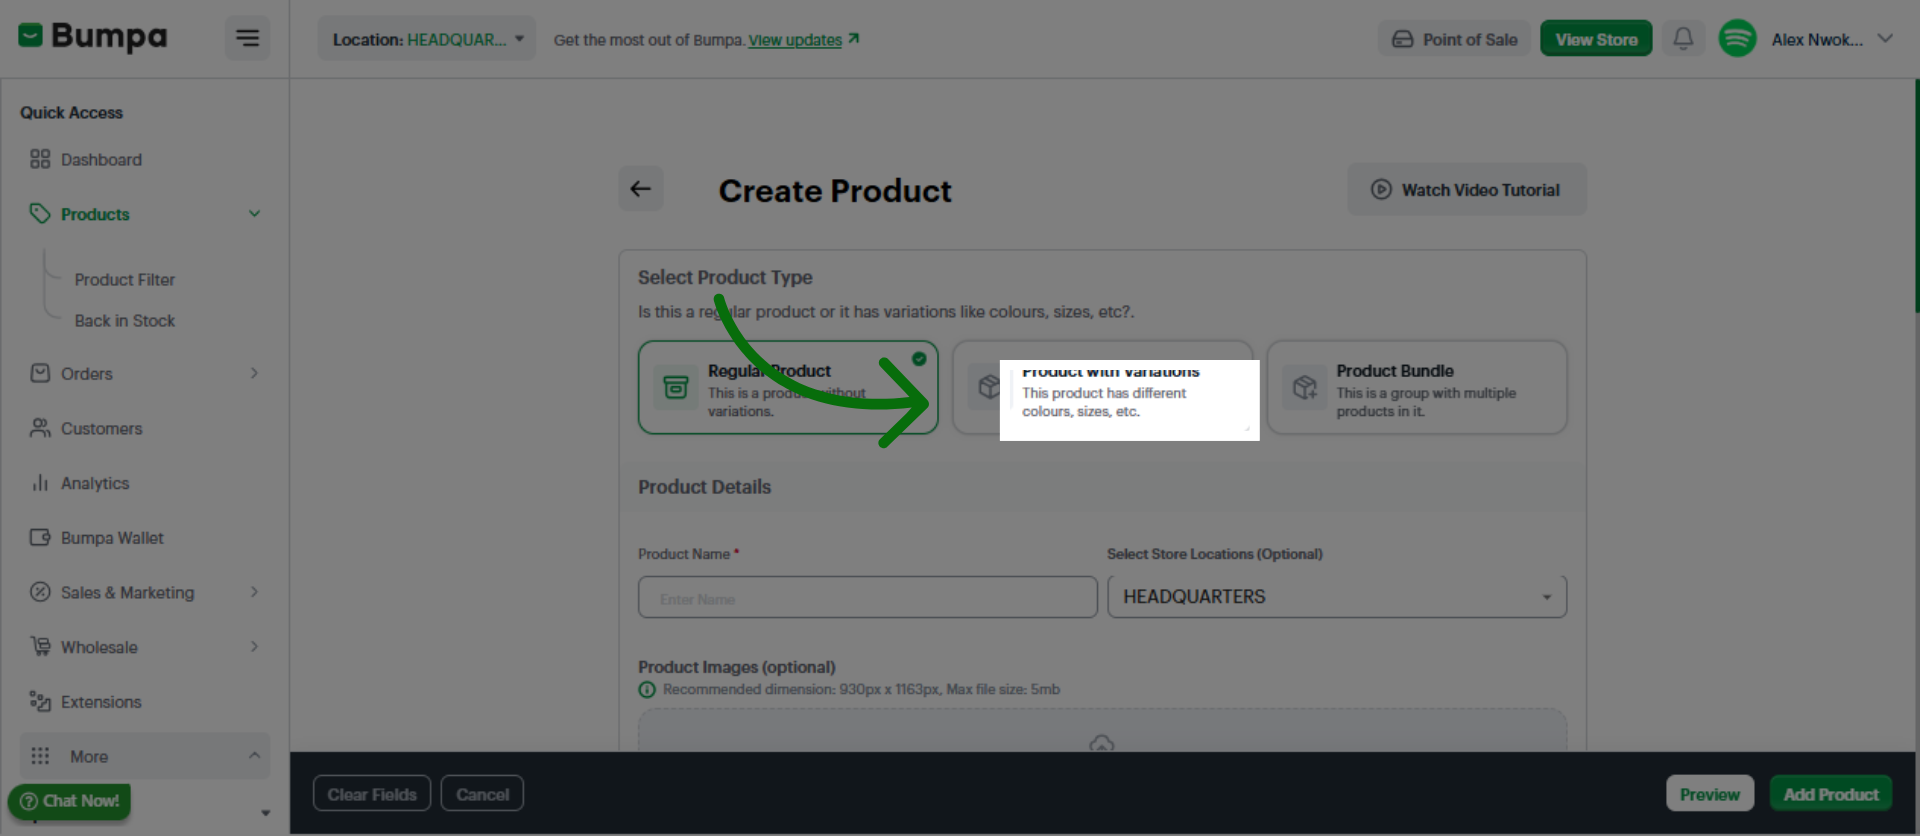
Input Product Name
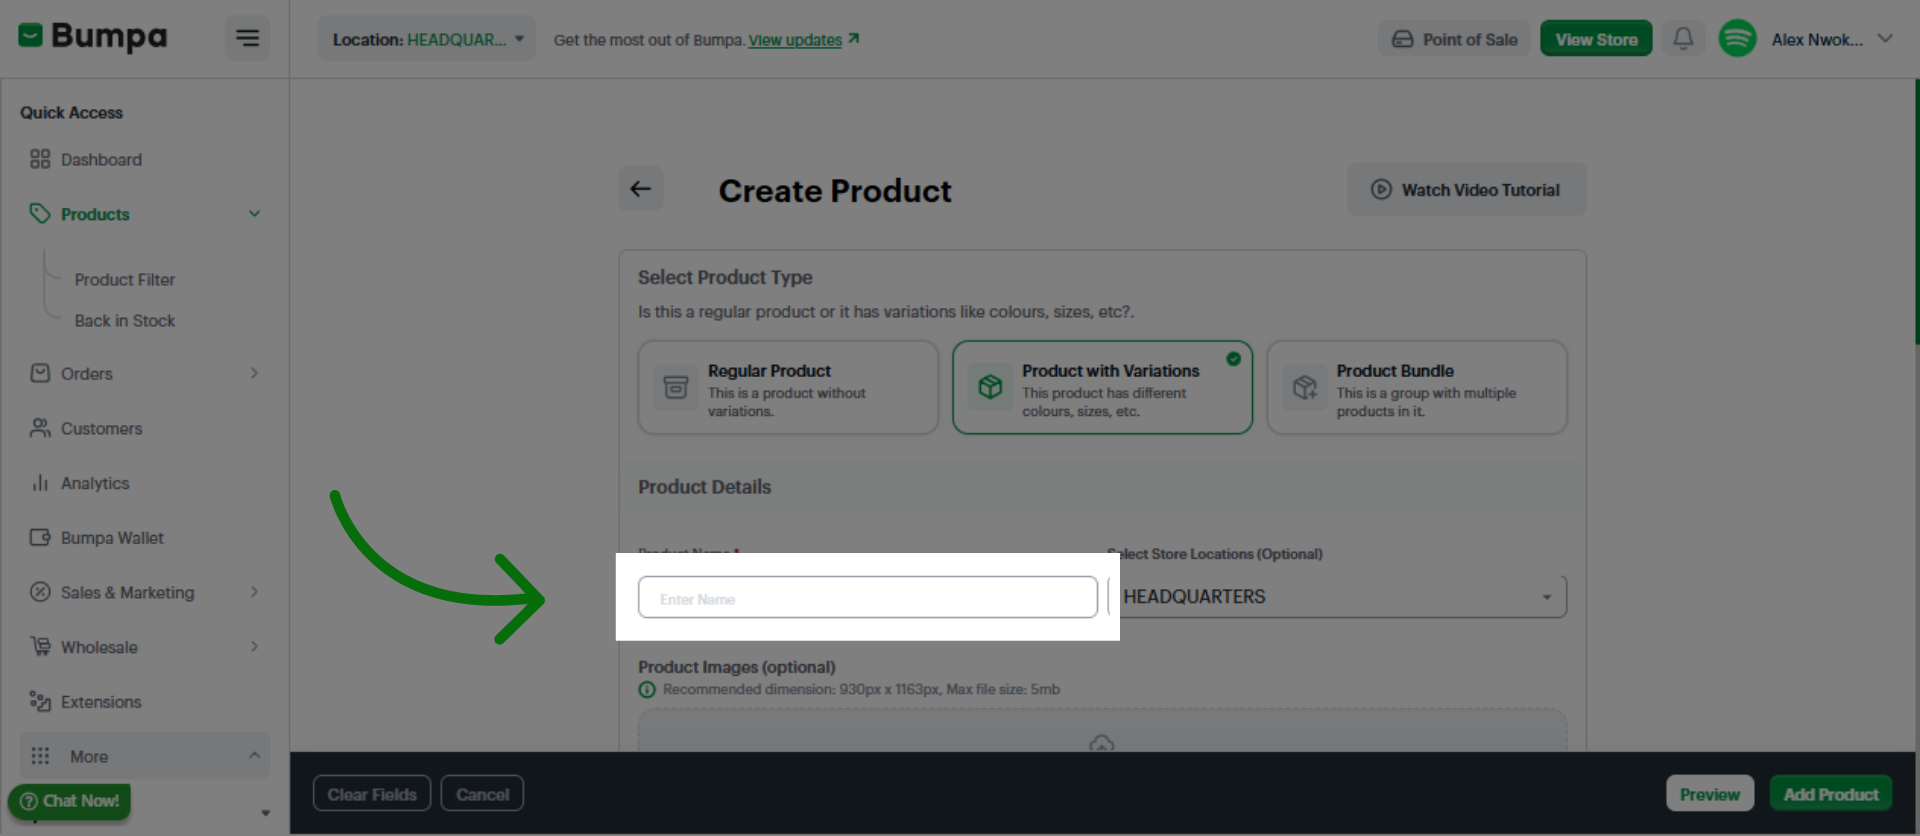
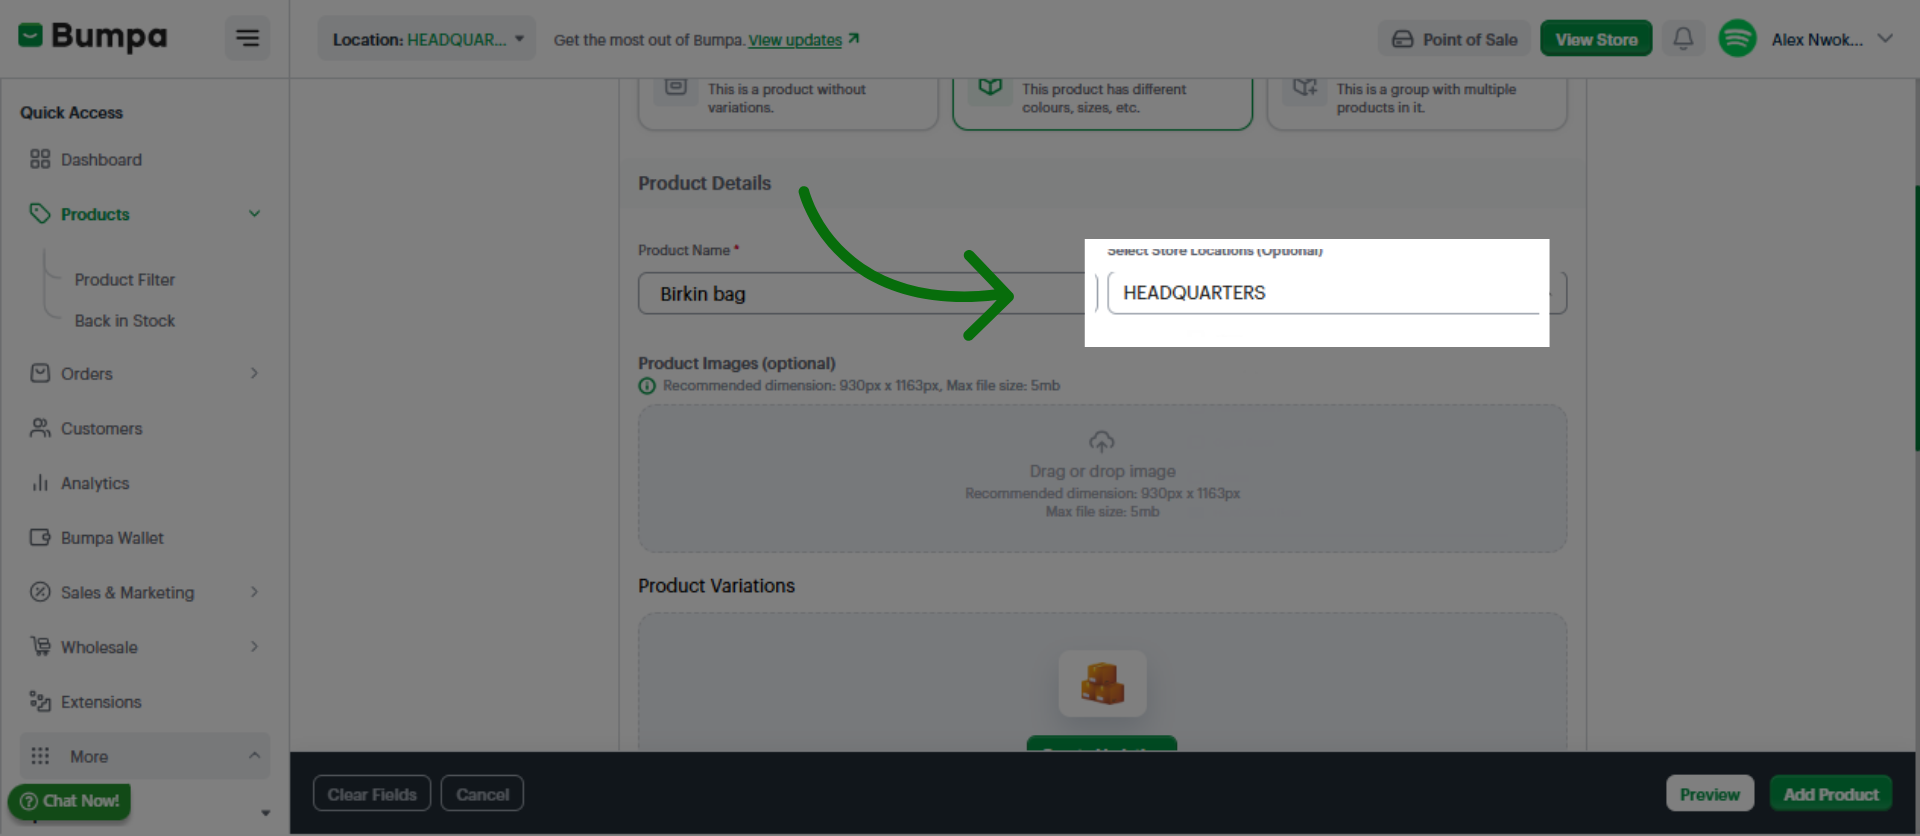
Select location (for stores with multiple locations)
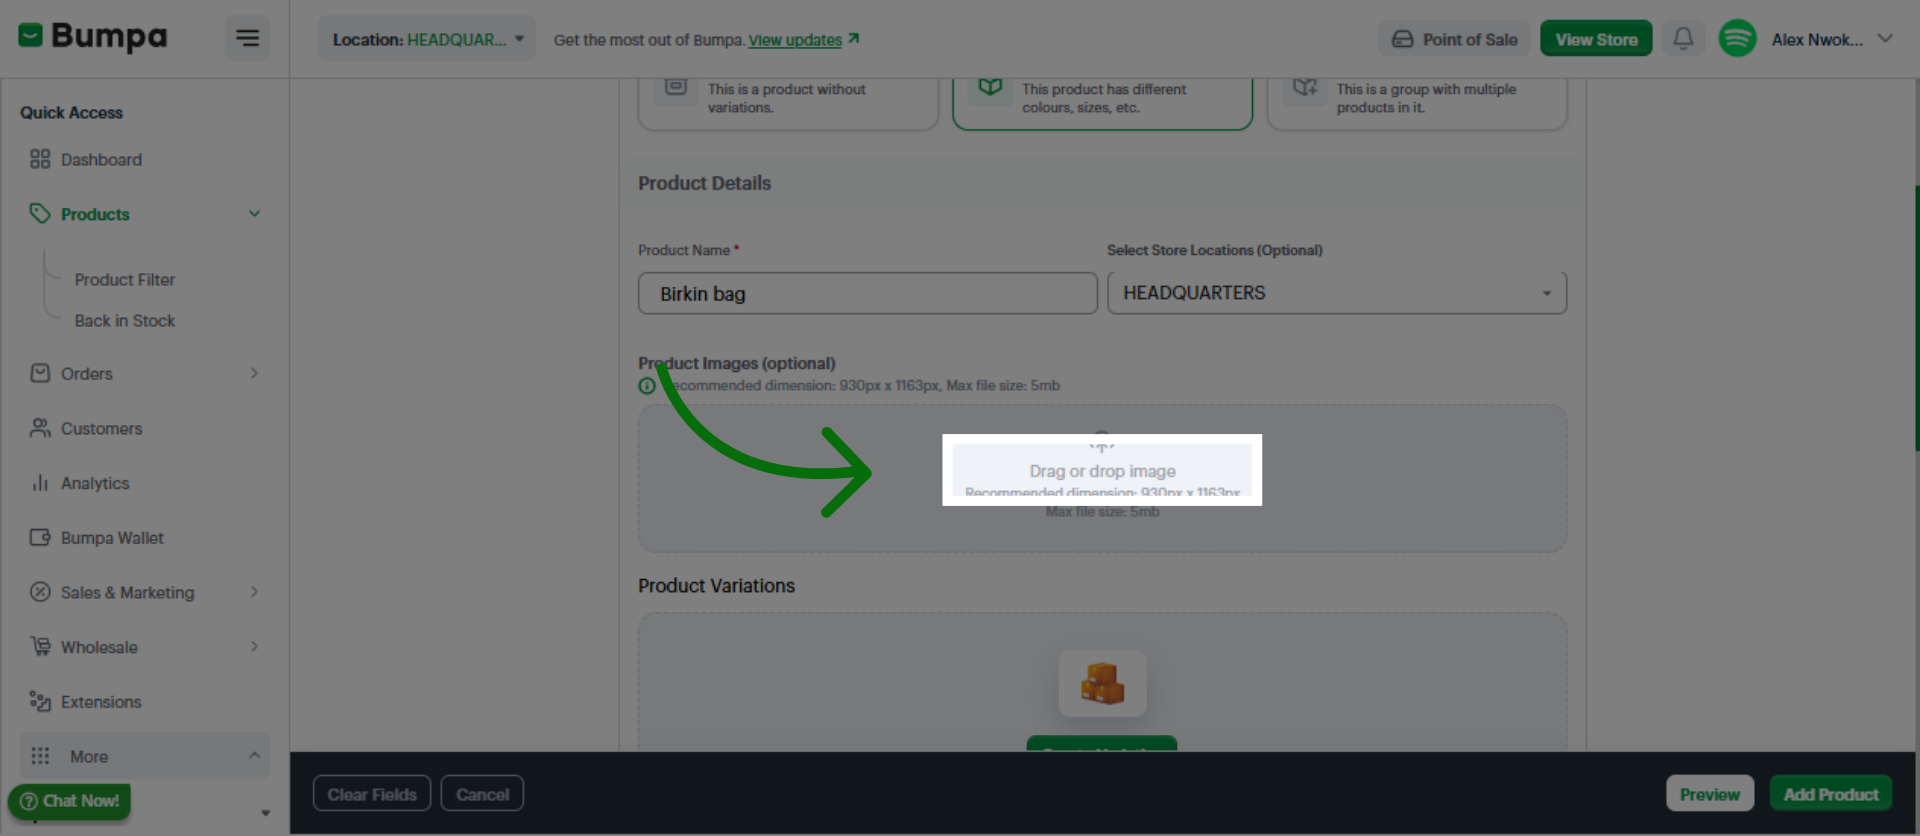
Upload product image
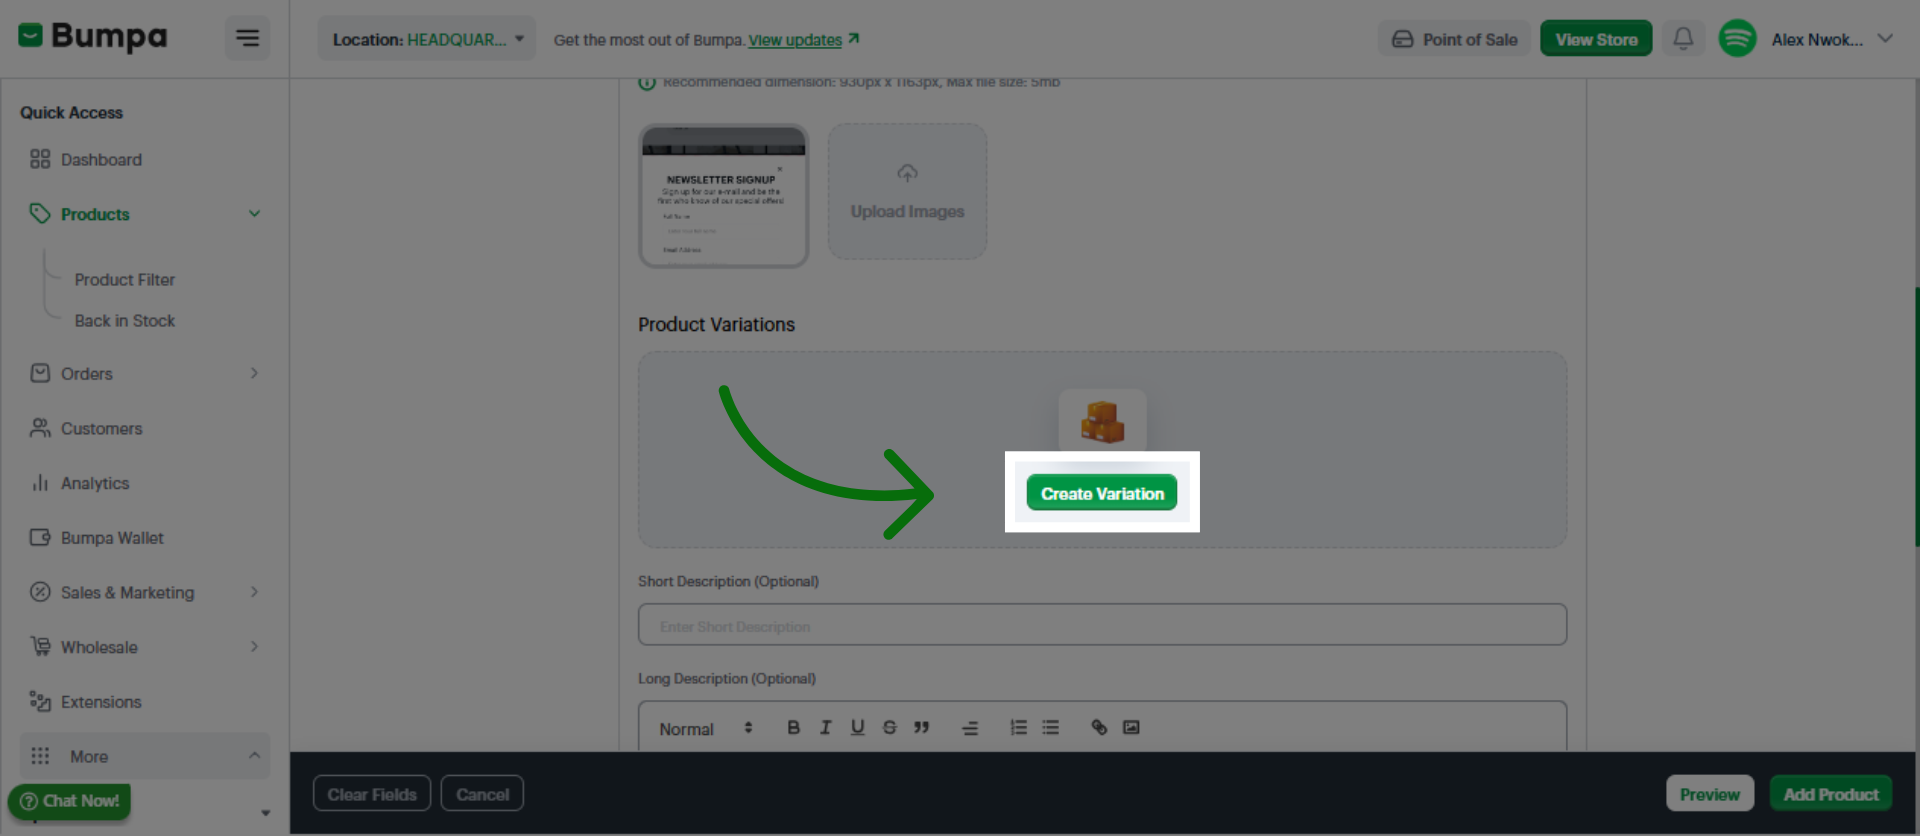
Click Create Product Variation
Input the Option Name
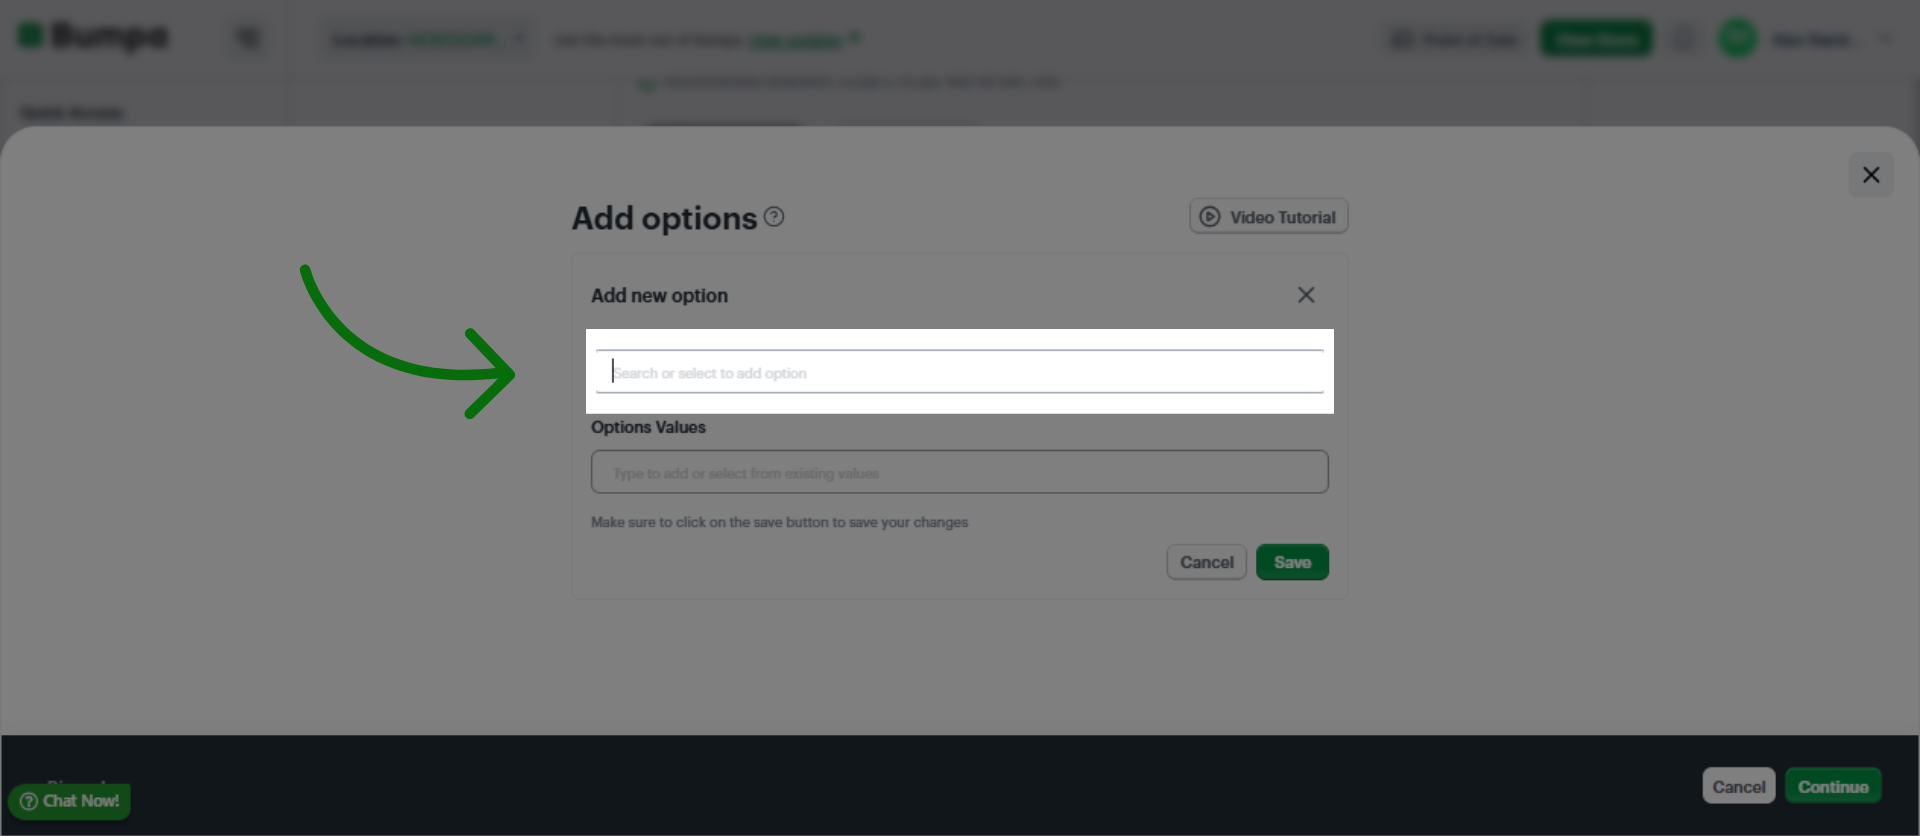
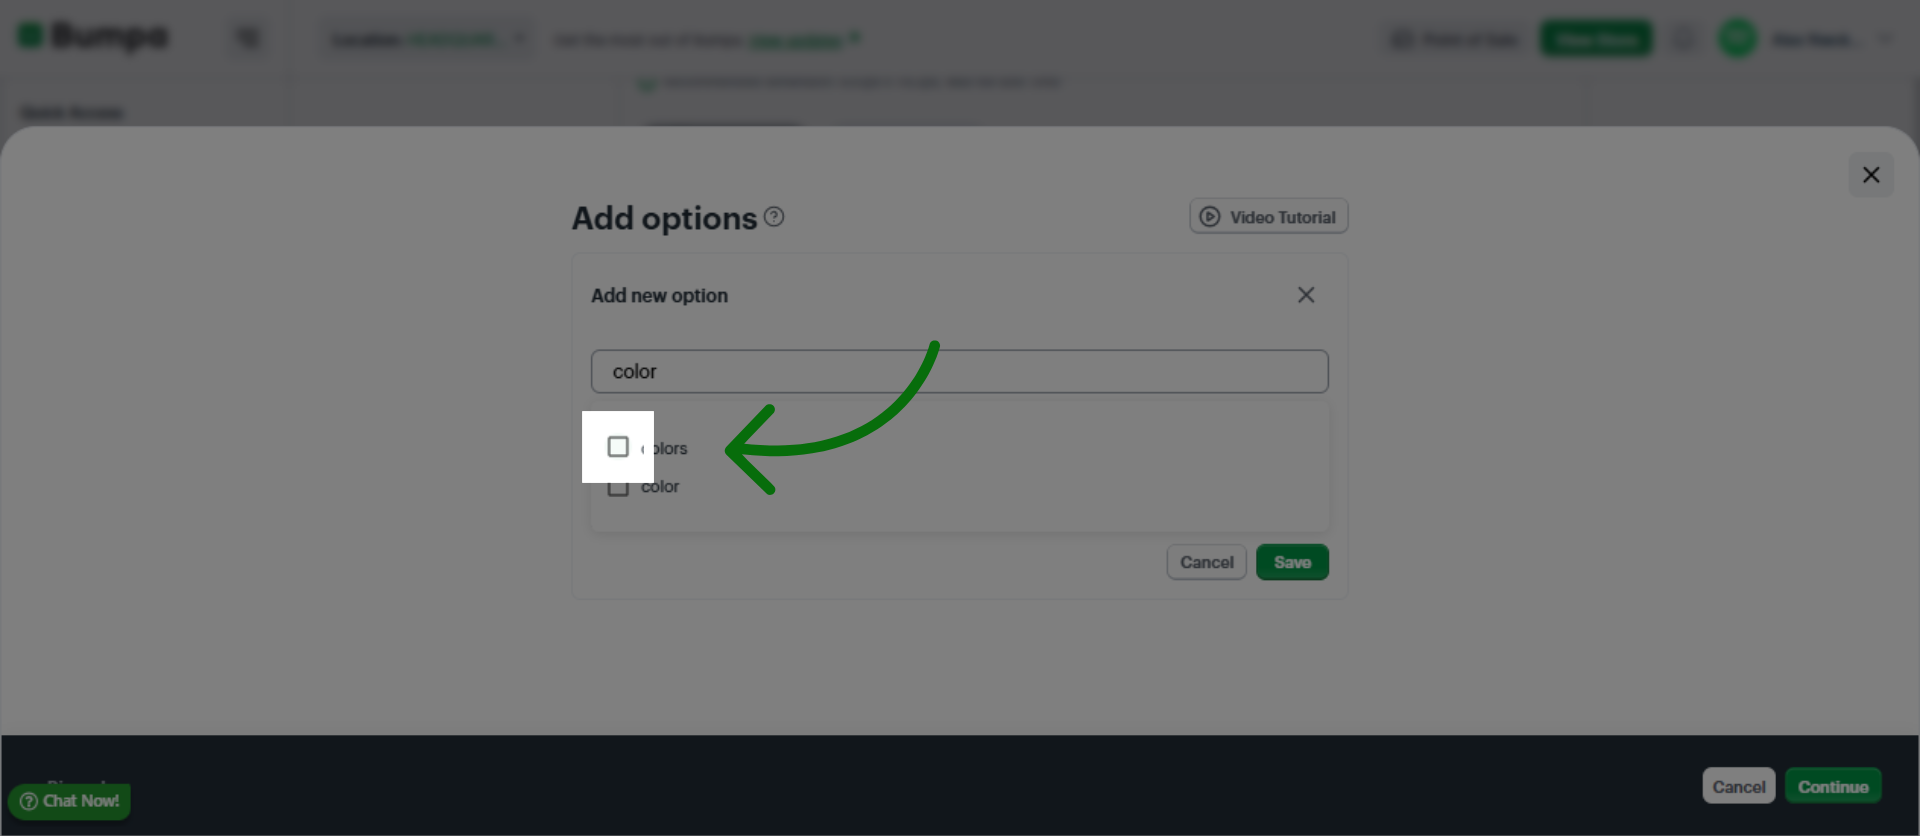
If the Option already exists, you can select it
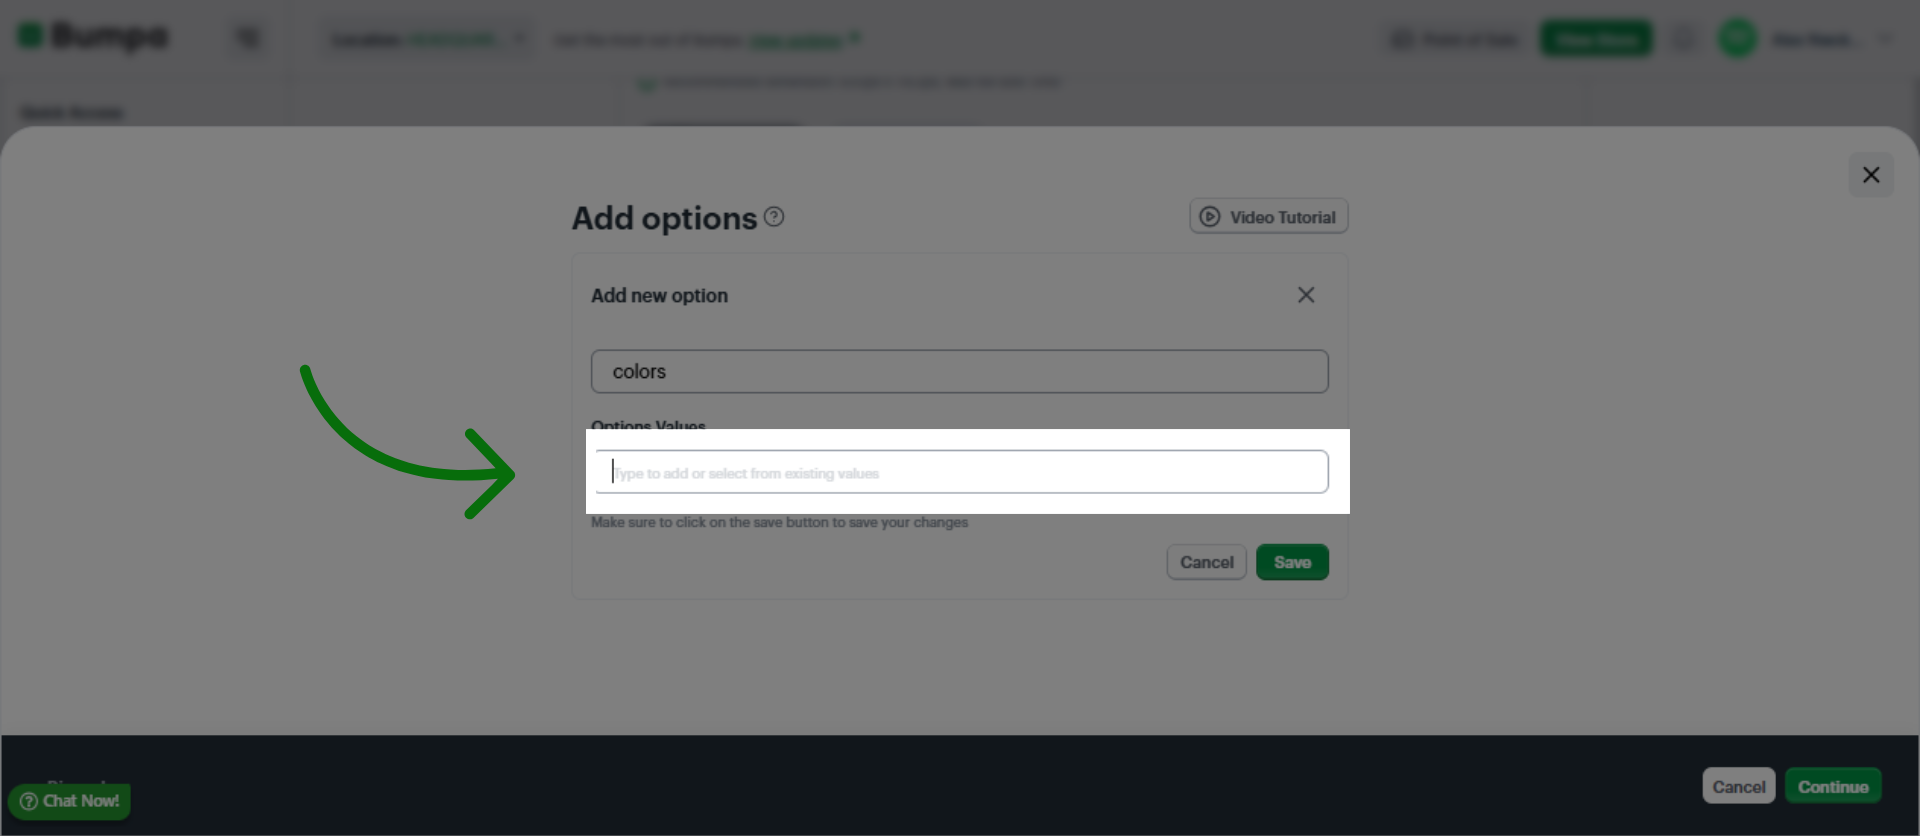
Add Variation Value
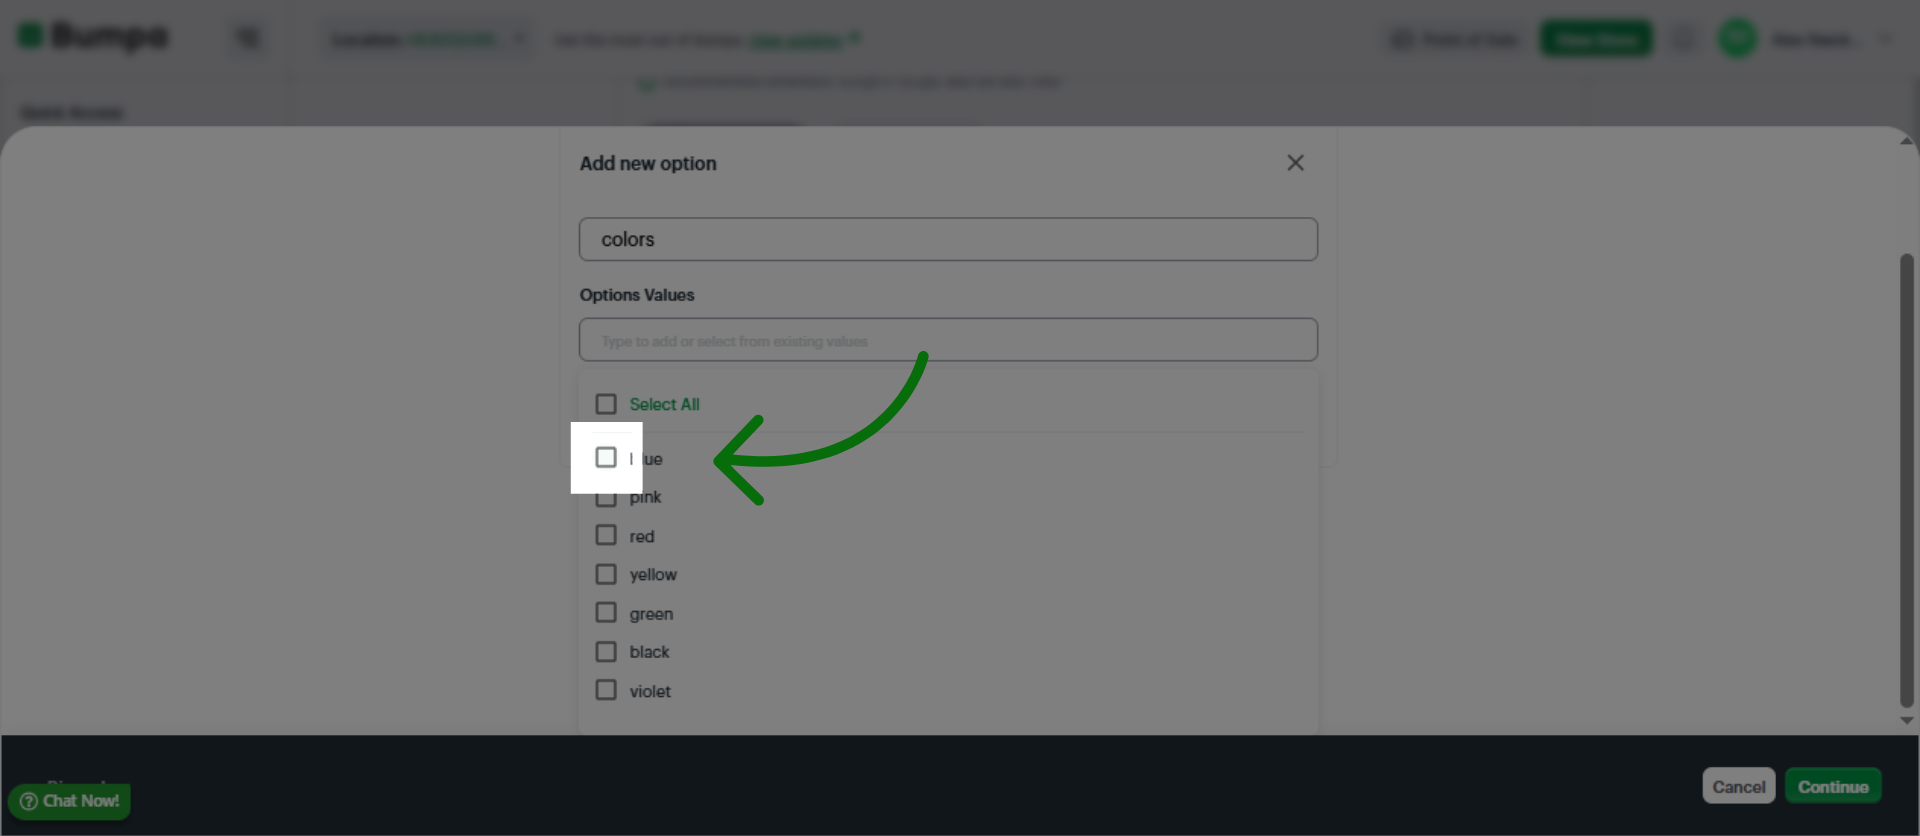
You can select a Variation Value from existing values
Click on Save Variation Settings
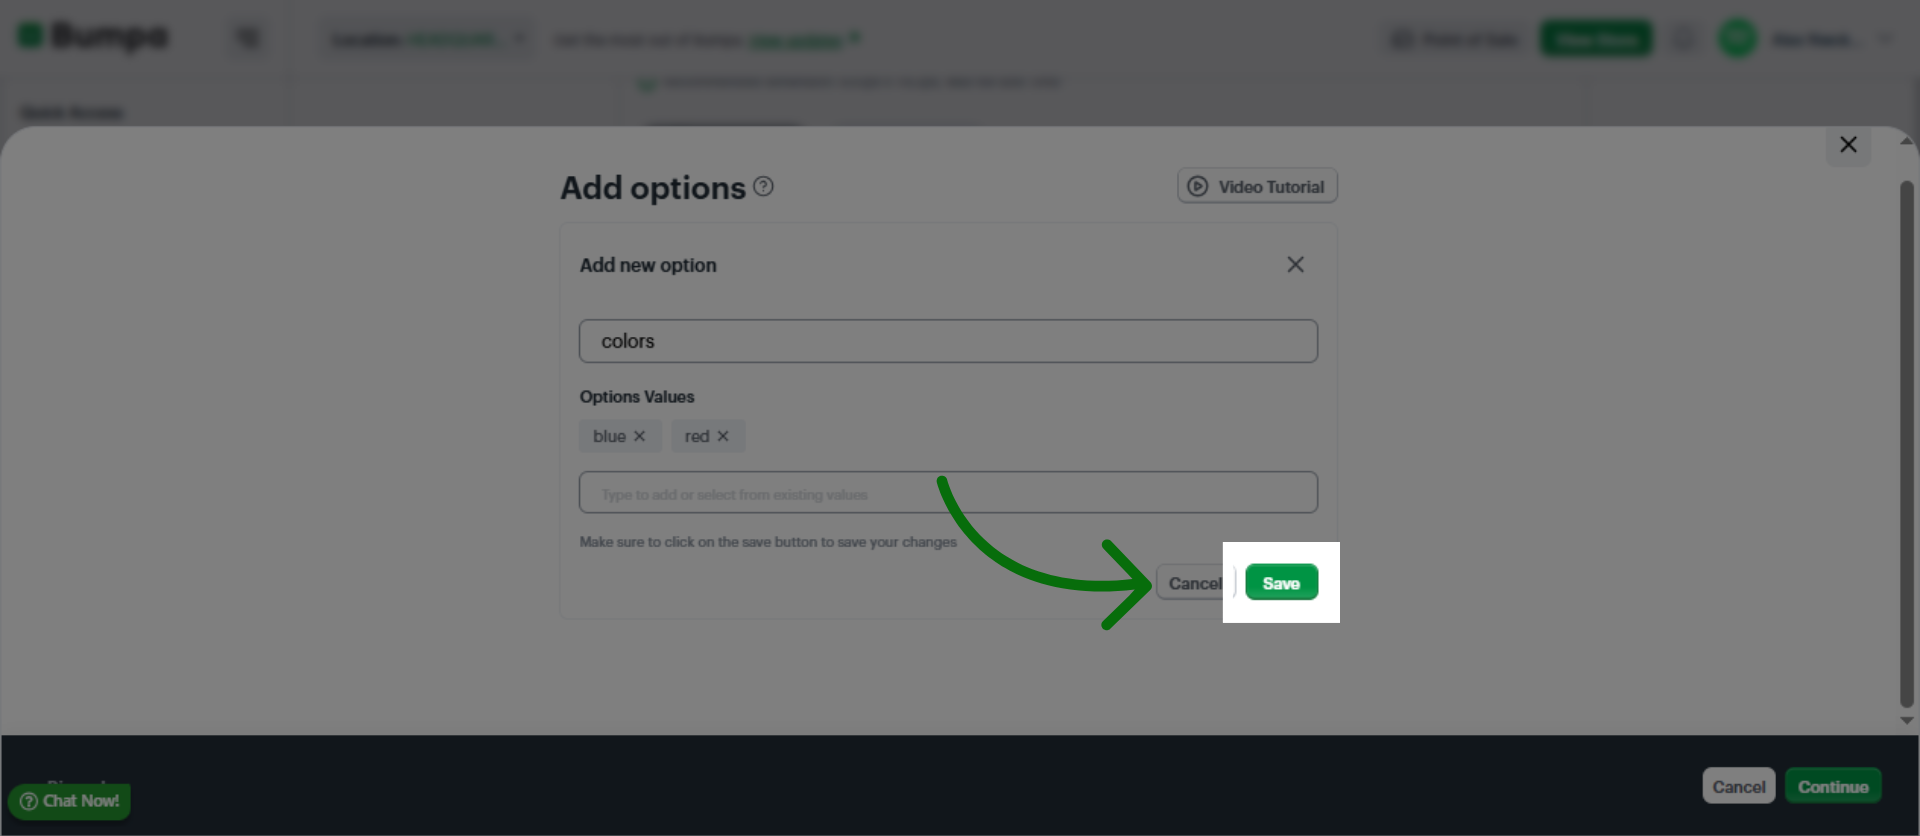
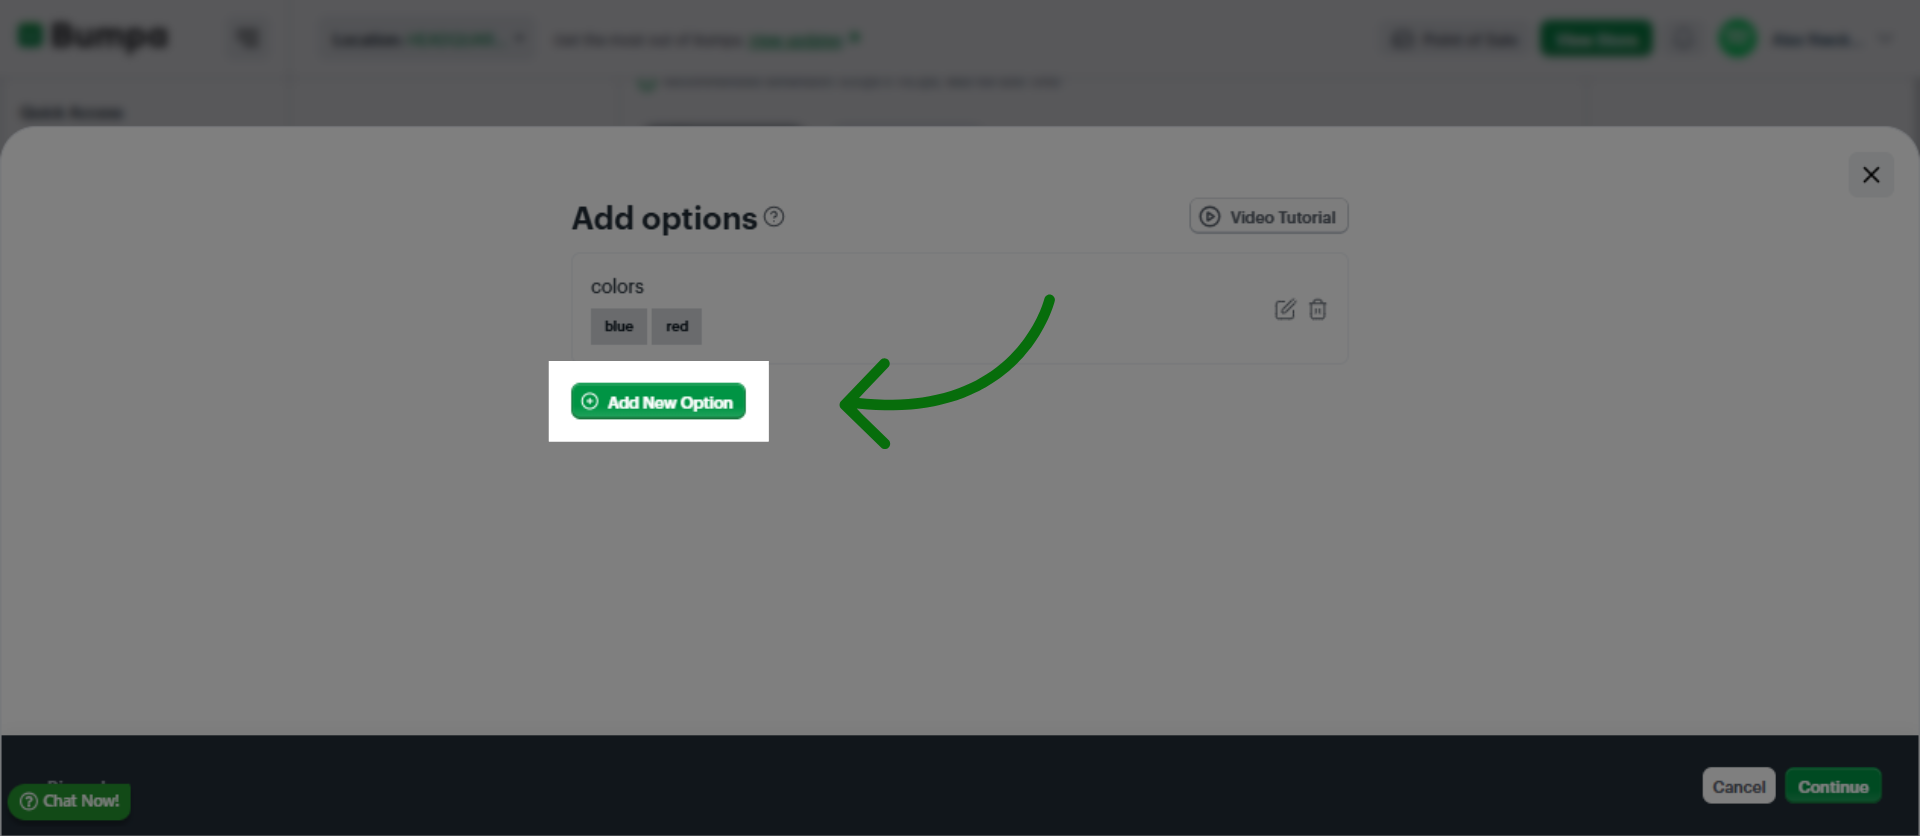
Add New Variation Option
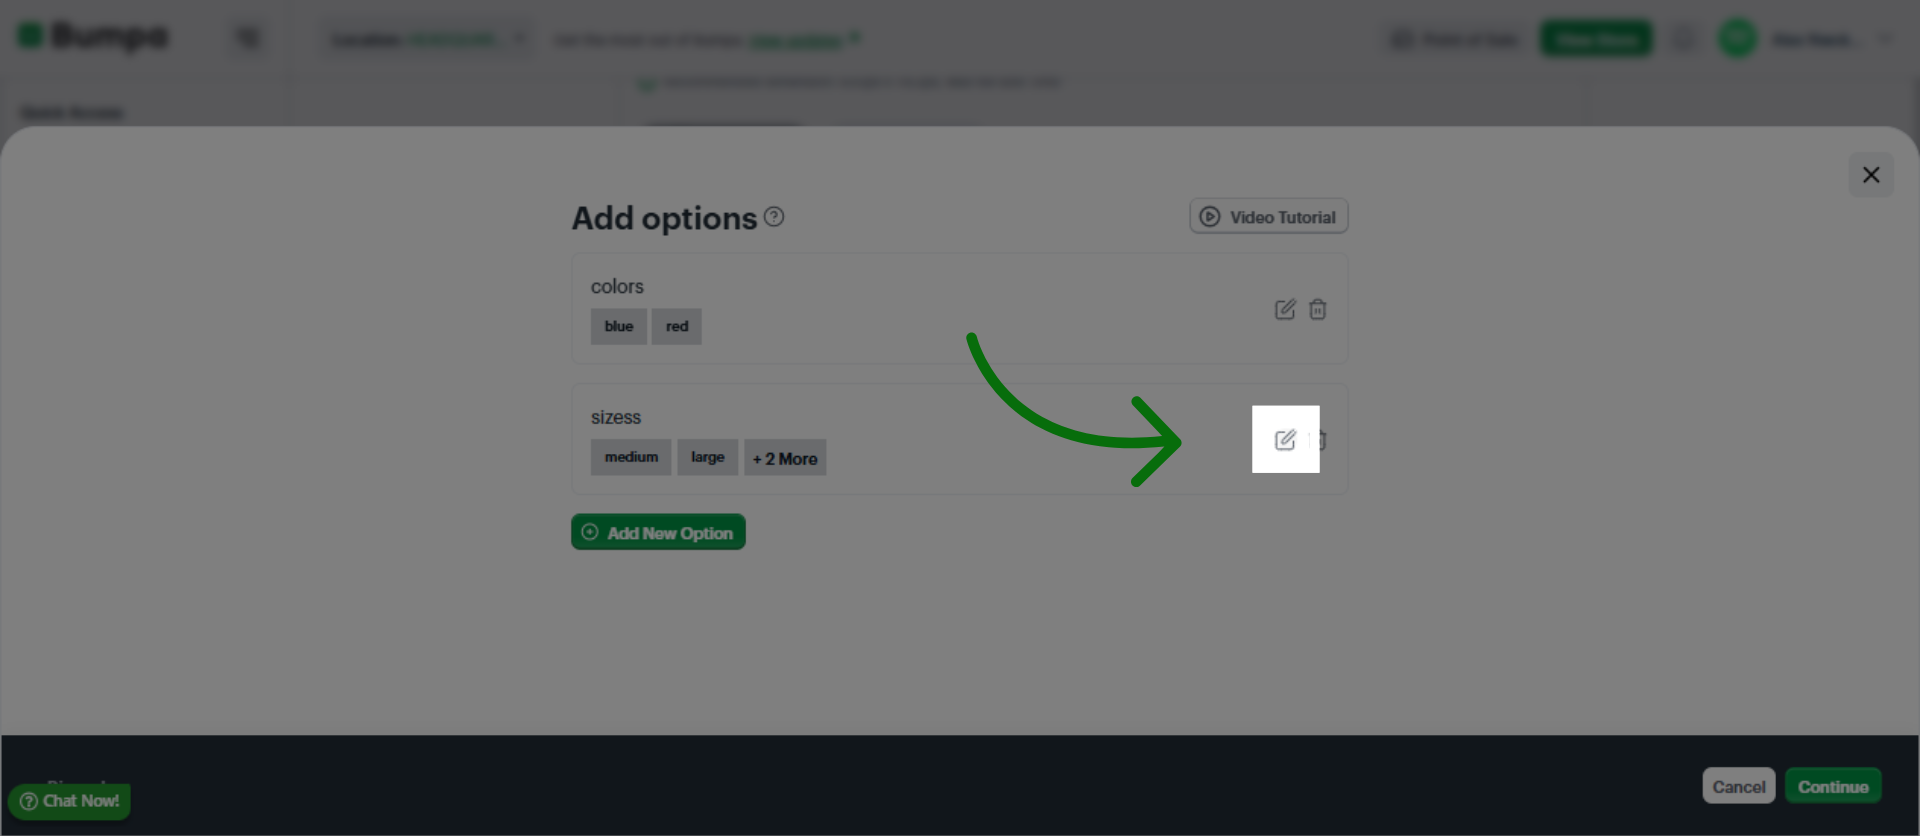
You can edit the Variation Details to suit the new product
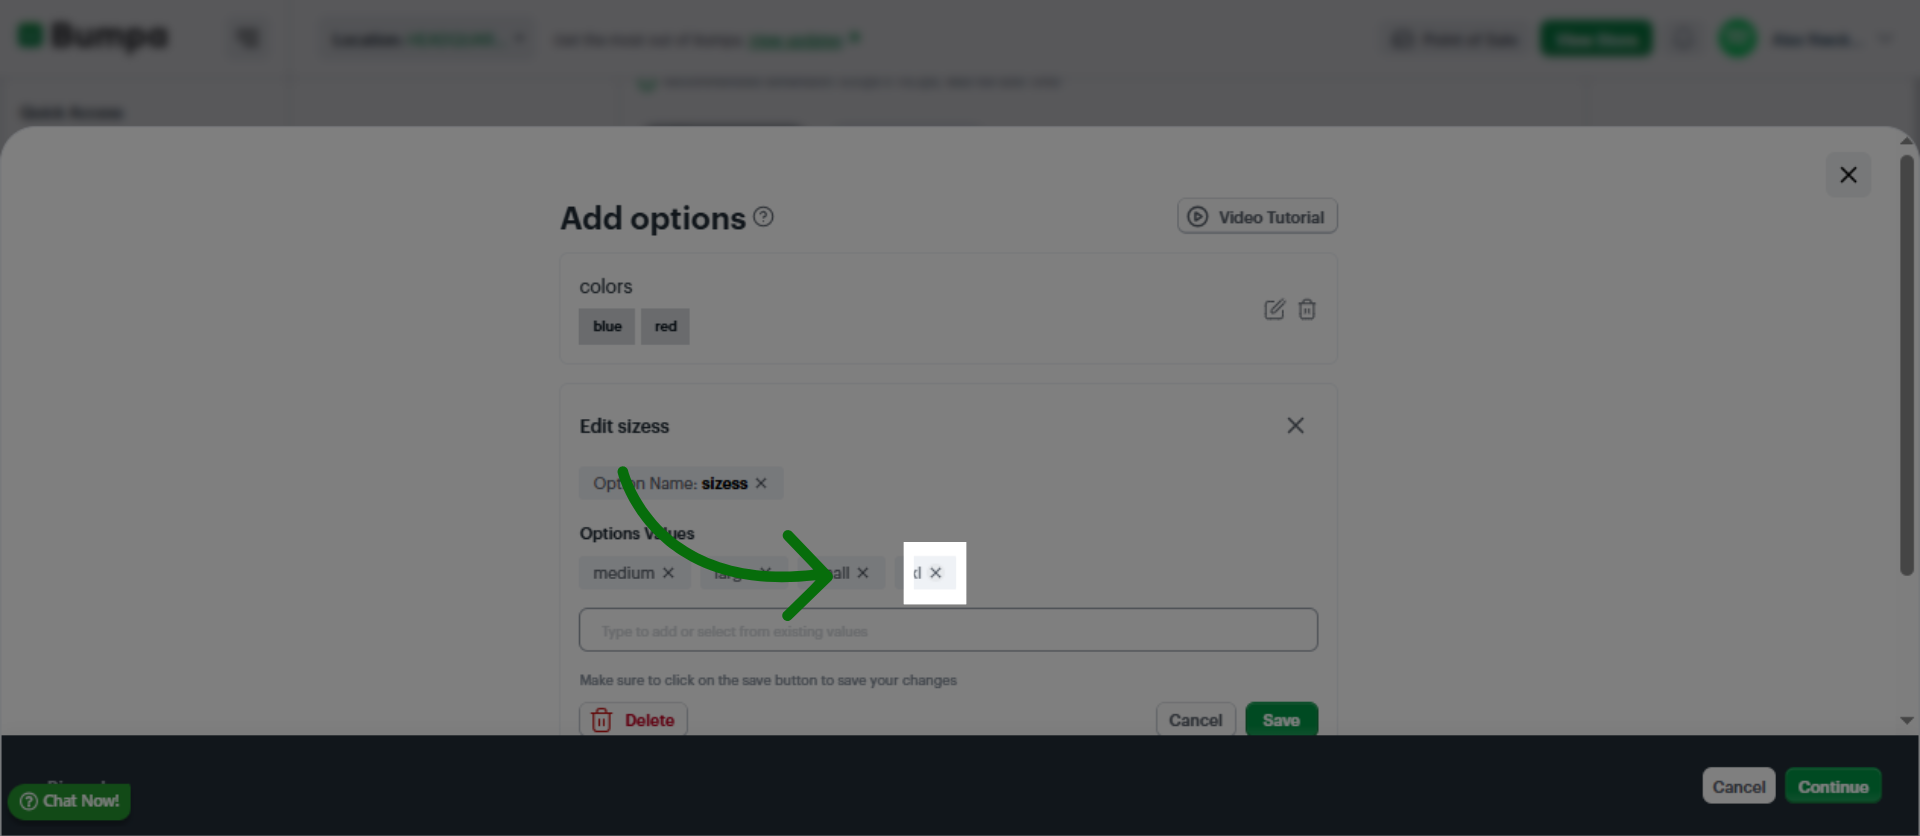
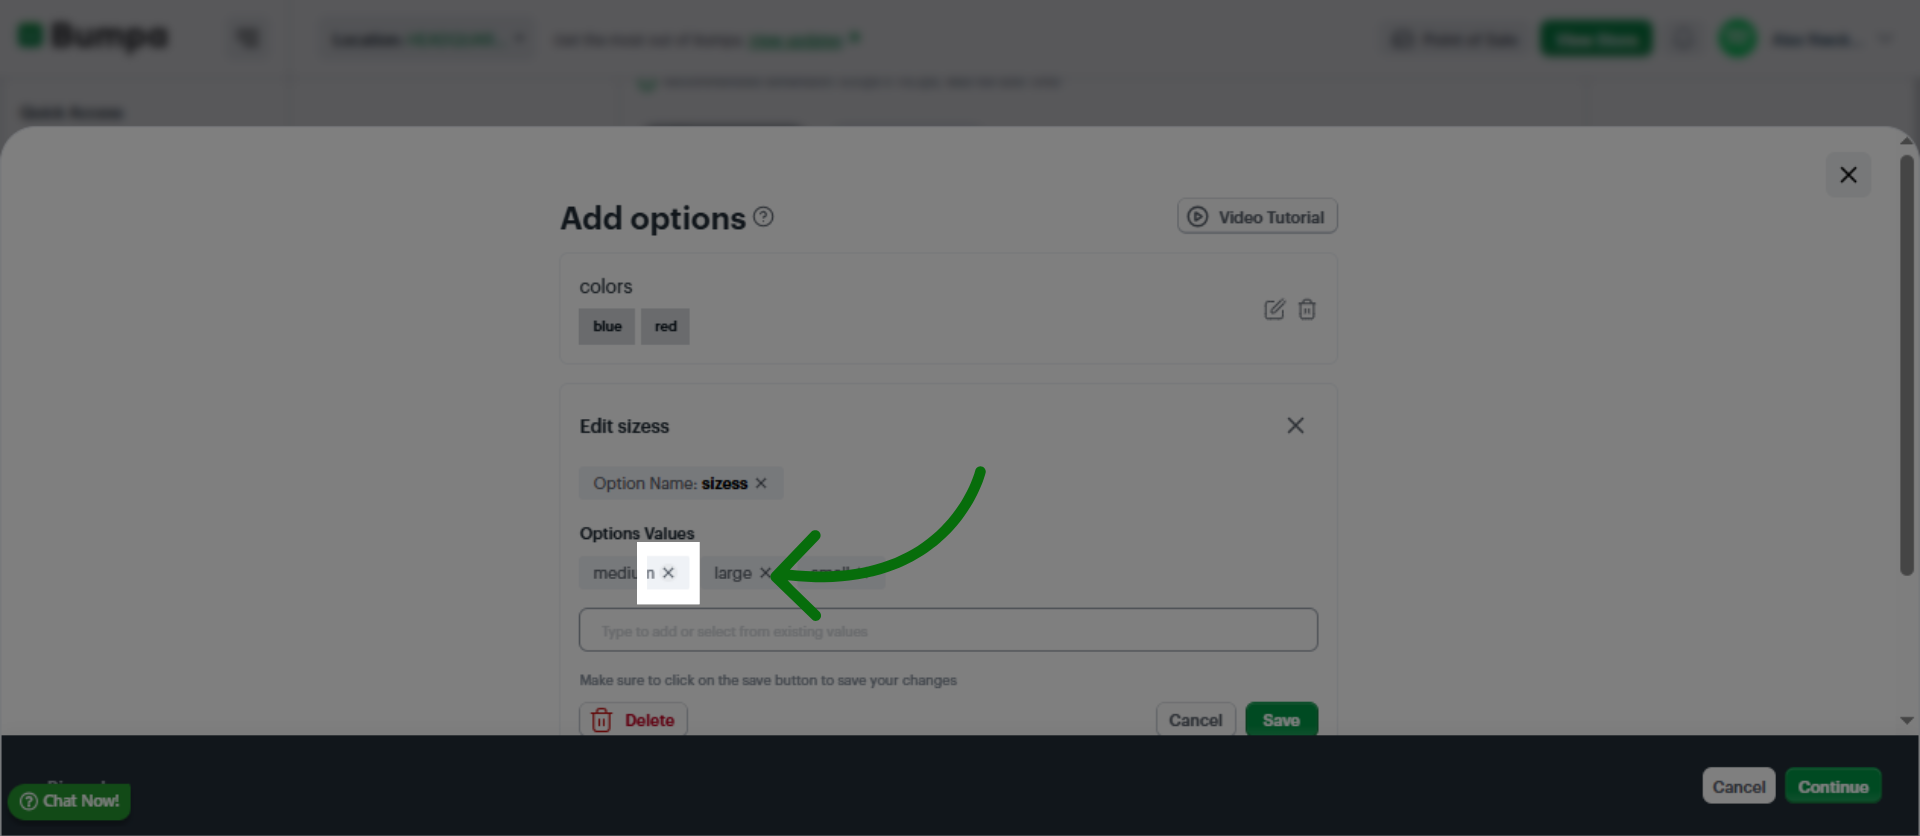
Click to Save the Variation
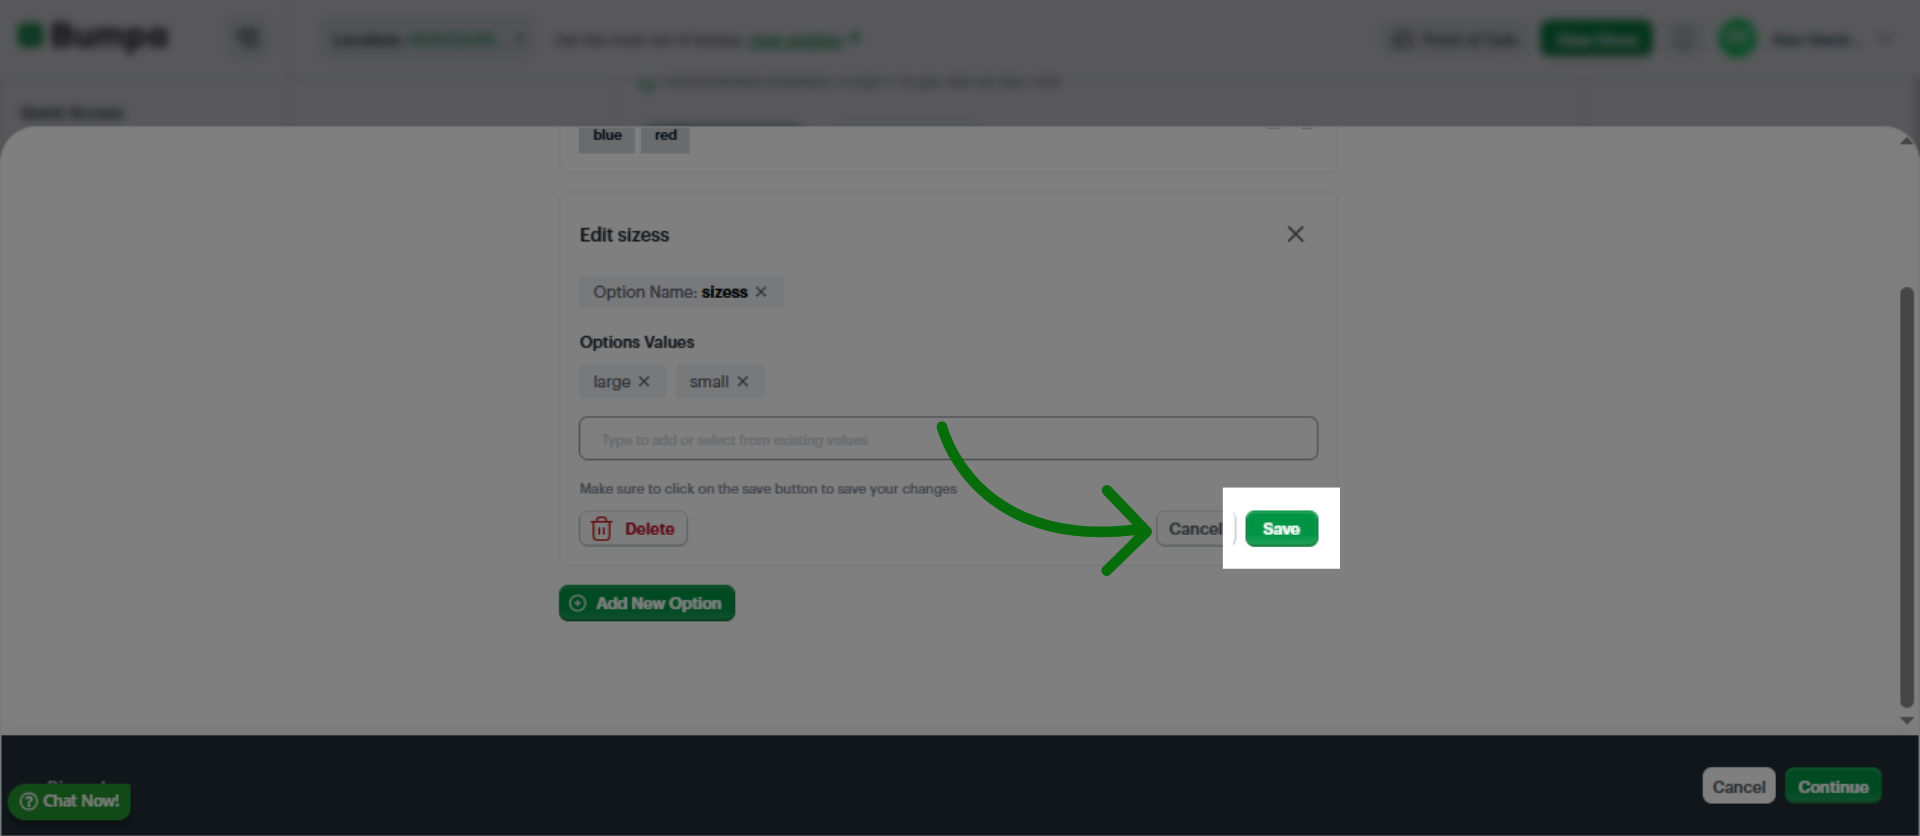
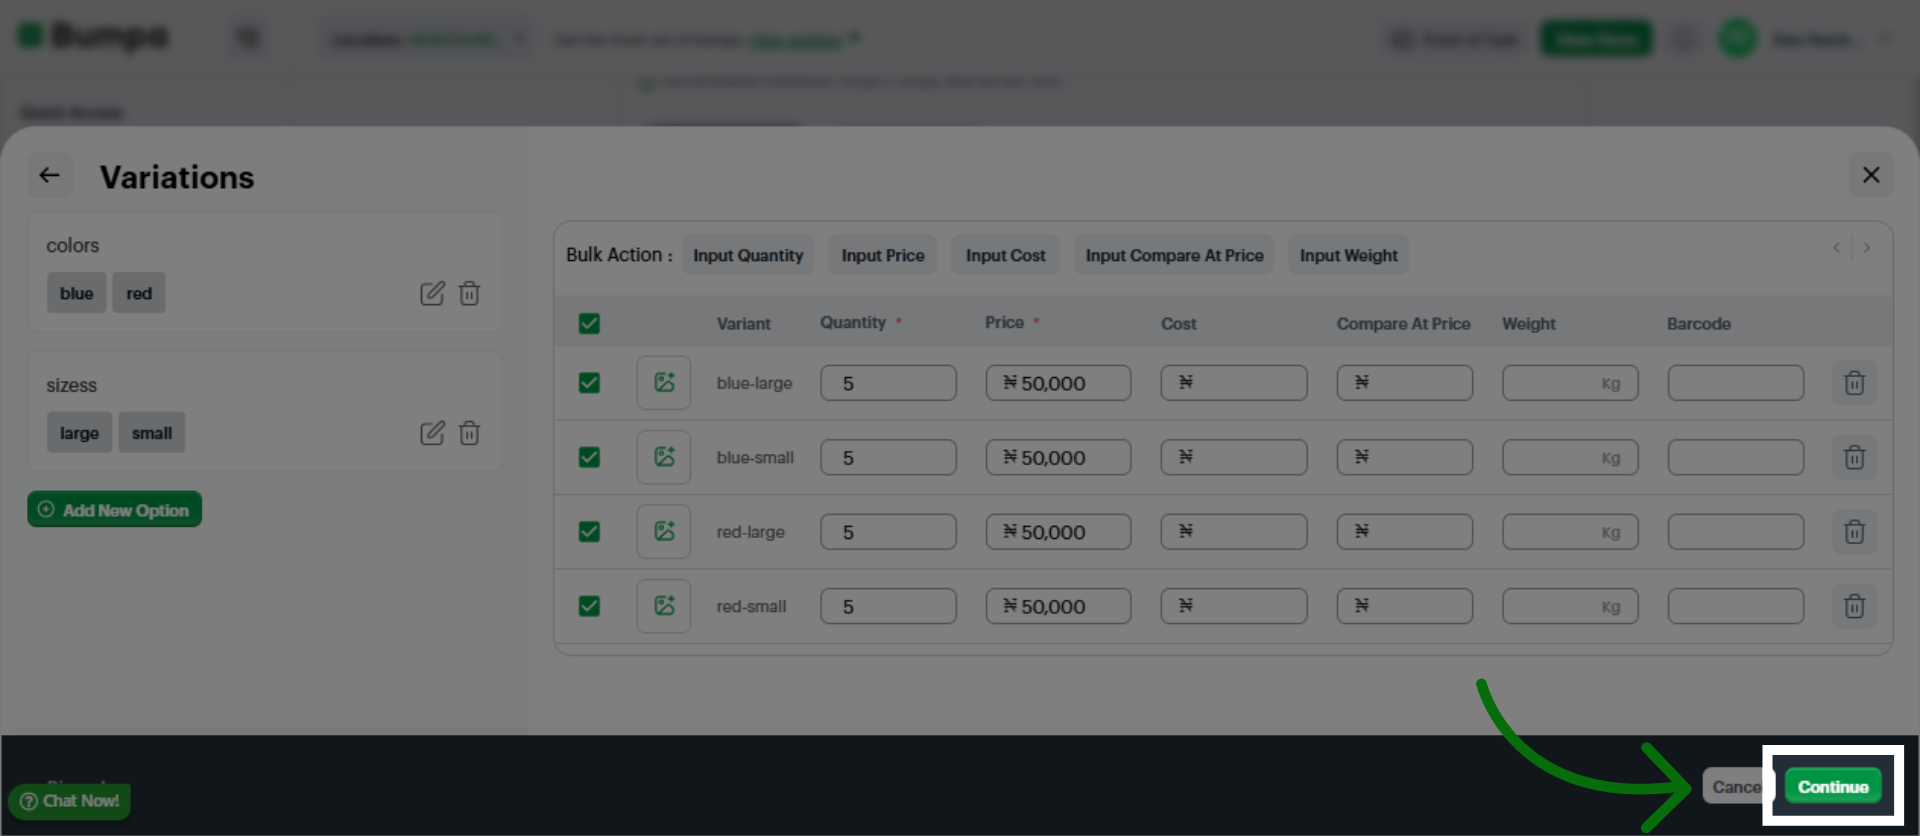
Click the Continue button to proceed to the next step in the product creation process.
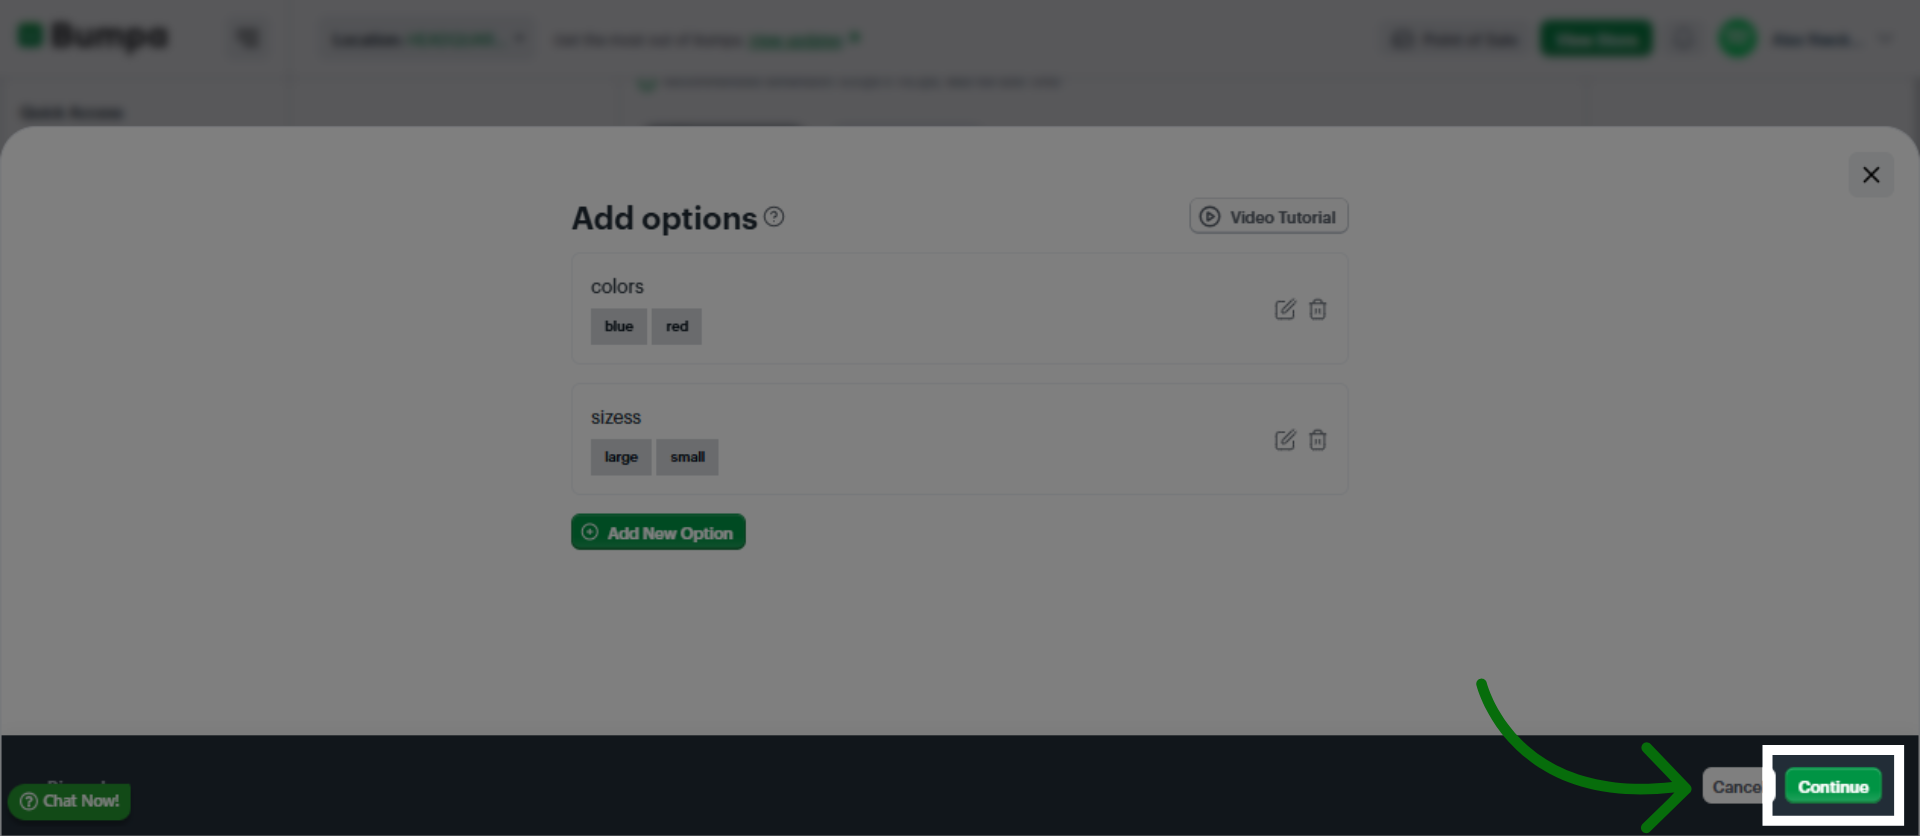
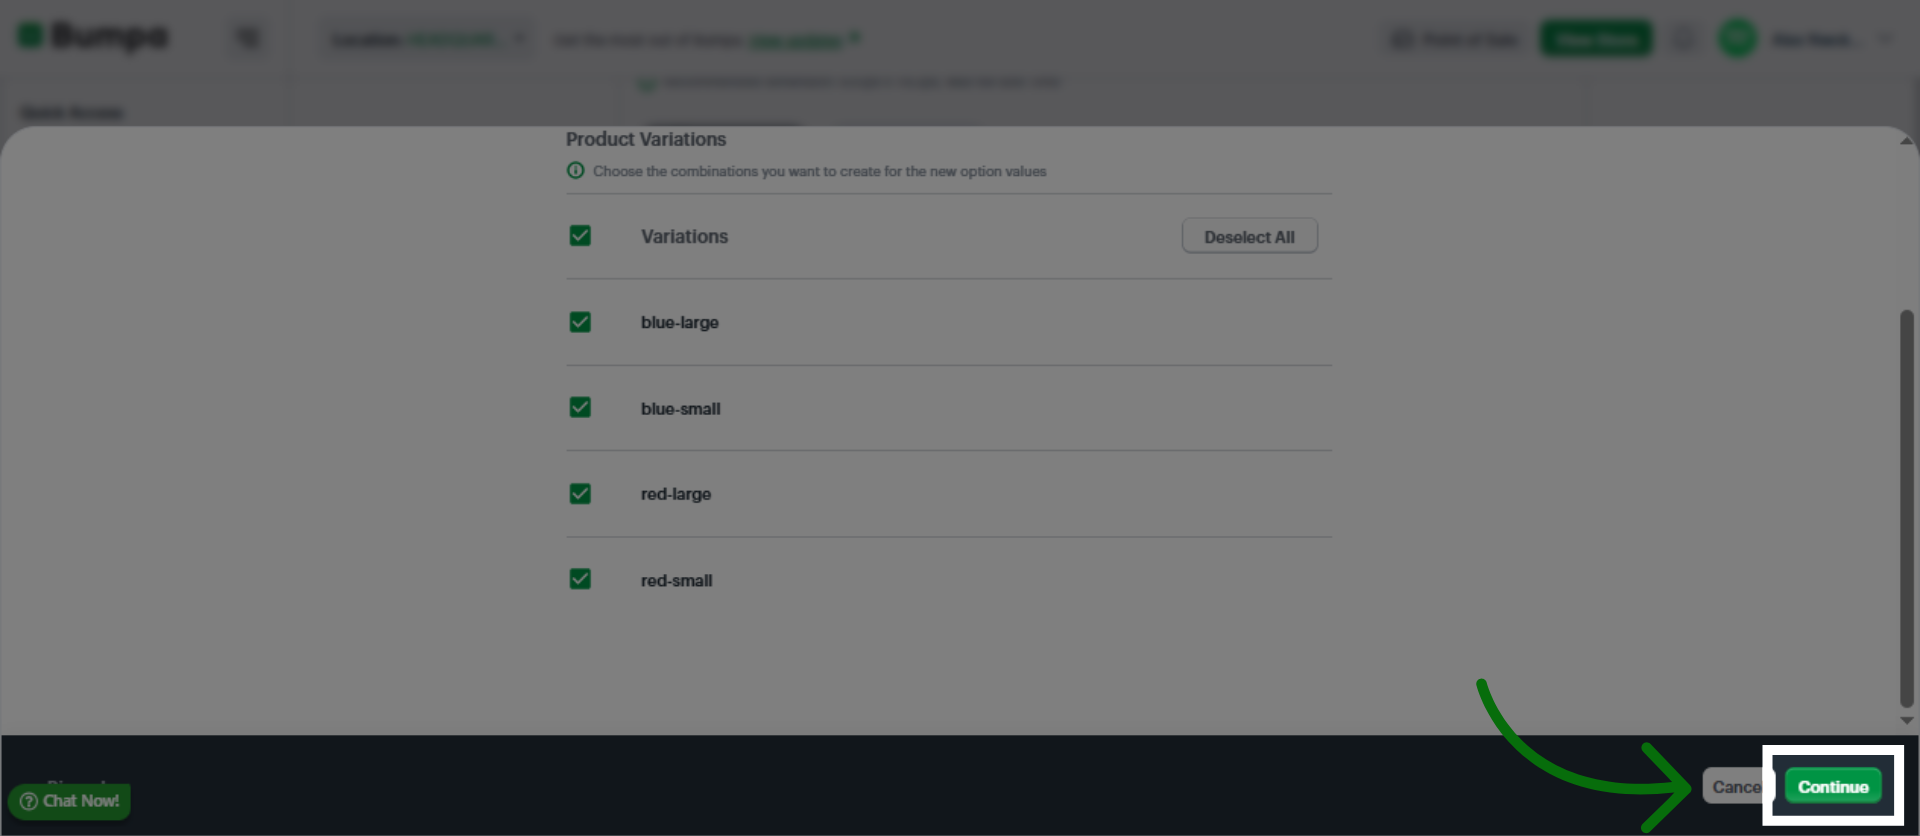
Select the combination of values you want to create
Click the Continue button to proceed to Next Step
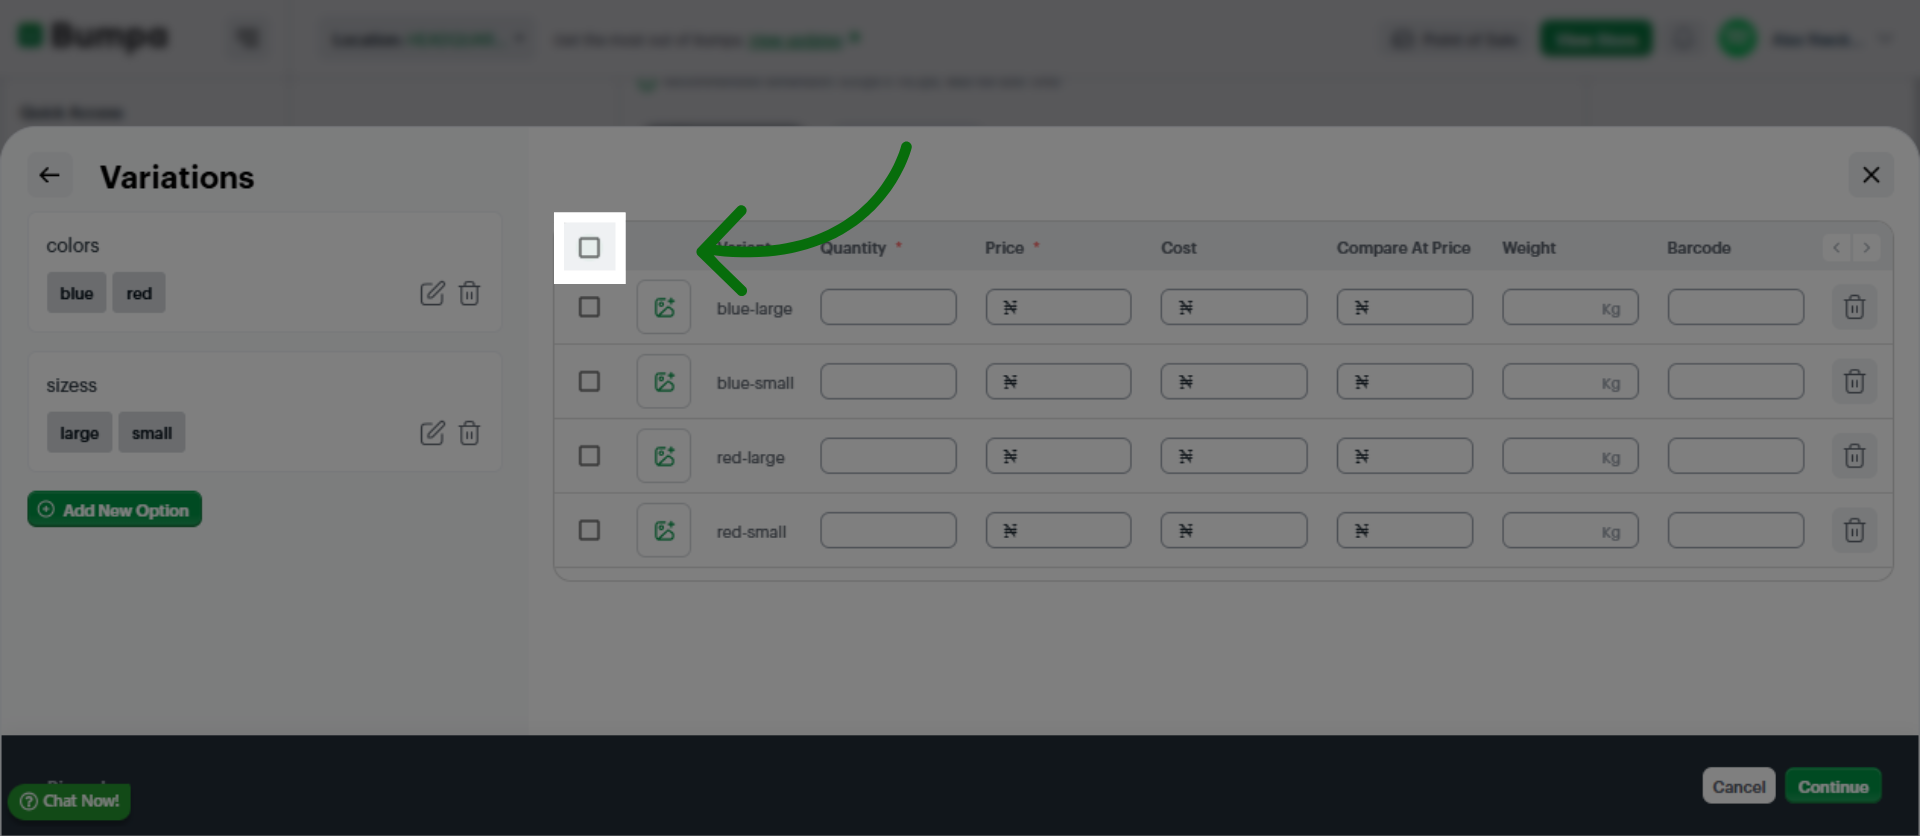
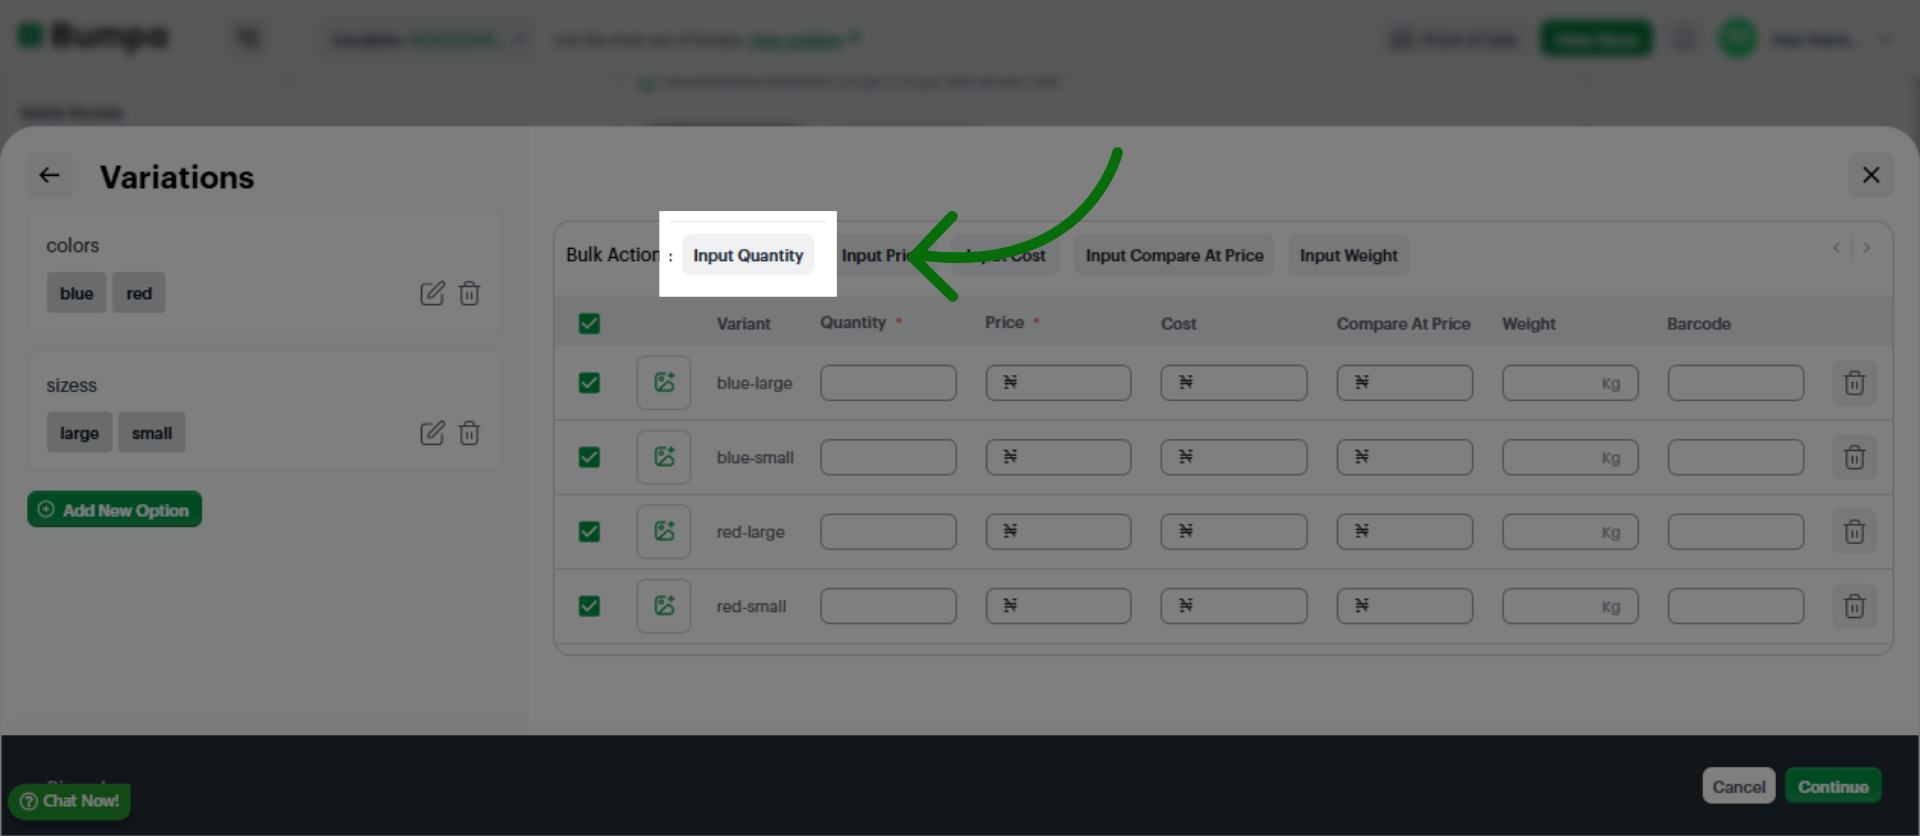
You can use bulk action to update the quantity and price of the variations or input the quantity and prices individually
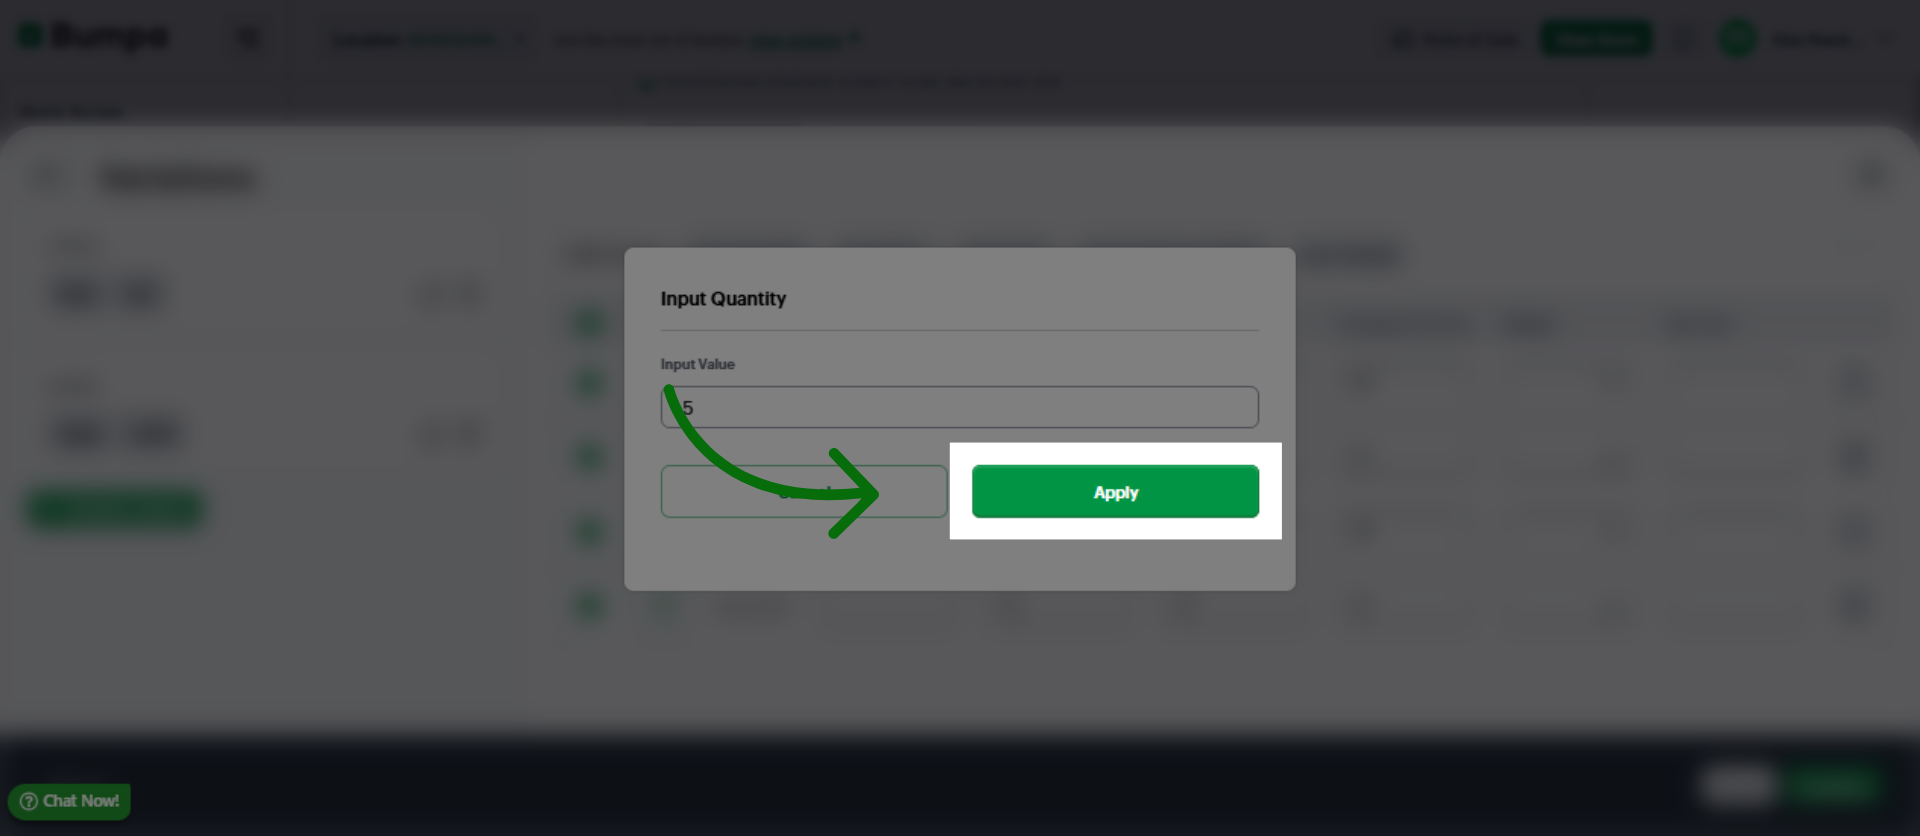
Click the Input Quantity field to specify the stock amount available for the product variations.
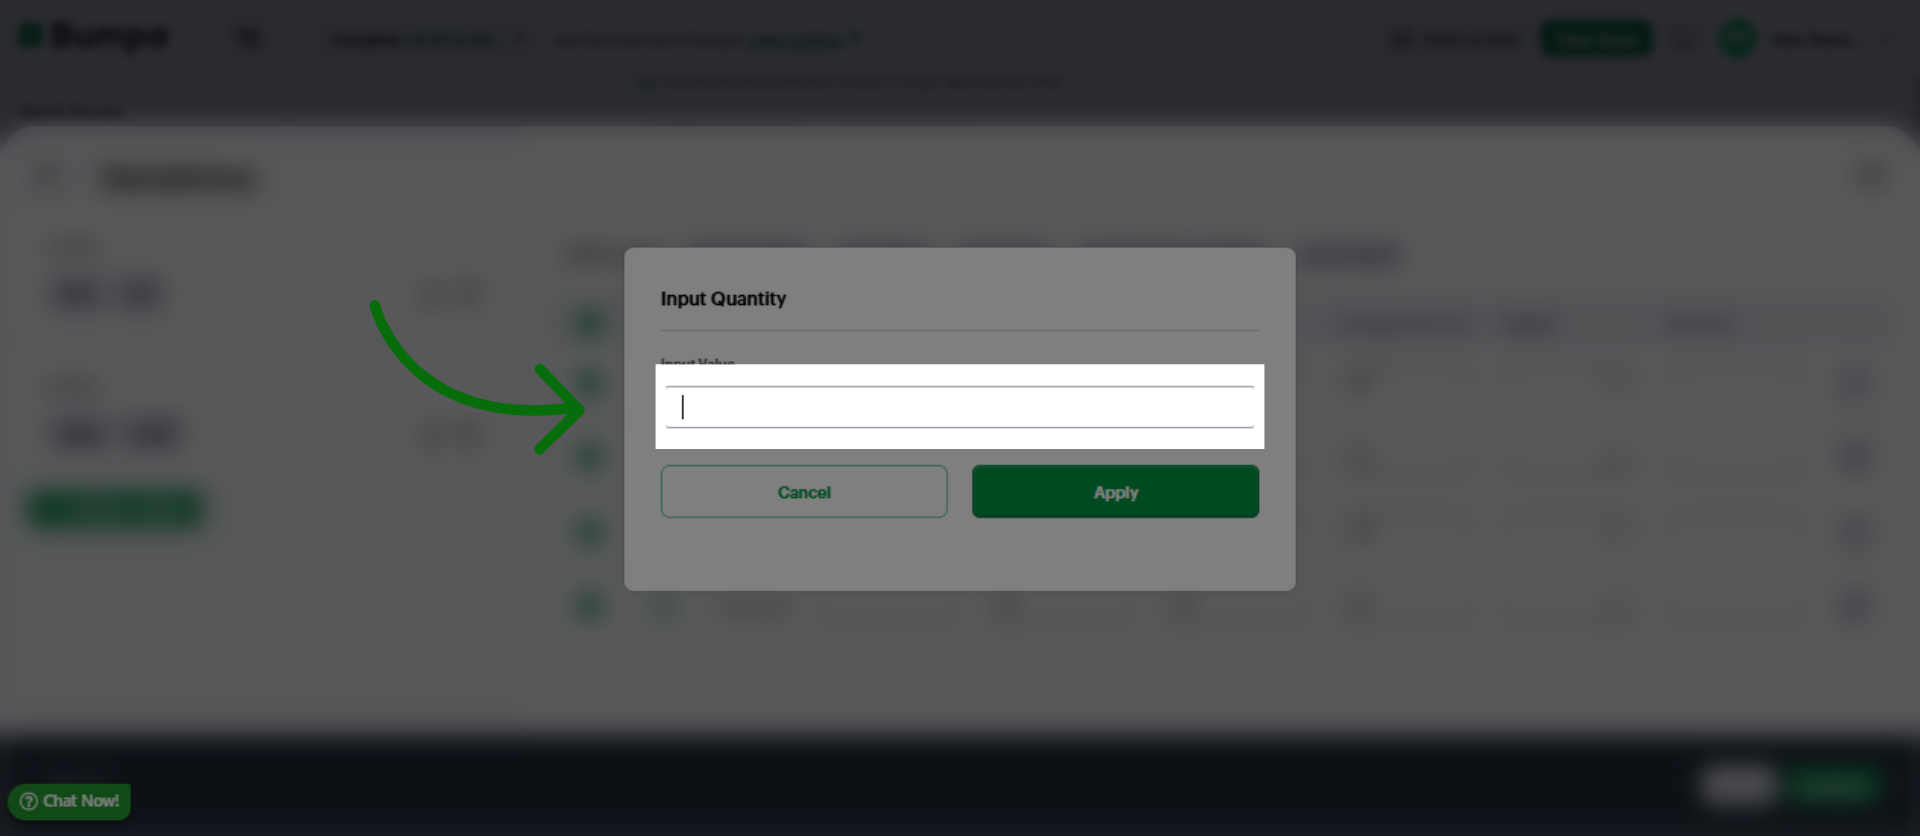
Enter Stock Quantity
Apply Quantity Changes
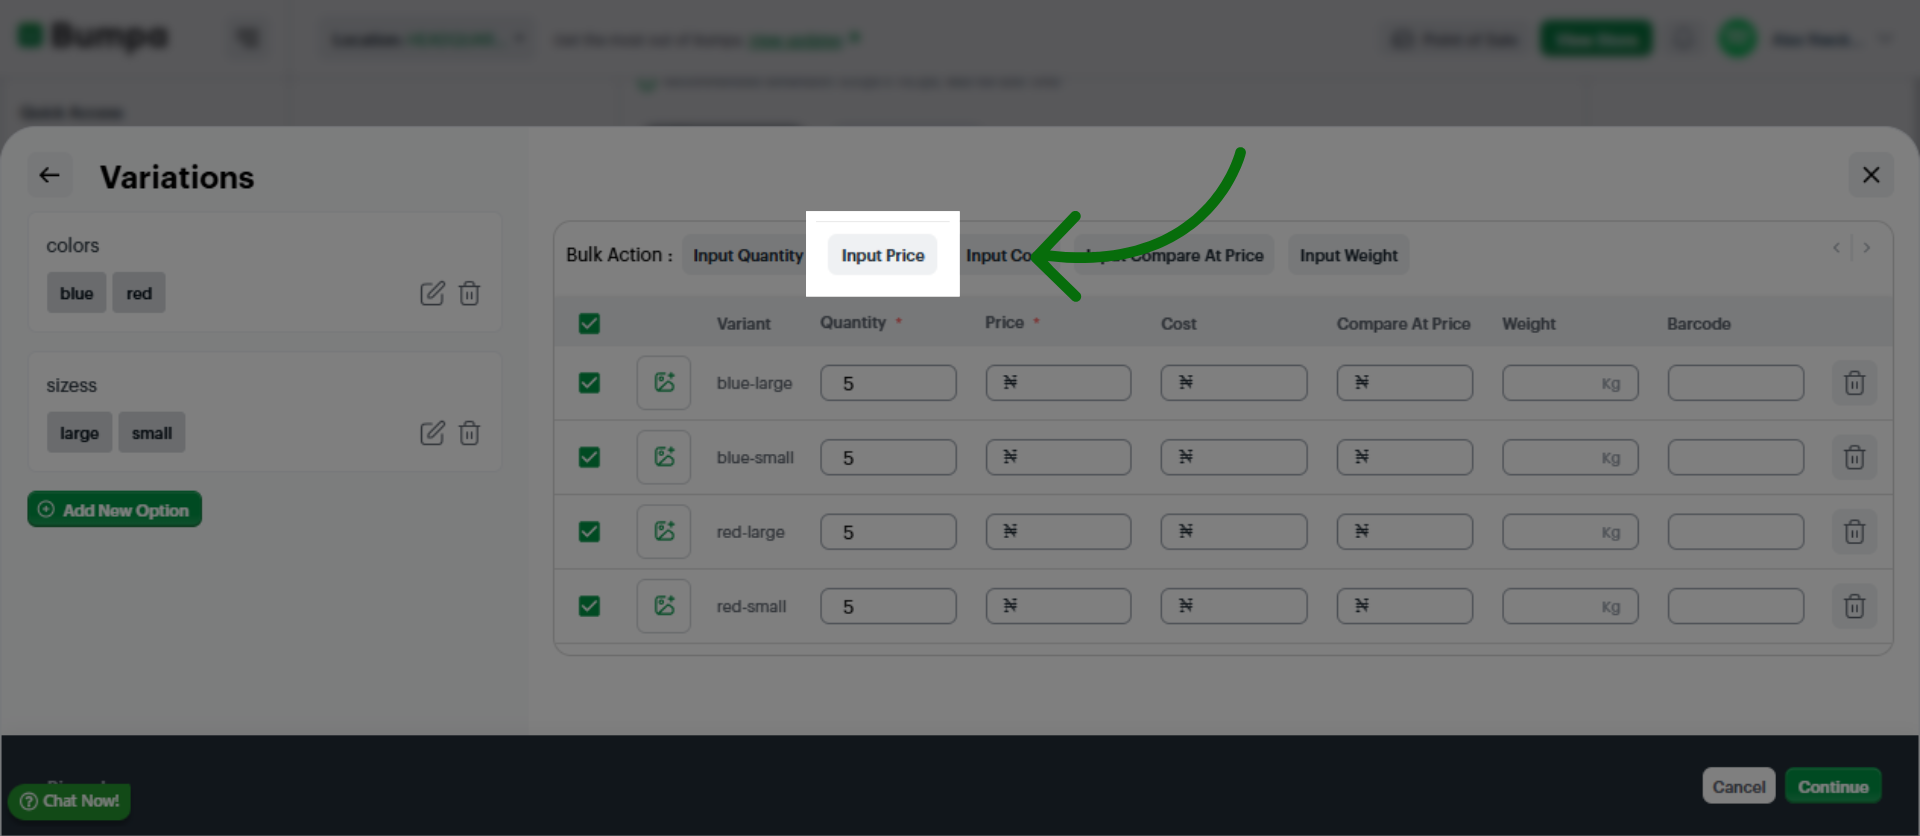
Click the Input Price field to set the selling price for the product variations.
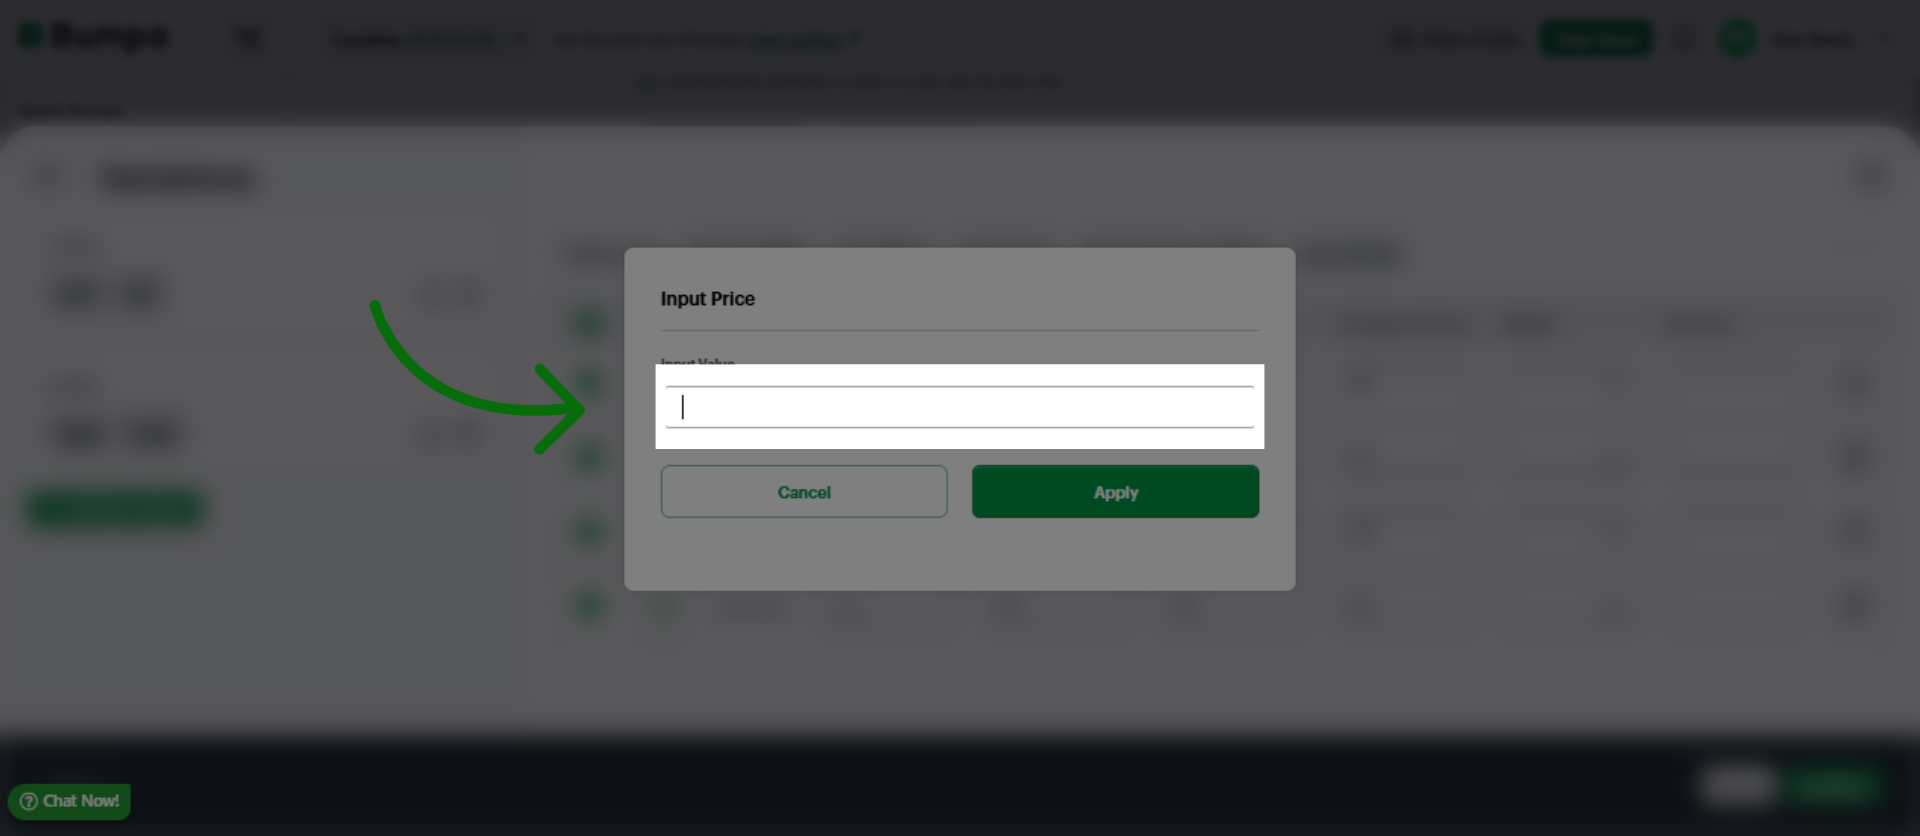
Enter Product Price
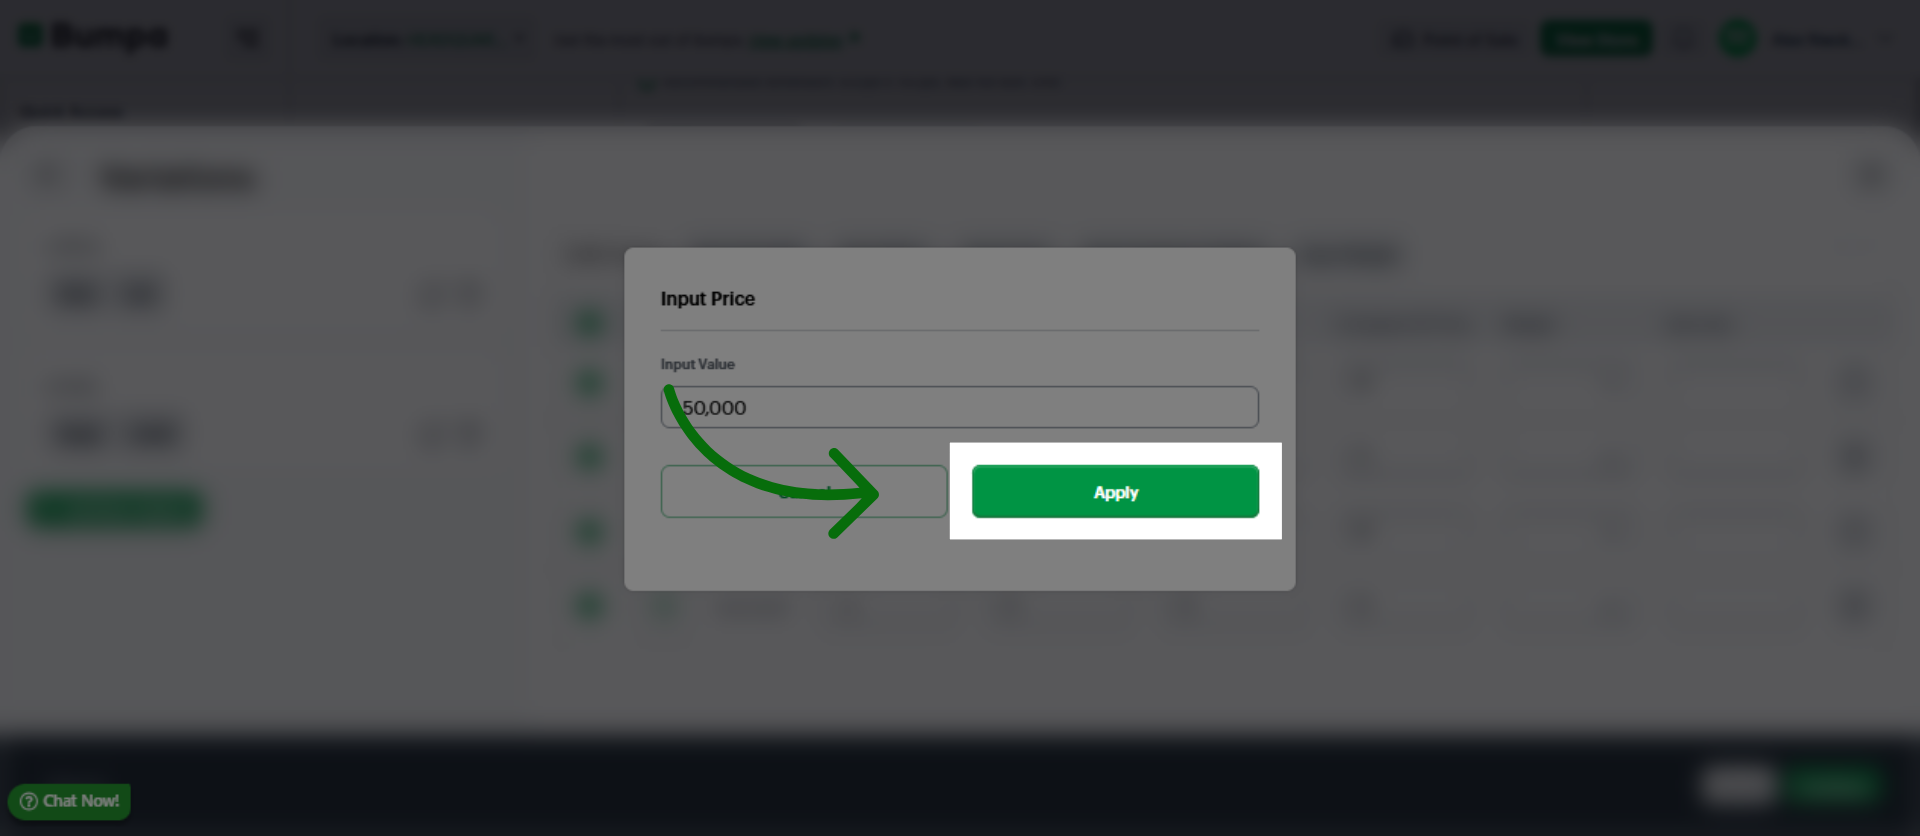
Apply Price Settings
Click the Continue button to proceed to the product description and additional details section.
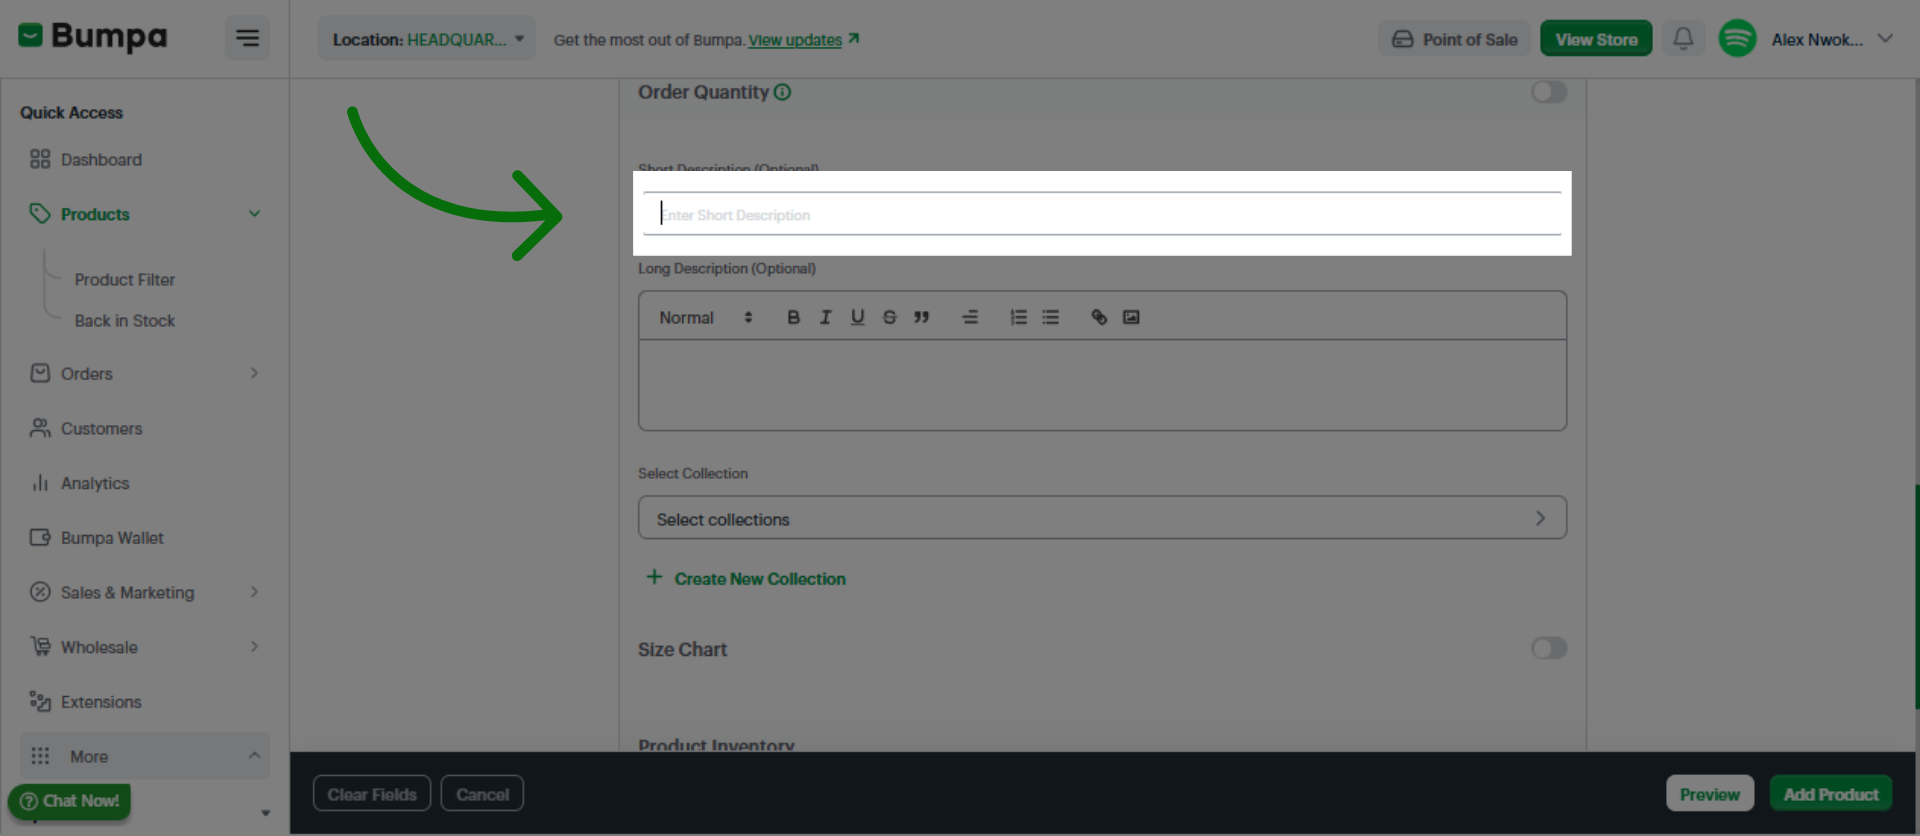
Click the Short Description (Optional) field to add a brief summary of the product's features.
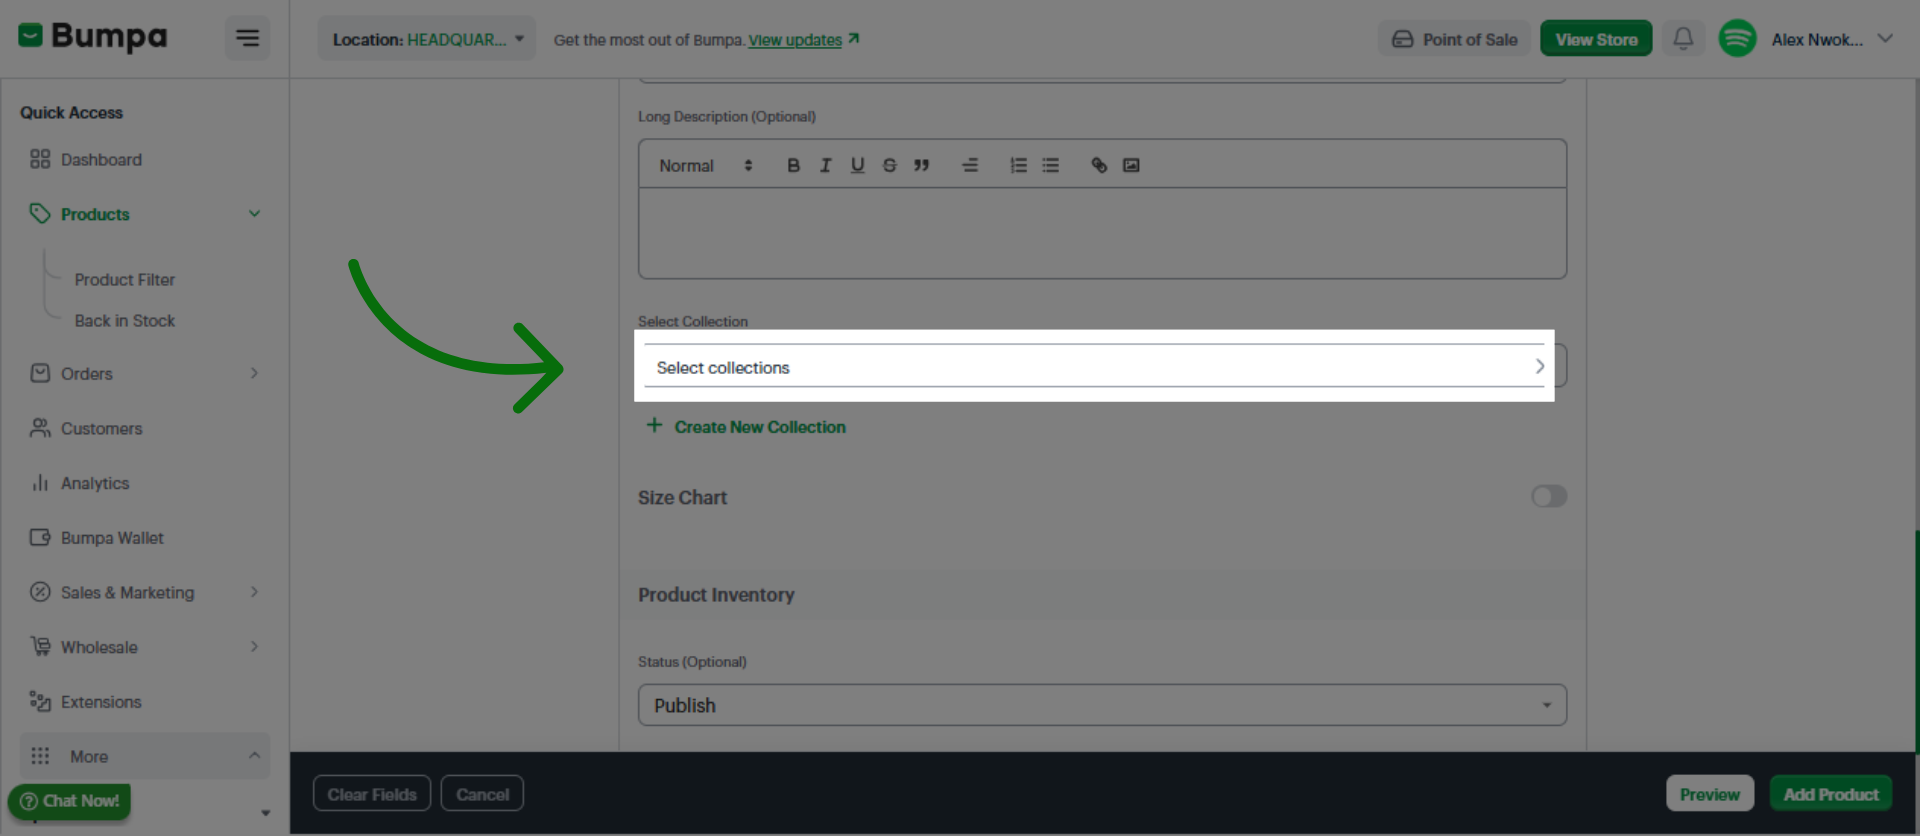
Click the Select collections option to categorize the product into relevant collections for better organization.
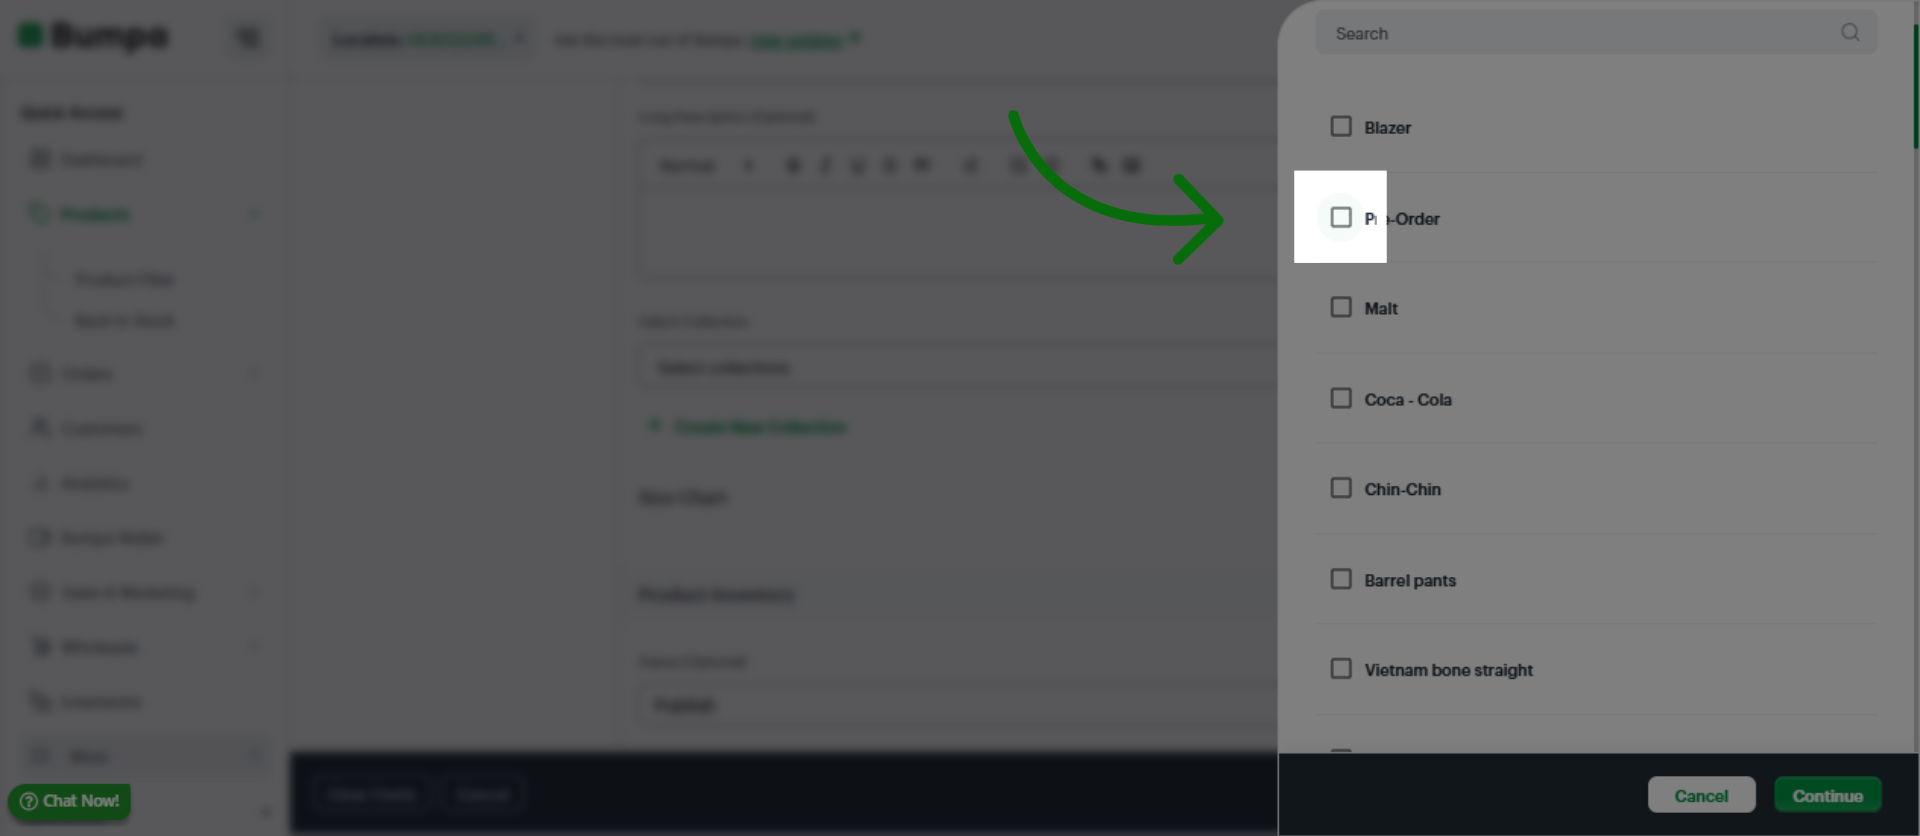
Click the toggle to activate a specific collection category for the product
Click the Continue button to move forward after selecting product collections.
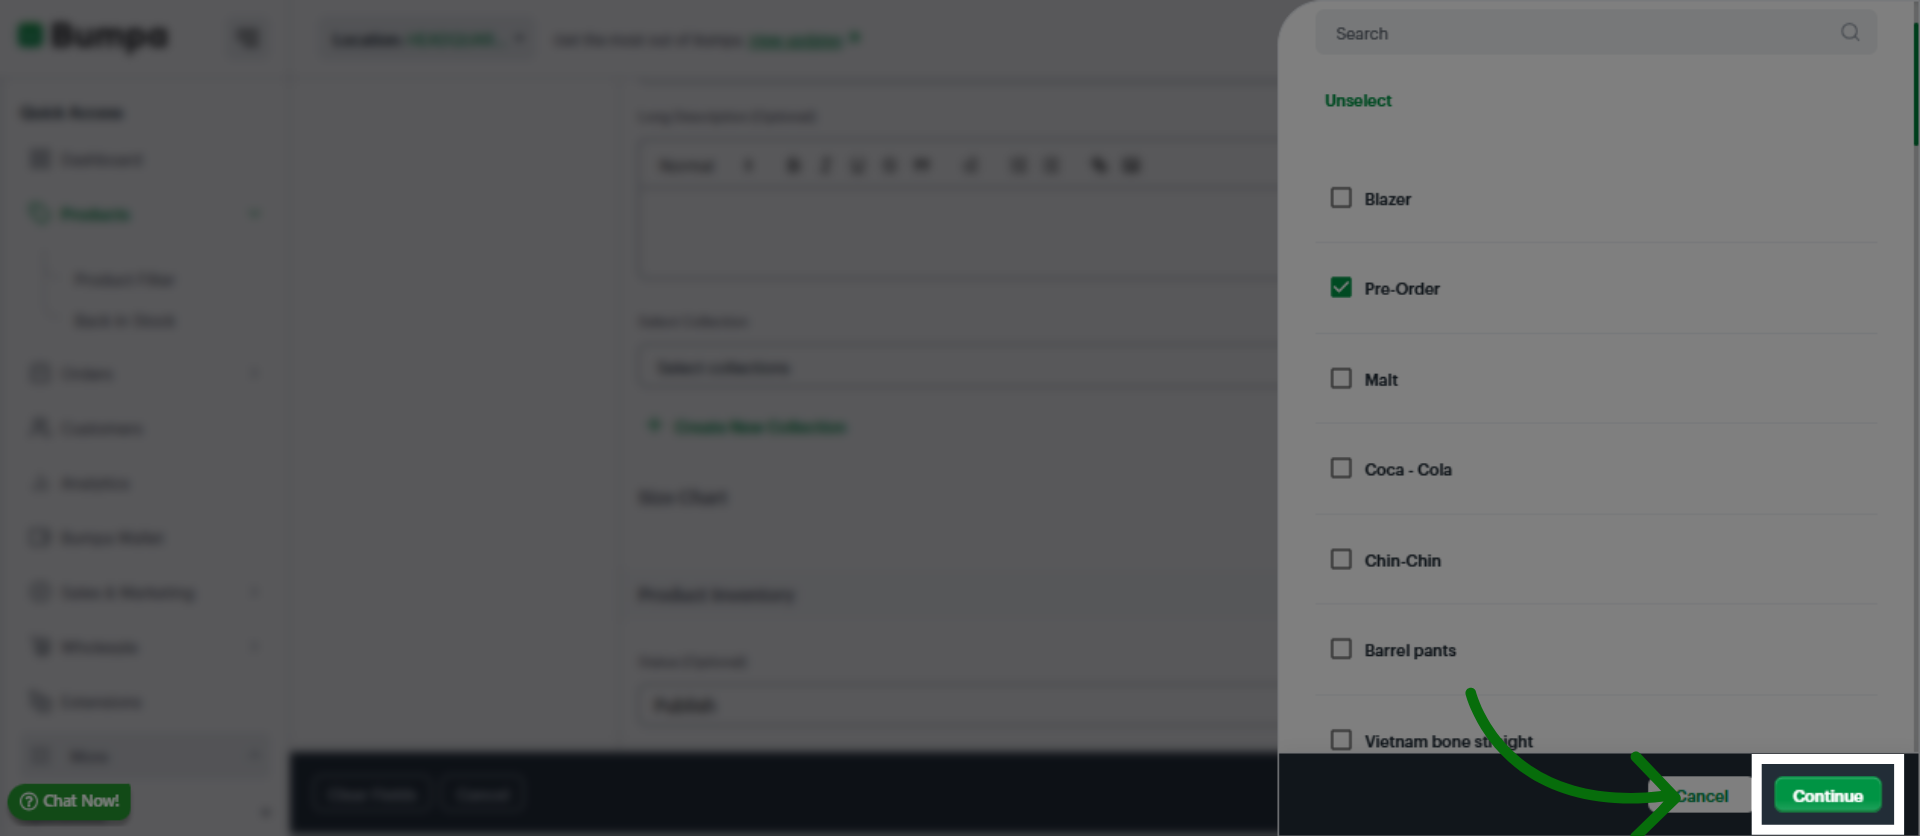
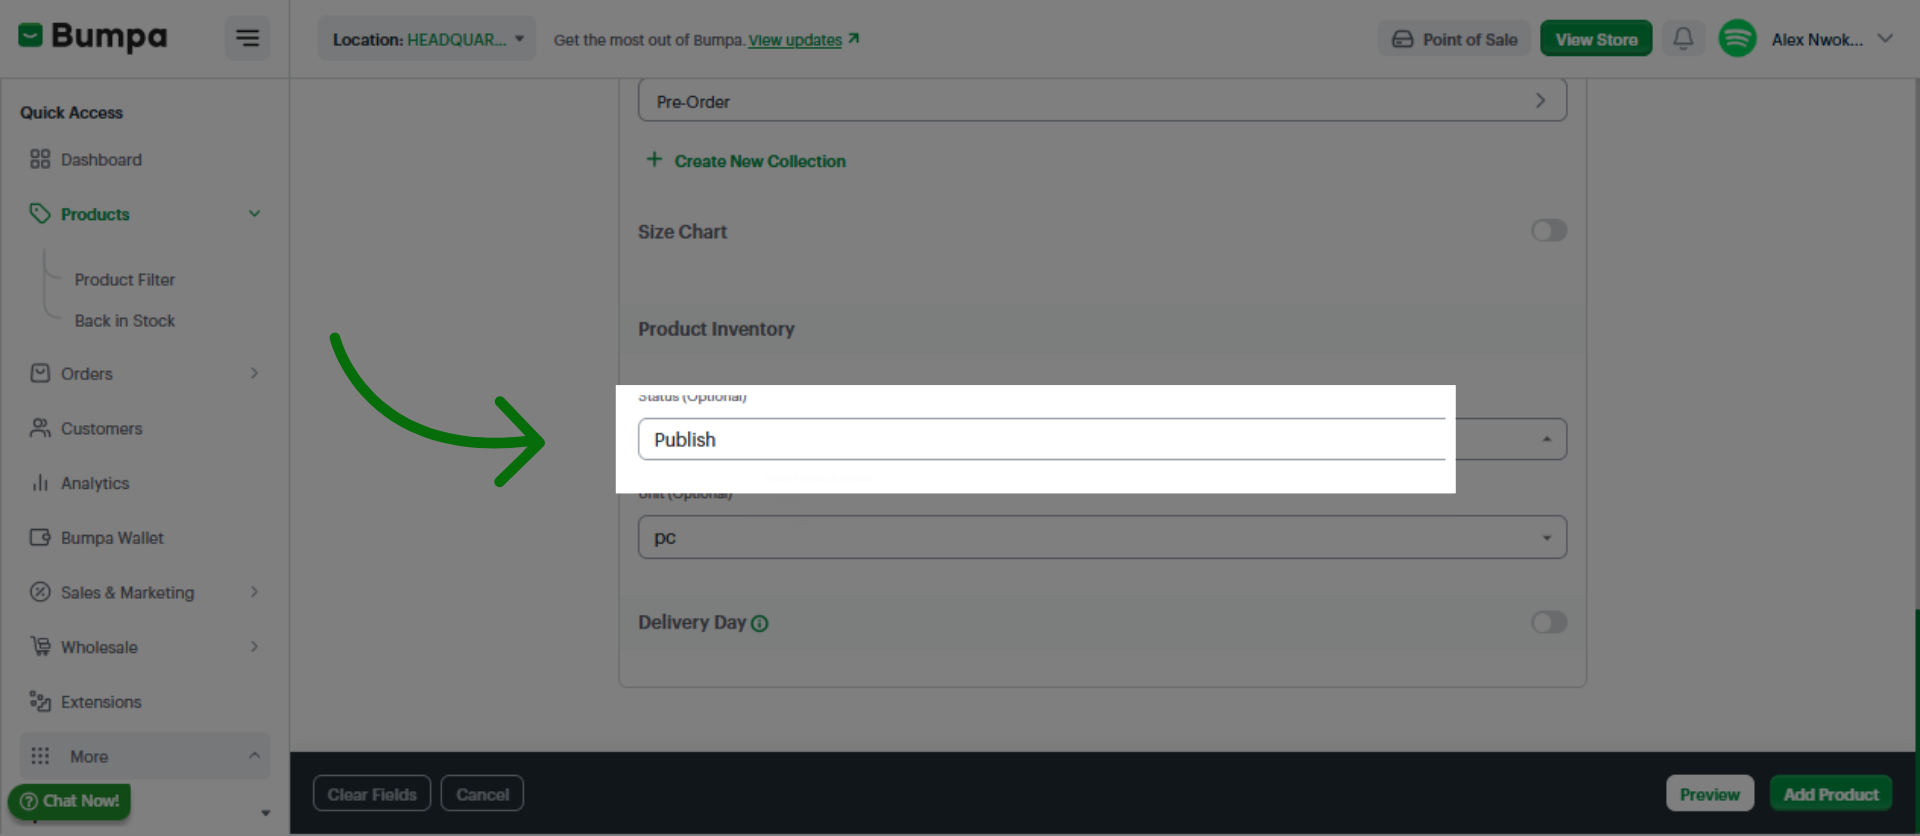
Click the Publish button to make the product live and available in your online store or inventory system.
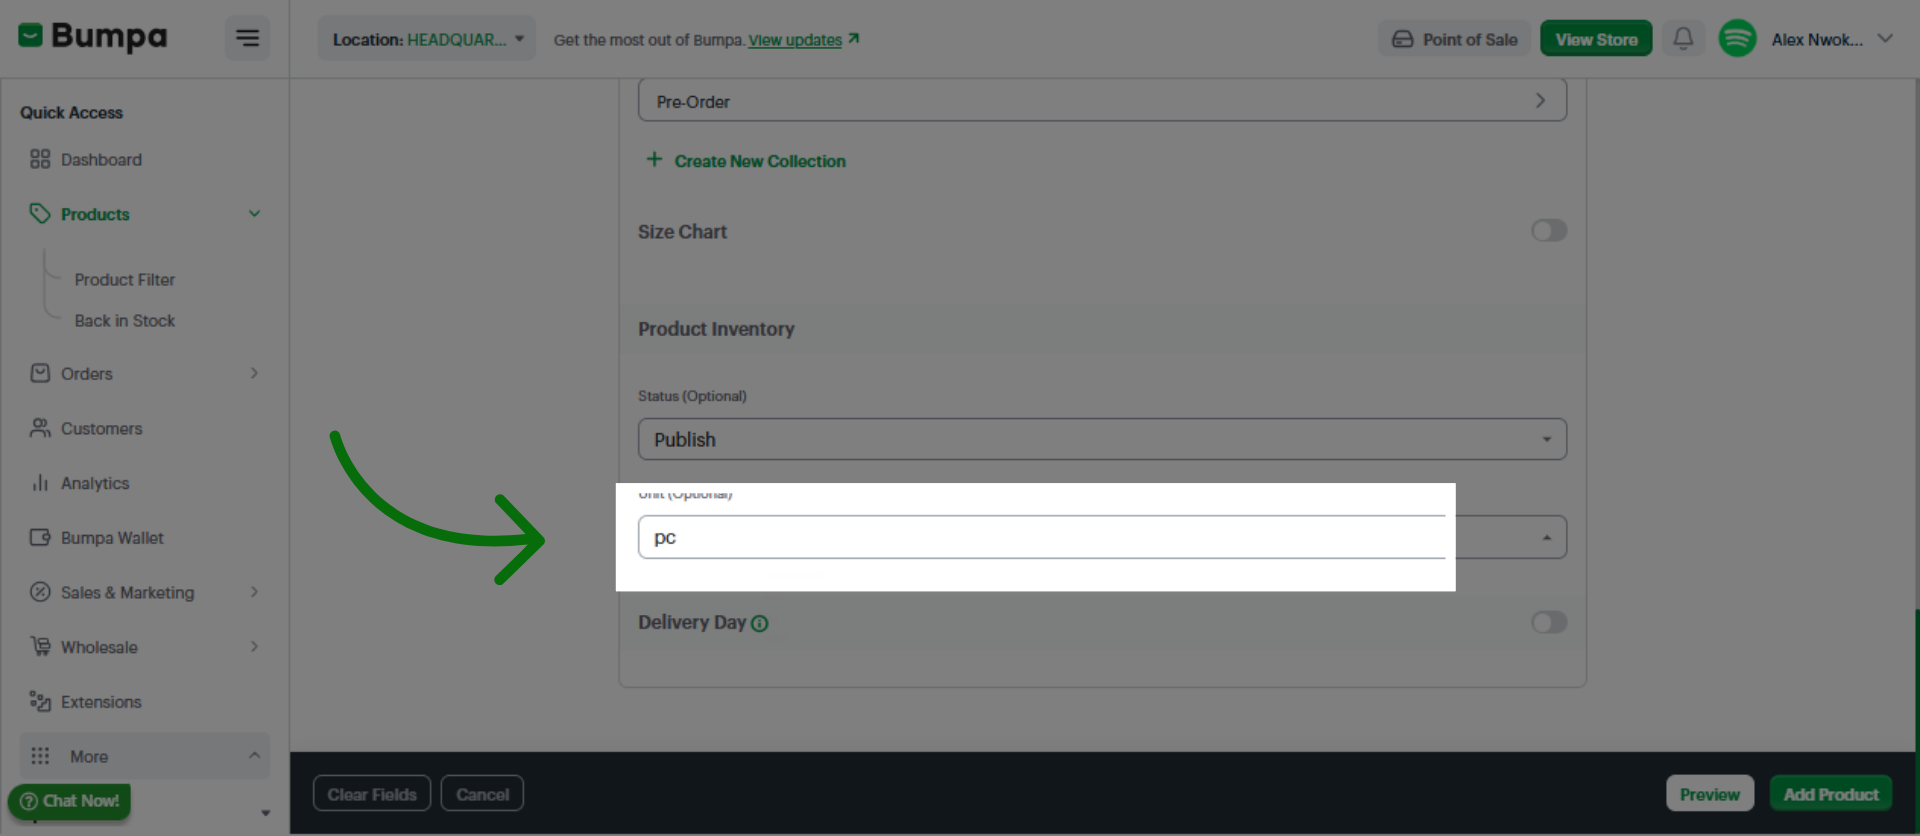
Select the unit type (optional)
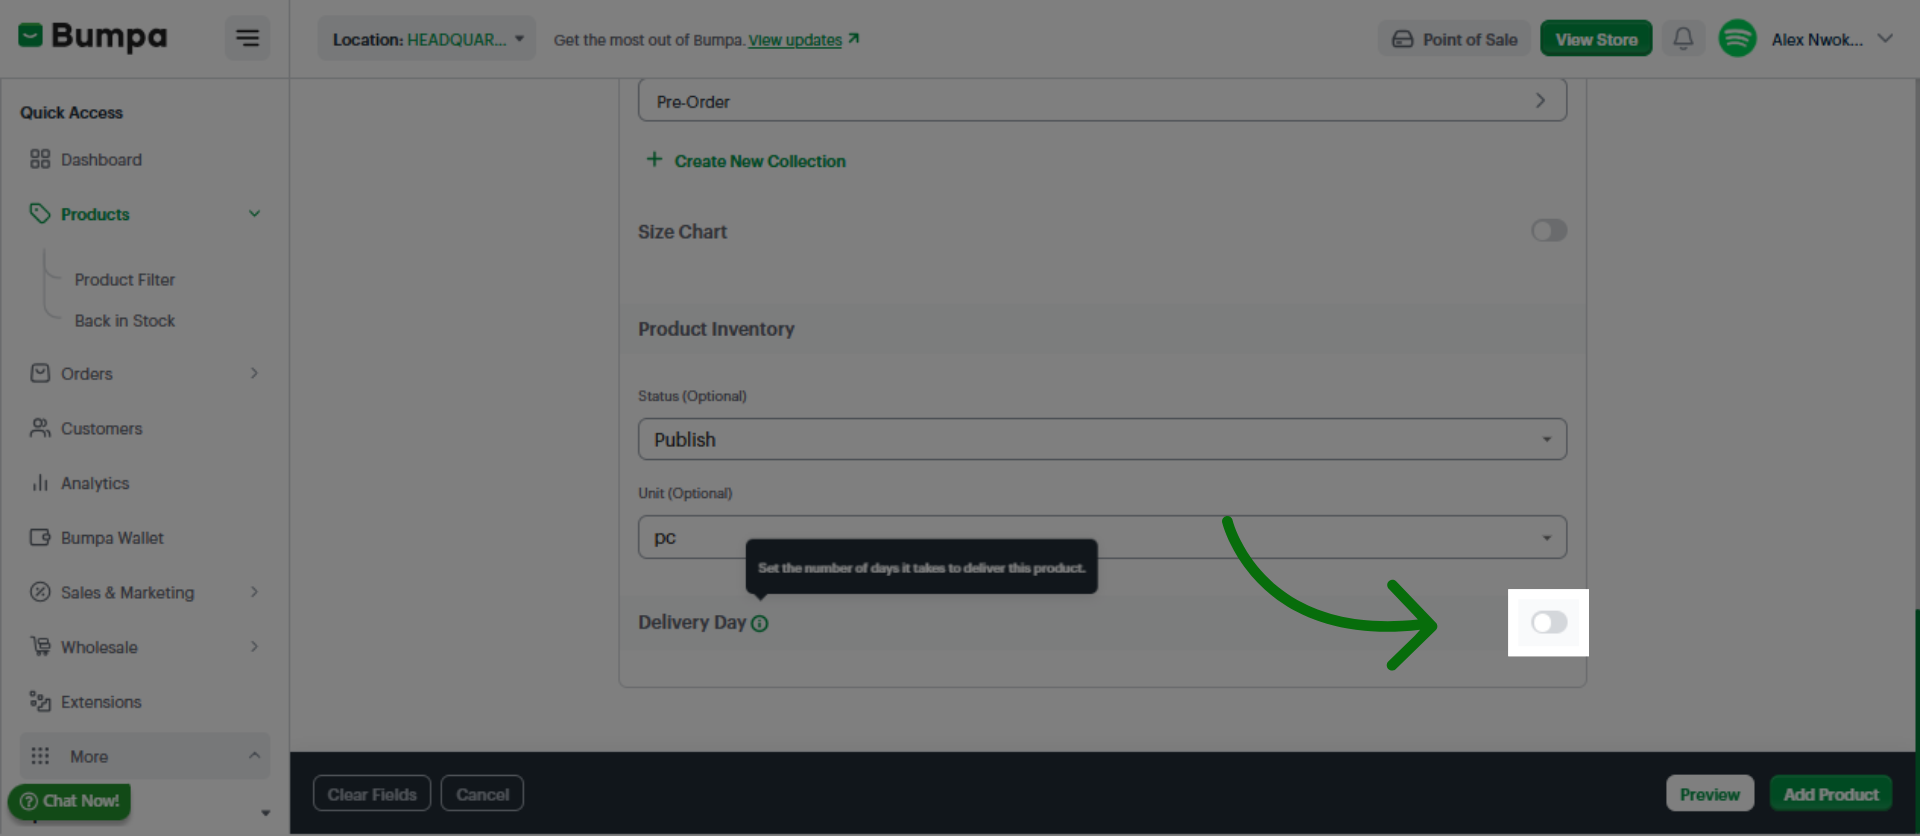
Toggle on to set delivery day for the product
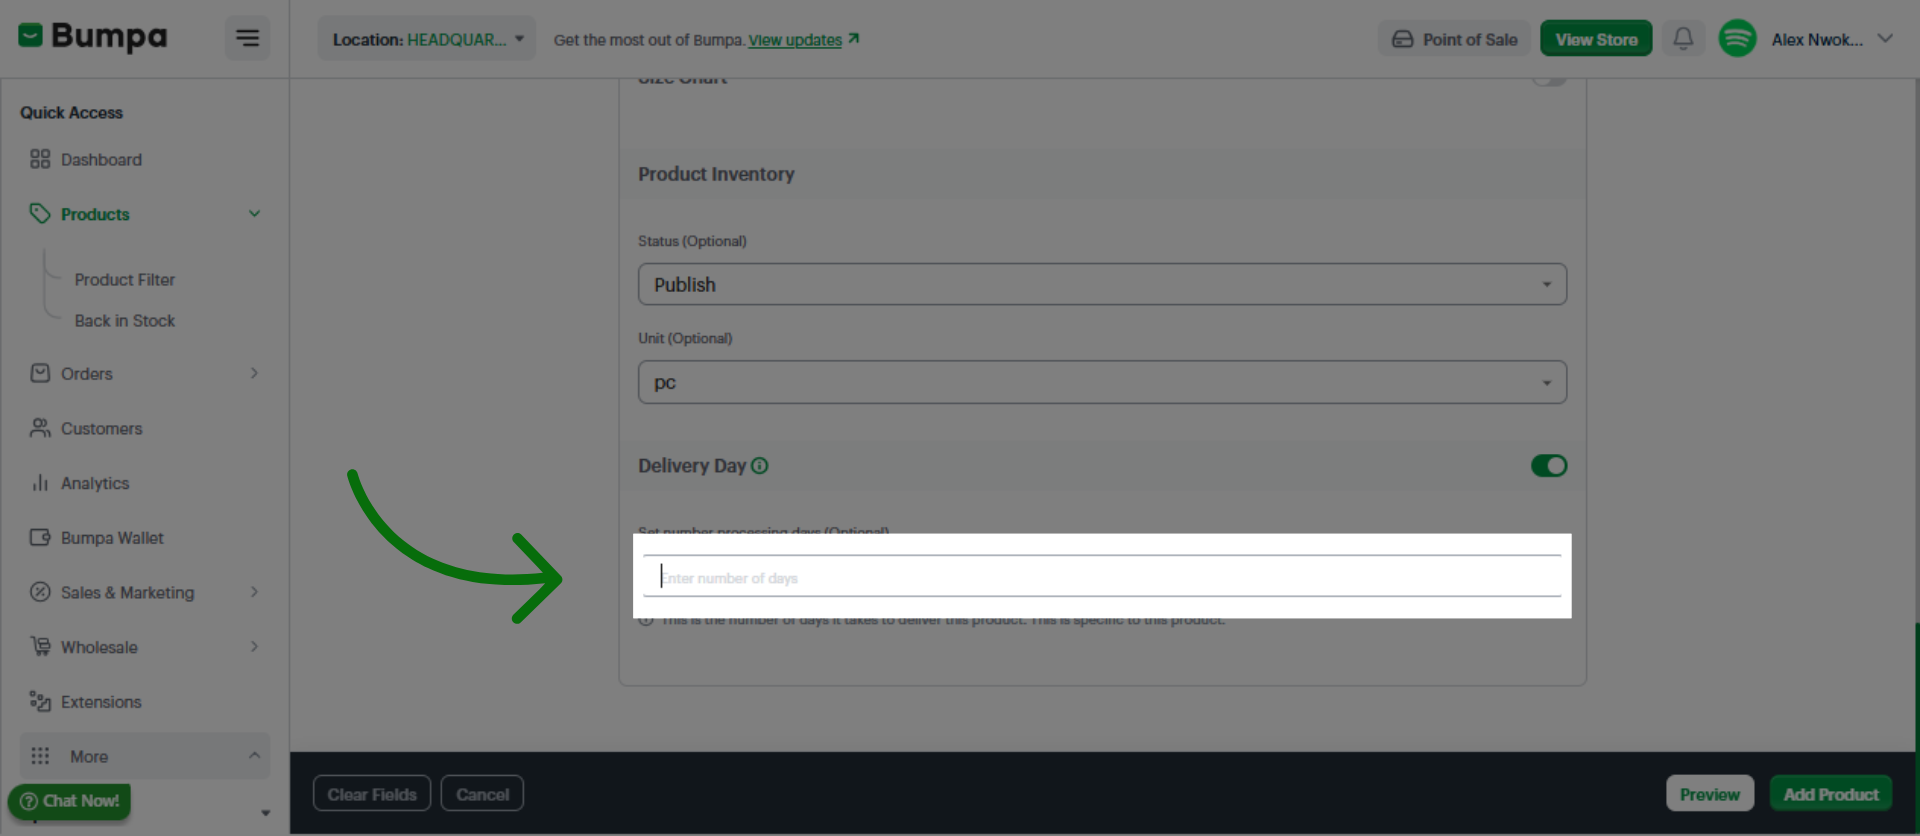
Set processing days (Optional) to specify the time required to process orders.
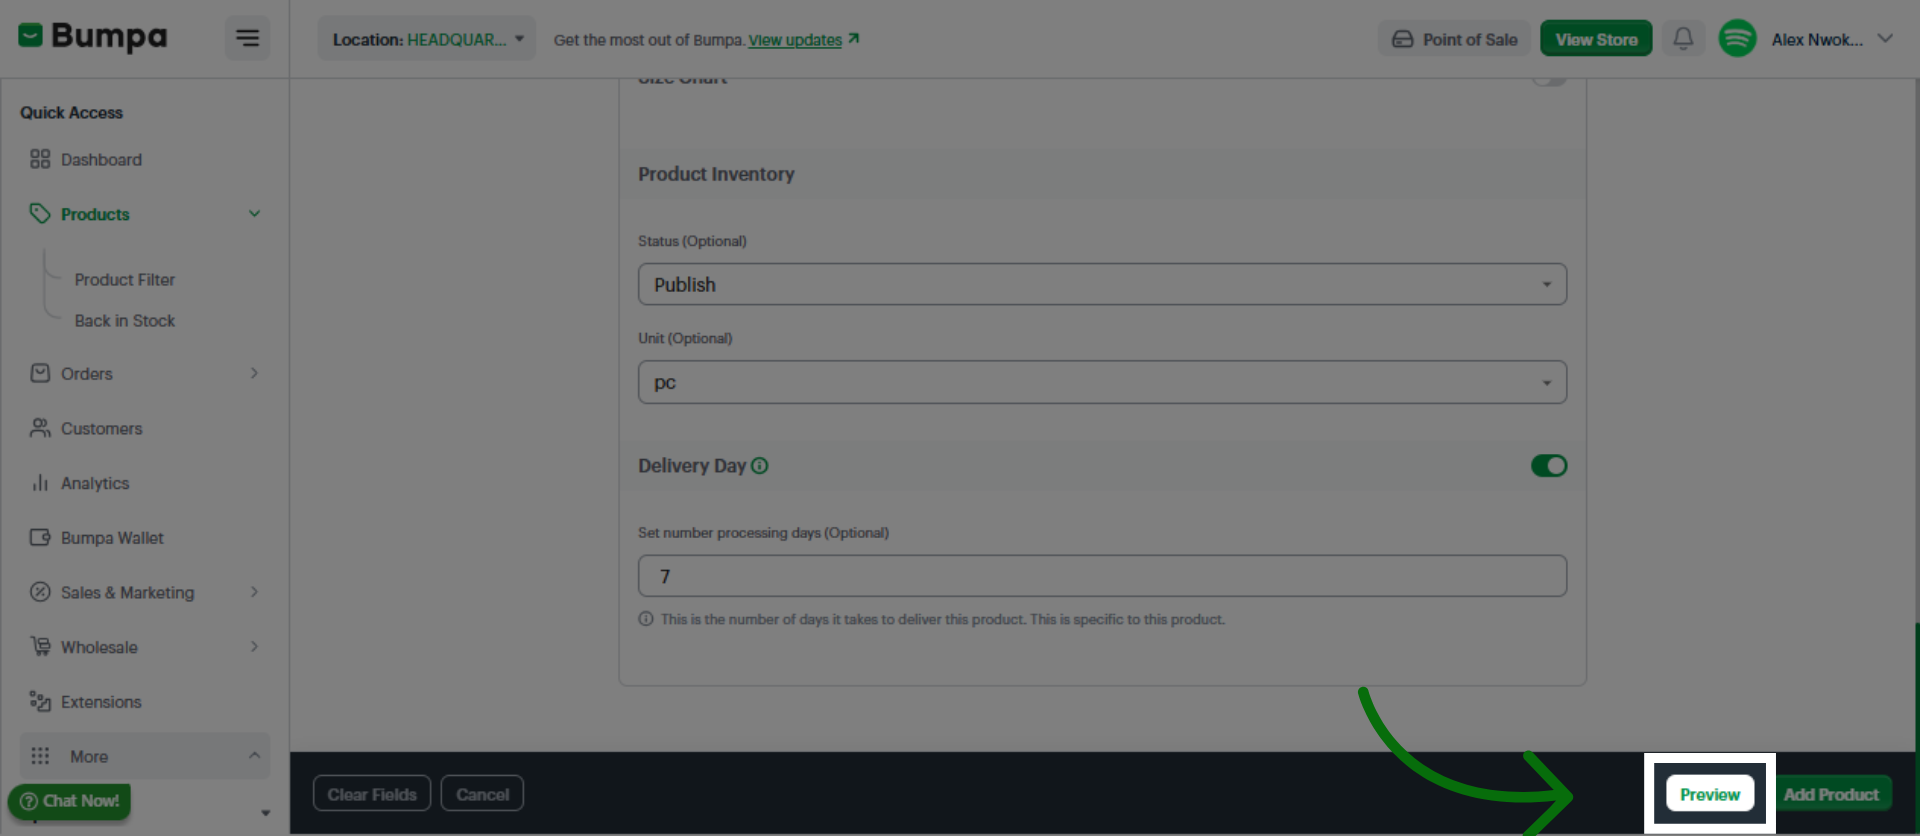
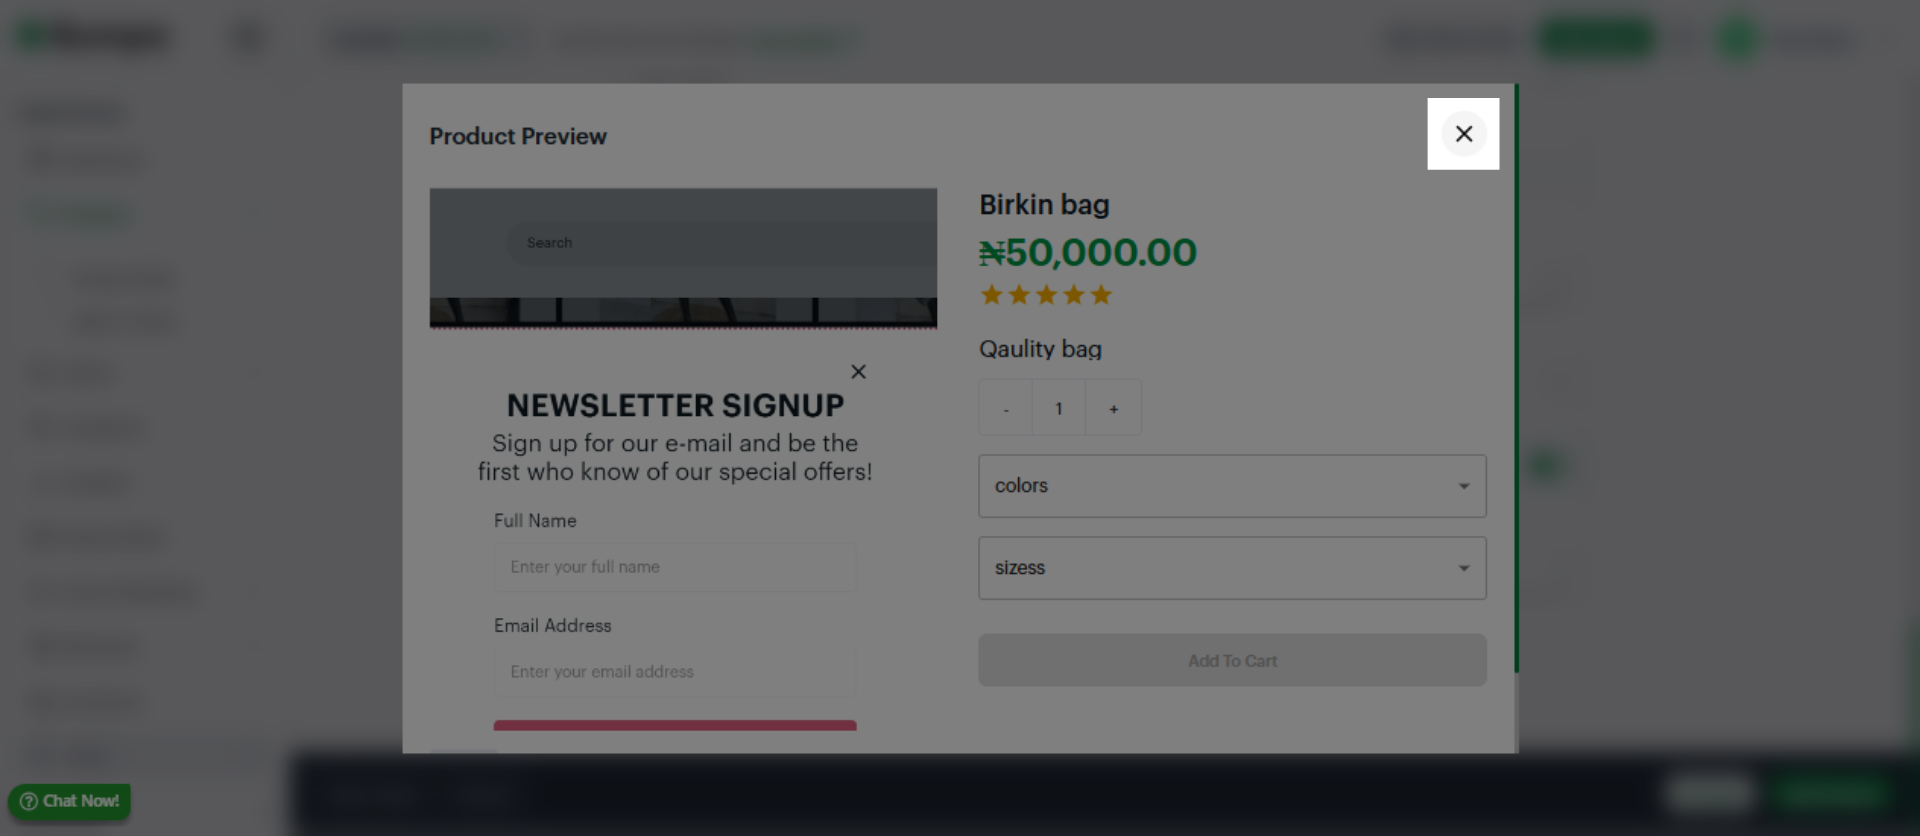
Click the Preview button to review the product information and settings before finalizing.
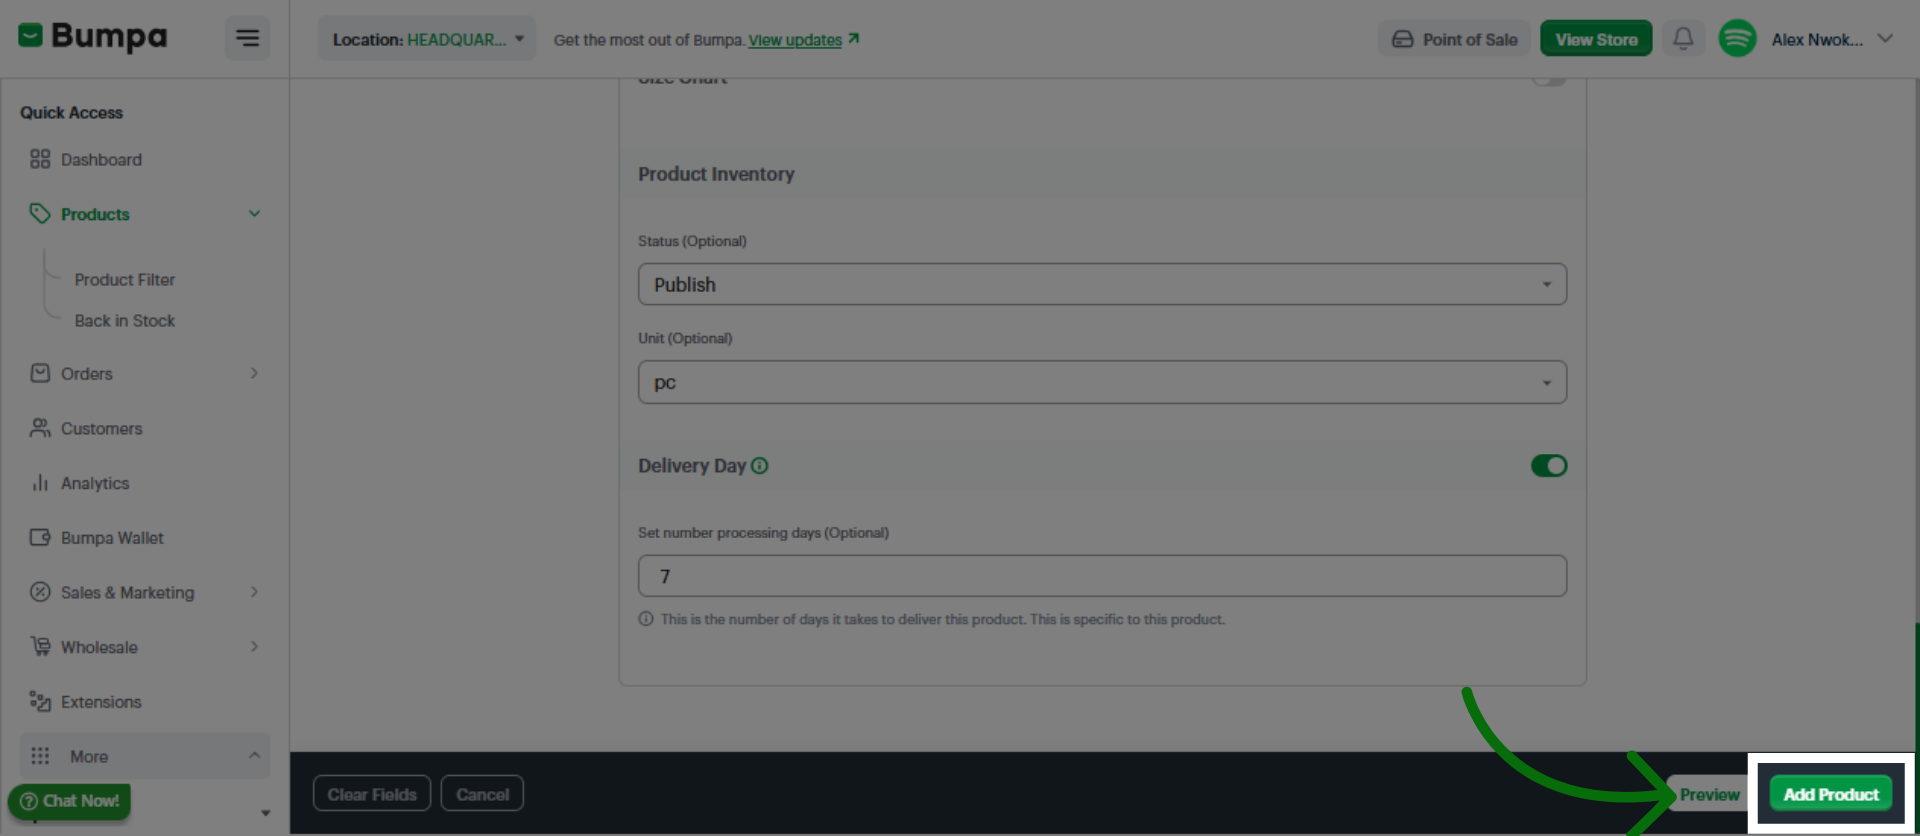
Click the Add product button to finalize adding the product to your inventory system.
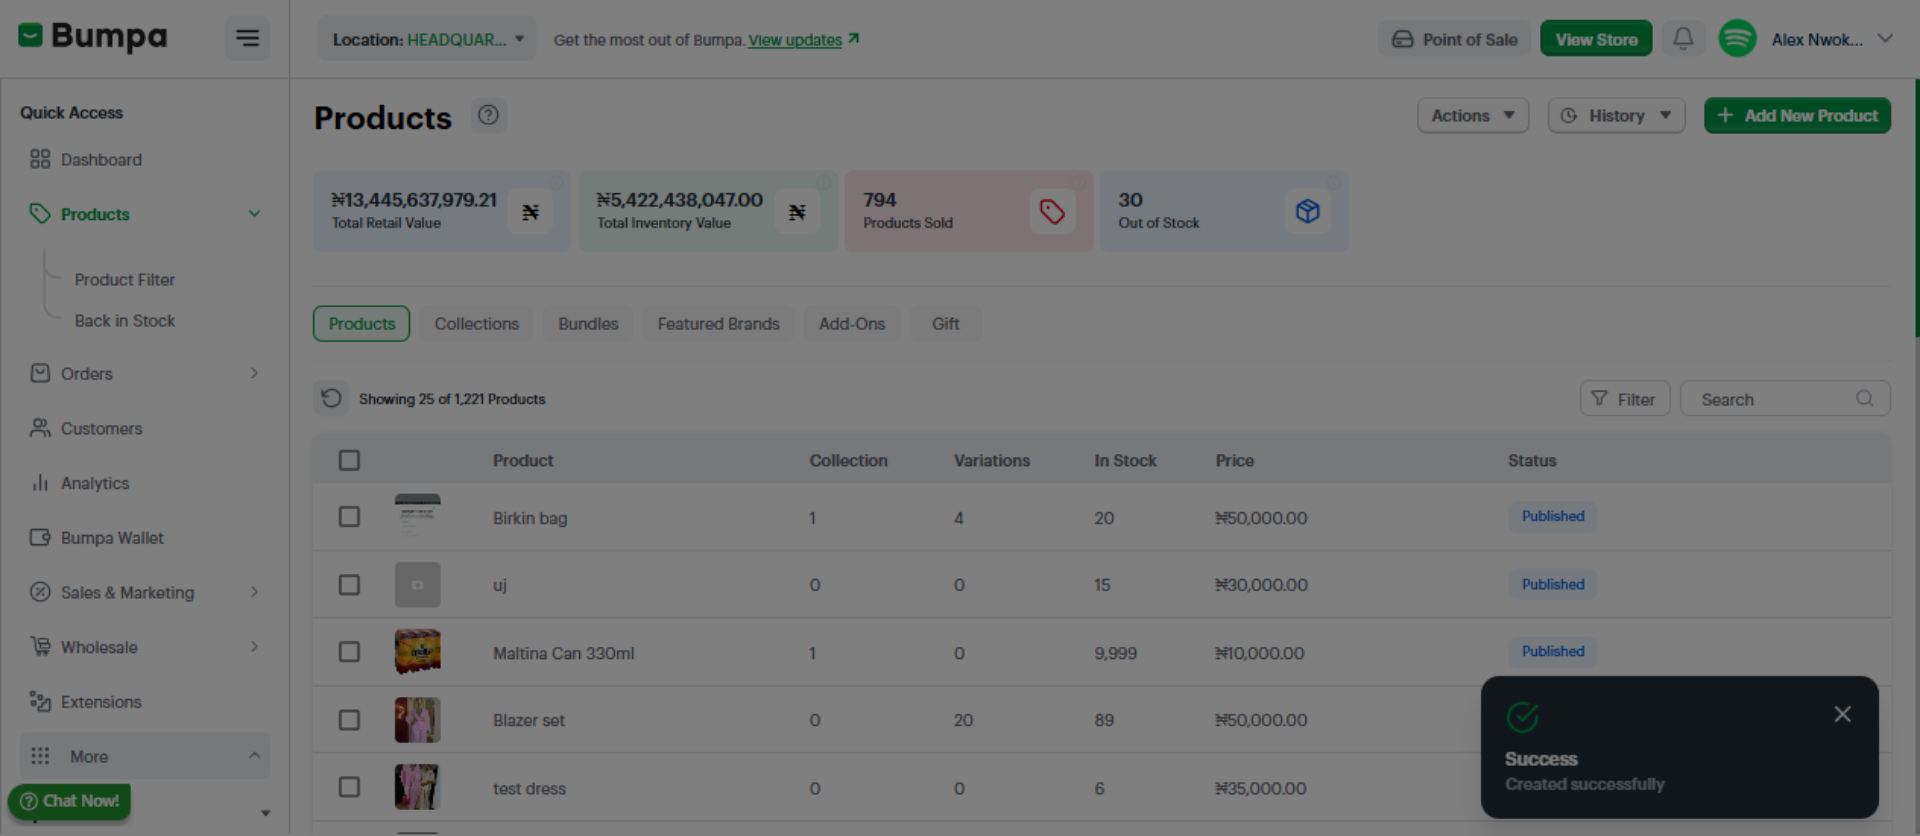
Your product with variations has been uploaded successfully!!
Related Articles
Was this article helpful?
That’s Great!
Thank you for your feedback
Sorry! We couldn't be helpful
Thank you for your feedback
Feedback sent
We appreciate your effort and will try to fix the article